Prerequisites
- Before working on this lab, You must have
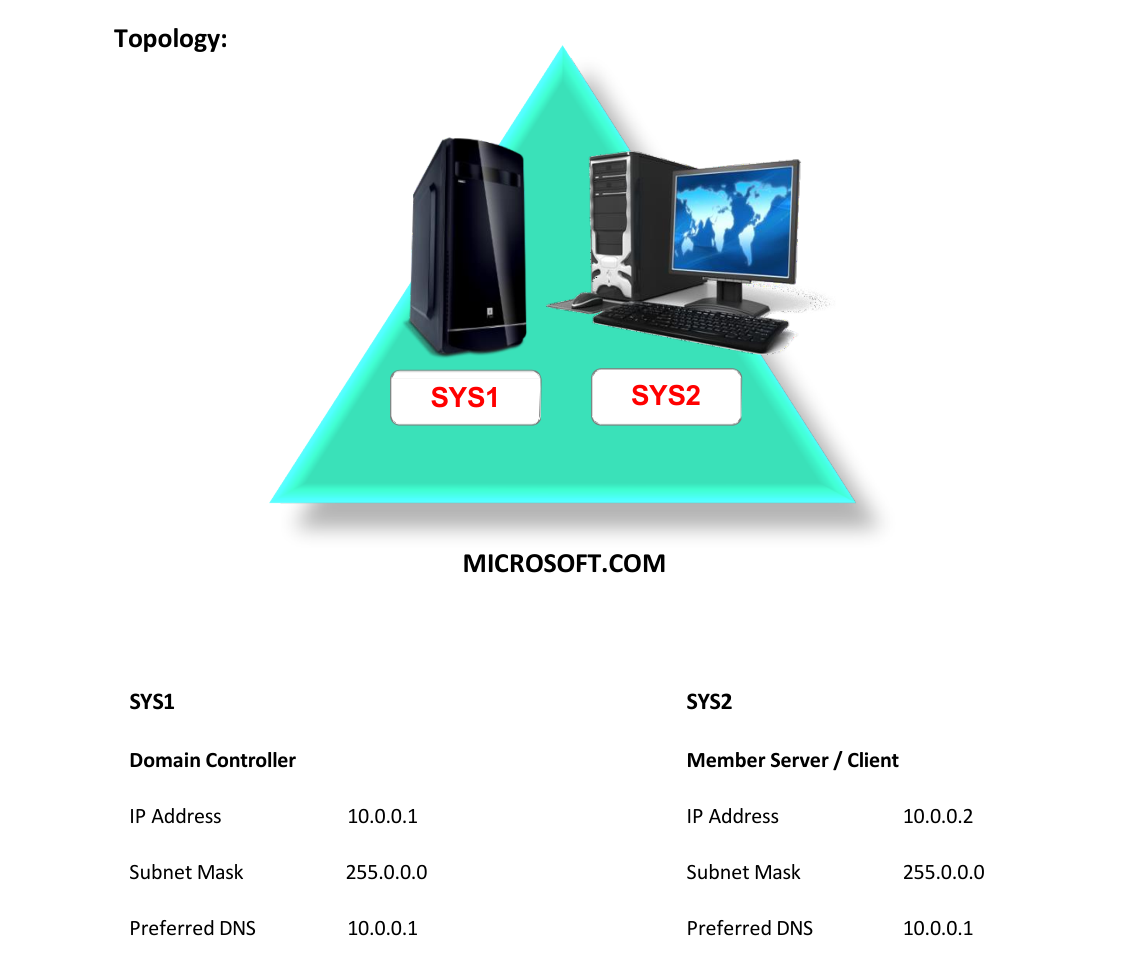
- A computer running windows 2022 server Domain Controller.
- A Member Server running windows 2022 server or client running windows 10.
Network Topology
Step-by-Step Instructions
Step 1
Log on to D.C as Administrator, Open Computer à Go to a drive and create a shared folder roam with Everyone Read/Write permission.
Step 2
Go to Active Directory Users and Computers à Expand the Domain Name (MICROSOFT.COM) à click Users à Right click the User(user1) and select Properties and select the Profile tab.
Step 3
Under User profile à enter profile path as Syntax: Example:
\\SYS1\roam\user1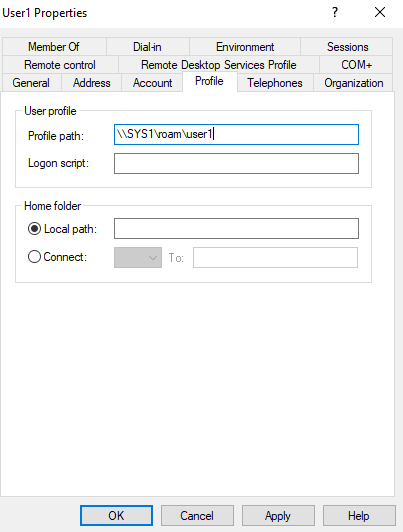
Step 4
Click Apply and OK.
Verification
- 1. Login as user1 on Client or Member Server and create some files on the Desktop.
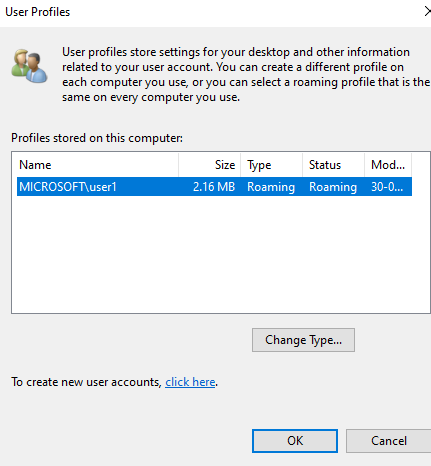
- 2. In Control Panel search bar, type user profile, select Configure advanced user profile
- properties.
- 3. Verify for User Profile Type and Status to be Roaming.
- 4. Logoff this user (user1) and login on another computer with the same user (user1),
- we can see the files which we have created on first computer.