Prerequisites
- Before working on this lab, You must have
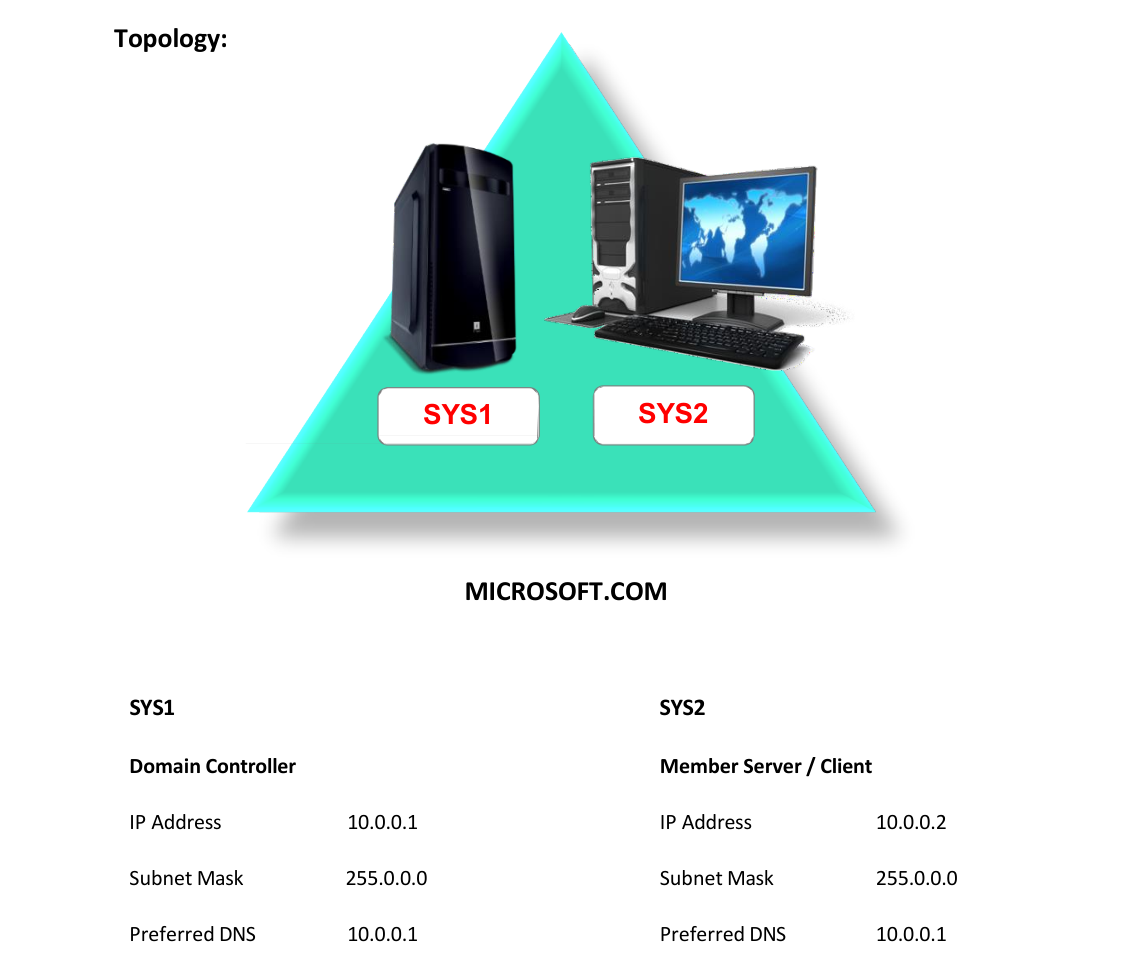
- A computer running windows 2022 server Domain Controller.
- A computer running running windows 2022 or windows 10
- Installing FSRM
Network Topology
Step-by-Step Instructions
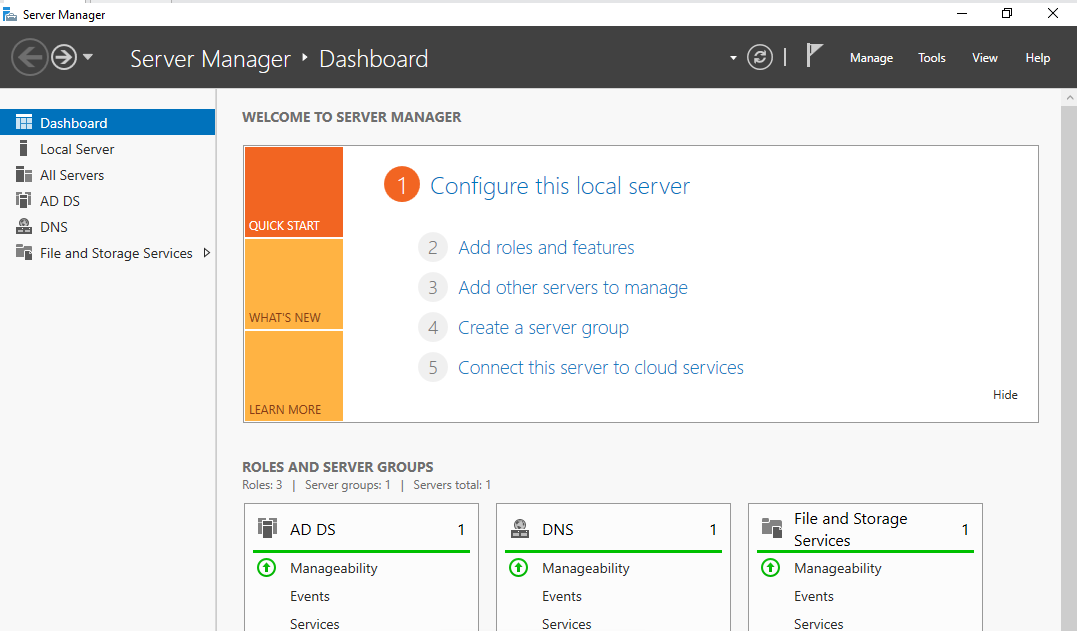
Step 1
In Server Manager Dashboard, click Add roles and features.
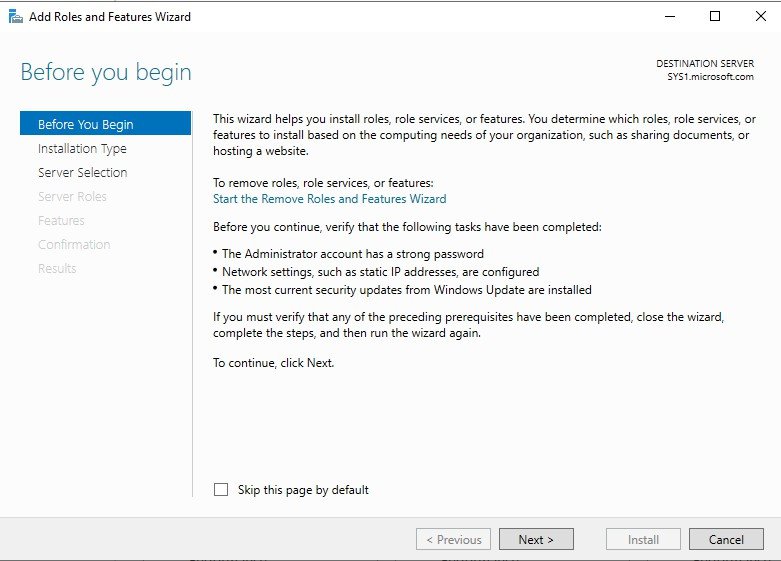
Step 2
In Before you begin page, click Next.
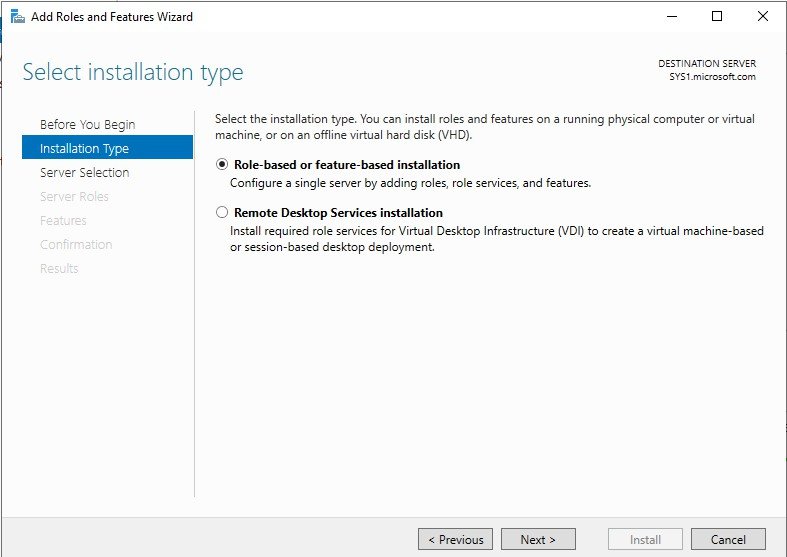
Step 3
In Select installation type, select Role-based or feature-based installation, click Next.
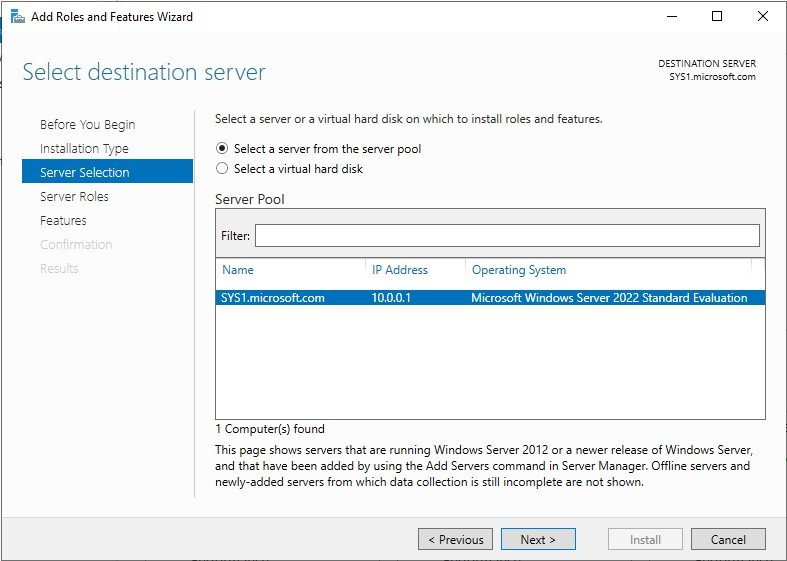
Step 4
In Select destination server, from Server Pool select SYS1, click Next.
Step 5
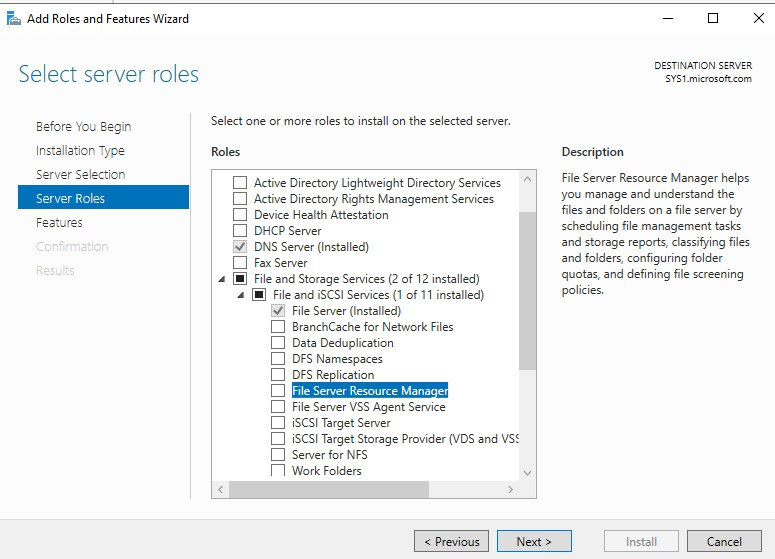
In Roles, expand File and Storage Services, expand File and iSCSI Services, check the box File Server Resource Manager, click Next.
Step 6
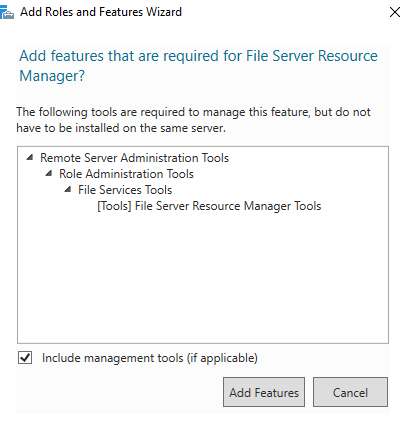
Click Add Features, to install the required features for Active Directory Domain Services. Click Next.
Step 7
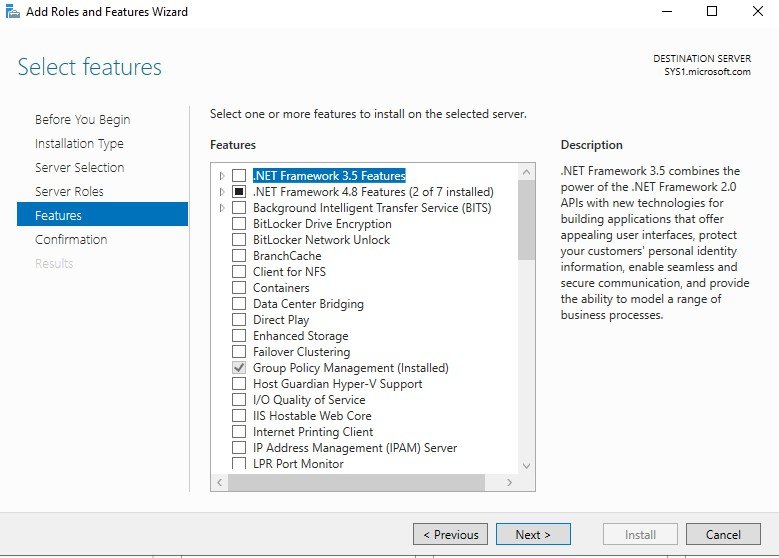
In Select features wizard, click Next.
Step 8
Check the box Restart the destination server automatically if required. Click Install.
Step 9
Click Close, to complete the installation. Configuring Quota Management using FSRM

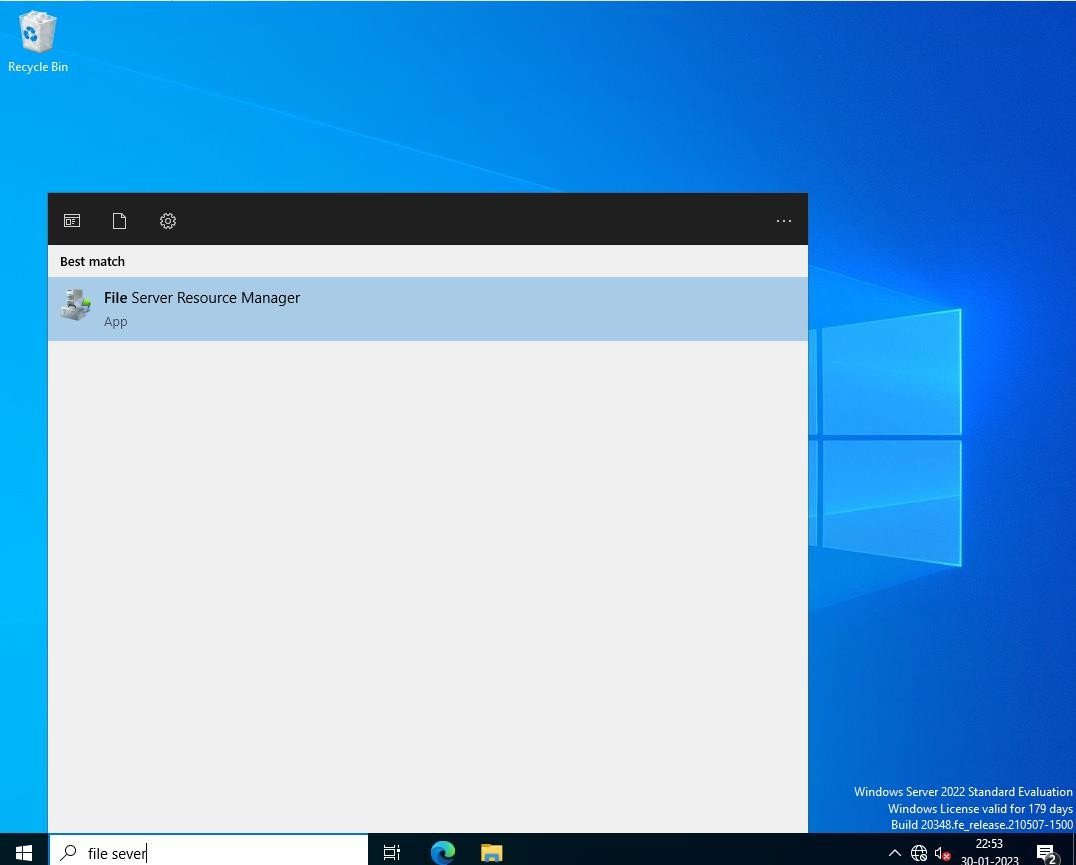
Step 1
Go to Start, select File Server Resource Manager.
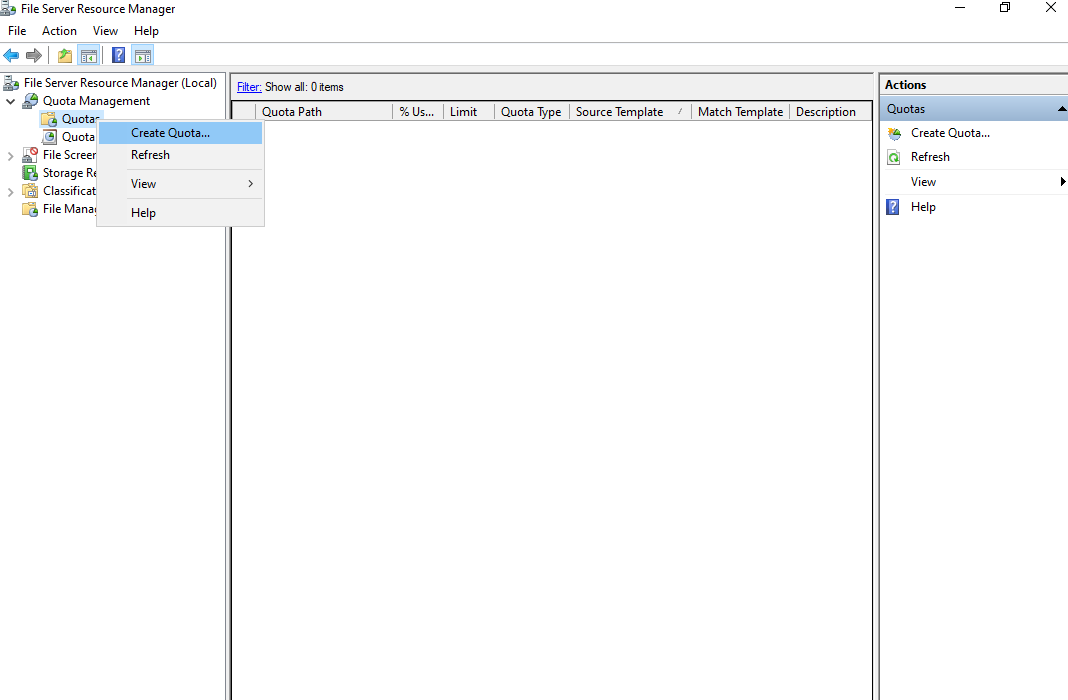
Step 2
Expand Quota Management, right click Quotas. and select Create Quota.
Step 3
Click Browse and Select the Quota path (Ex: D:\Home)
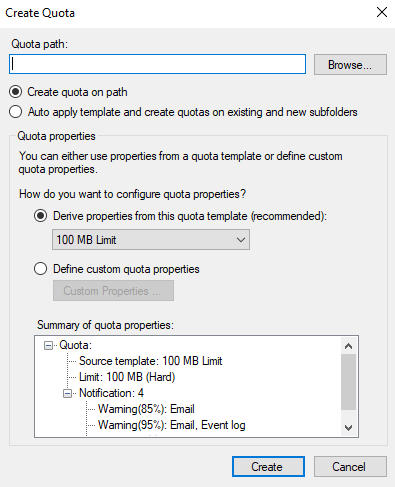
Step 4
Select Auto apply template and create quotas on existing and new subfolders. Select the limit and click Create.
Verification
- 1. Log in as User (User1) on Client or Member Server (SYS2), Open
- Computer.
- 2. Verify the Size of the Network drive Z: (Home Folder).
- 3. Login as other users and verify the size of the Home Folder.
- Configuring File Screening using FSRM
- 1. Go to Start, File Server Resource Manager; Right click on File Server
- Resource Manager and select Configure Options.
- 2. Check the box Record file screening activity in auditing database, click OK.
- 3. Expand File Screening Management, right click File Screens and select
- Create File Screen.
- 4. Click Browse to select the File screen path. select option Block Image
- Files, and click Create.
- 5. Right click on the created file screen, select Edit File Screen Properties.
- 6. Select the Screening type Active screening, click OK.
- 1. Log in as User (User1) on Client or Member Server (SYS2)
- 2. Open Computer, Network drive Z: (Home Folder) and try to create a New
- Bitmap Image file.
- 3. Verify for Access Denied Page.
- Configuring Storage Reports Management using FSRM
- 1. Go to Start, File Server Resource Manager, right click Storage Reports
- Management and select Generate Reports Now.
- 2. In settings page, check box File Screening Audit.
- 3. Select Scope, click Add and select the home folder (Ex: D:\Home).
- 4. Select Wait for reports to be generated and then display them, click OK.
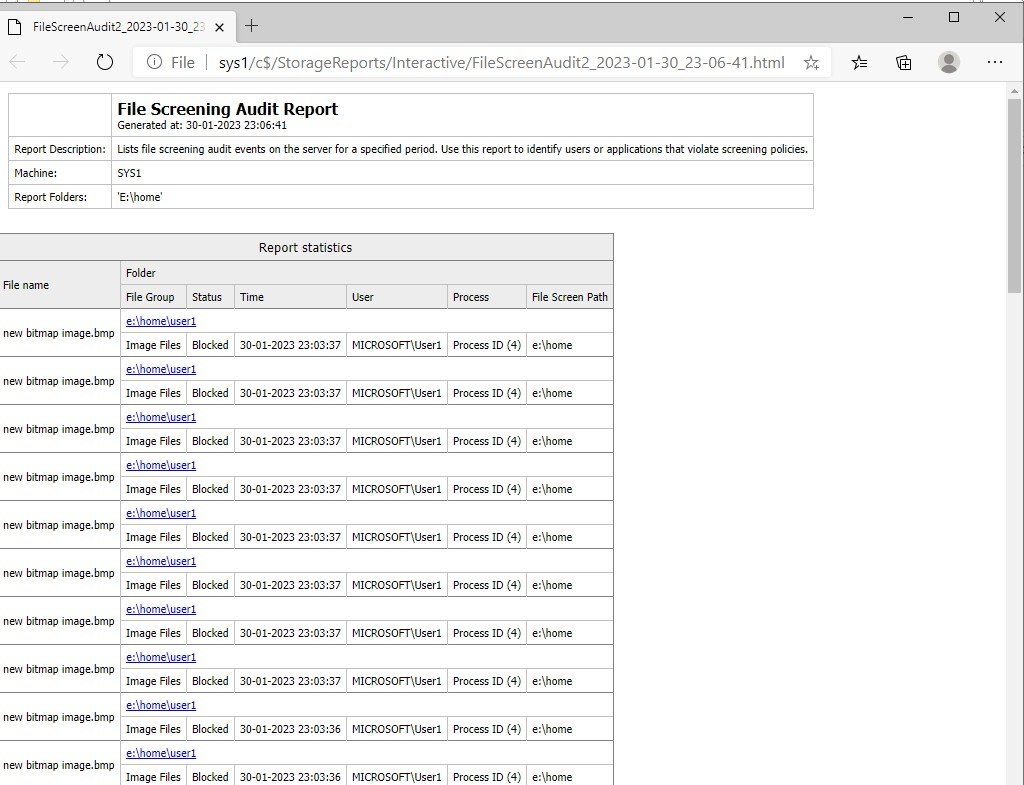
- 5. It Generates the Storage Reports.
- 6. Select the File Screening Audit Report and Open the report.
- 7. Verify the Report for Blocked image file creation bv the users.