Prerequisites
- Before working on this lab, You must have
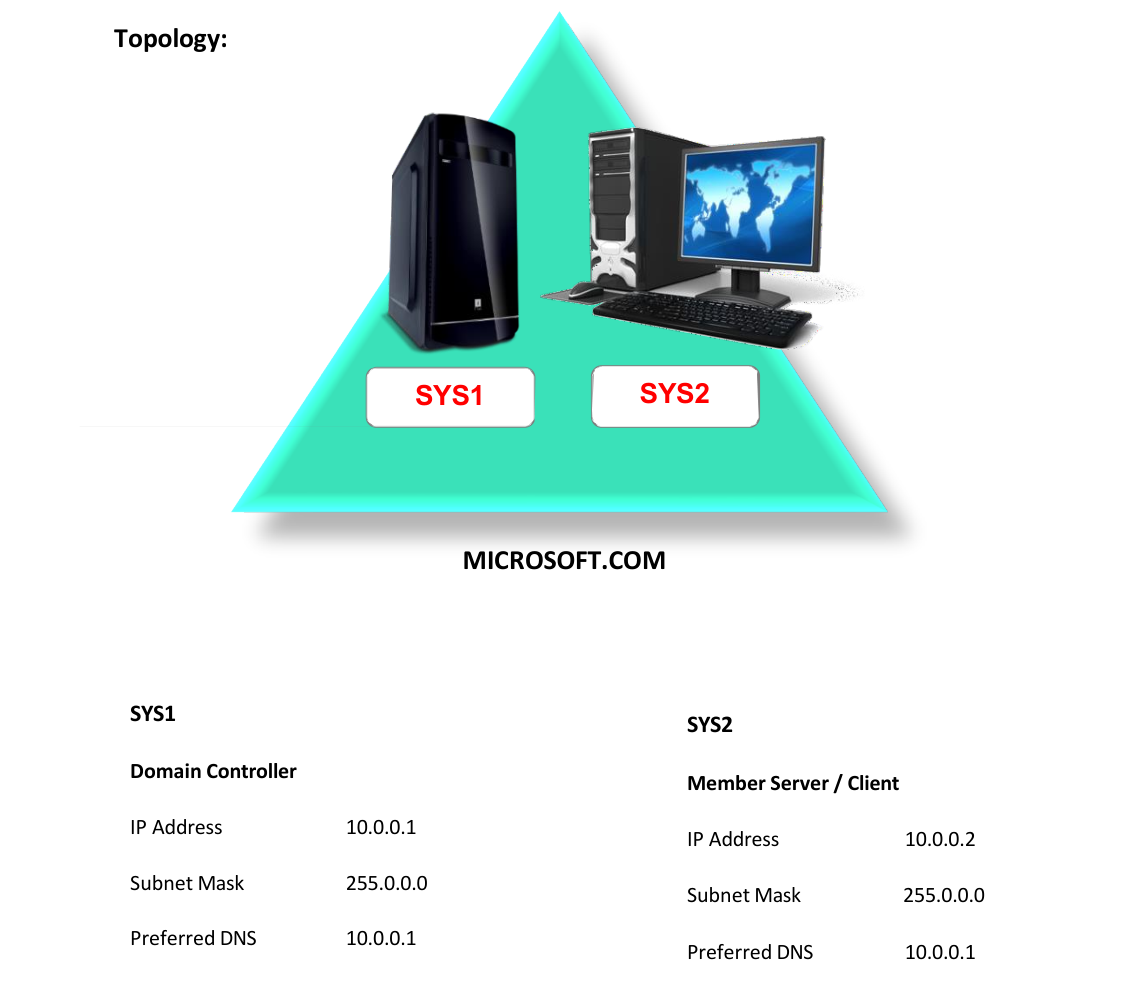
- A computer running windows server 2022 Domain Controller.
- A Member Server running windows server 2022 or Client Running Windows 10.
Network Topology
Step-by-Step Instructions
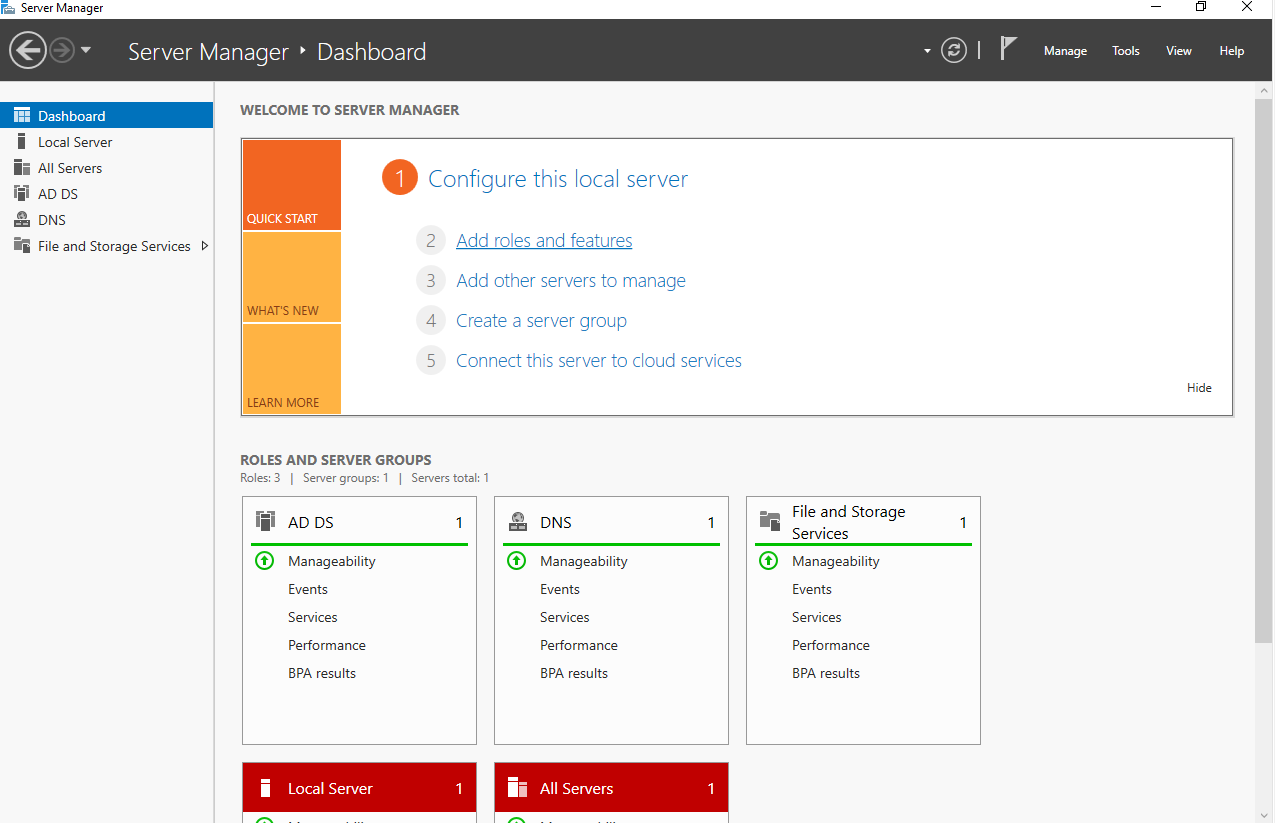
Step 1
In Server Manager Dashboard, click Add roles and features.
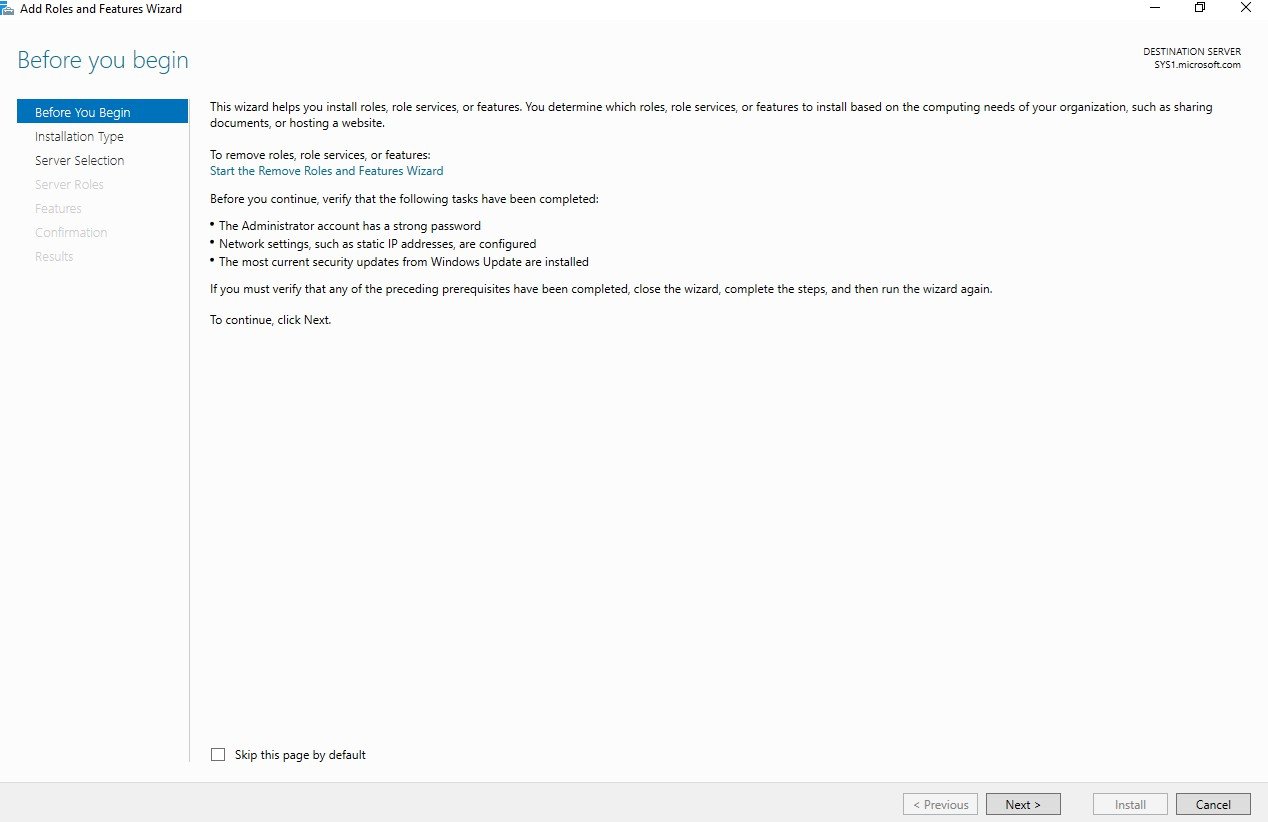
Step 2
In Before you begin page, click Next.
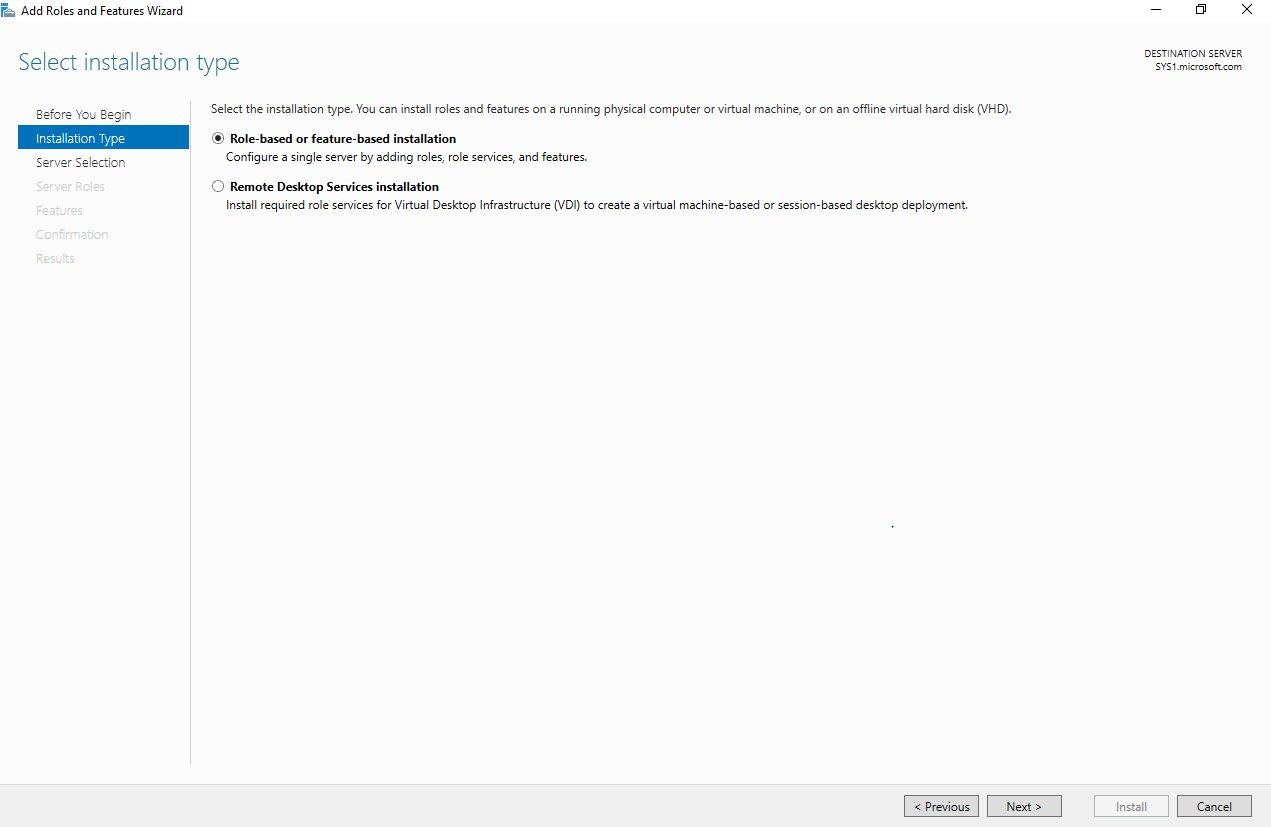
Step 3
In Select installation type, select Role-based or feature-based installation, click Next.
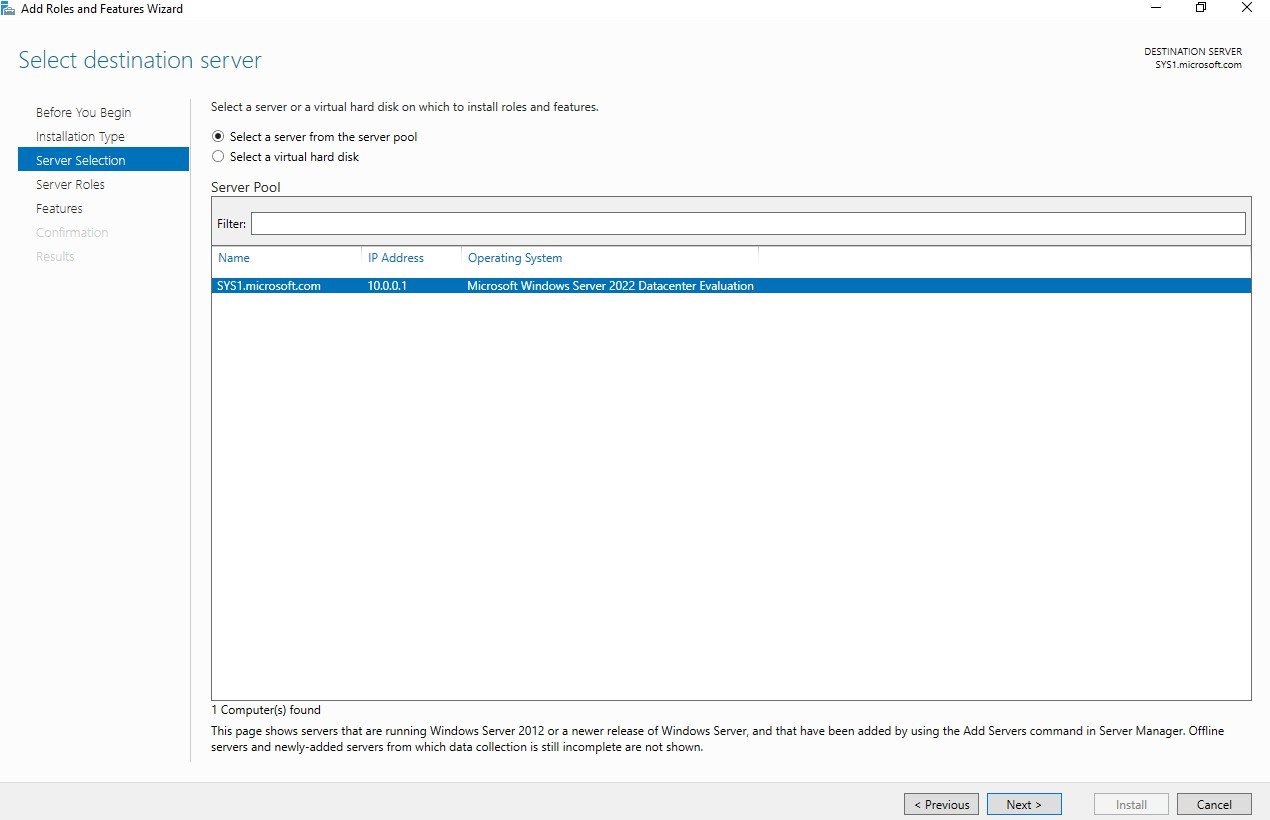
Step 4
In Select destination server, from Server Pool select SYS1, click Next.
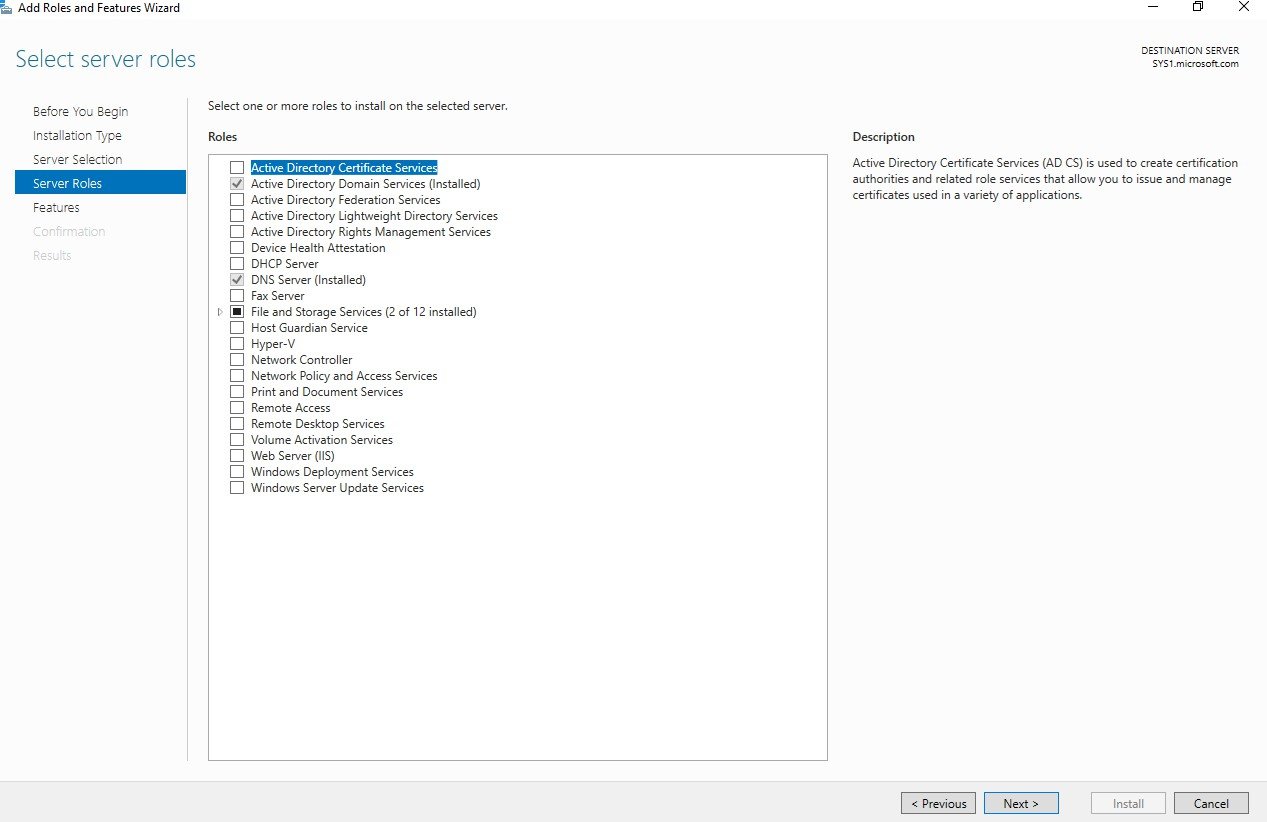
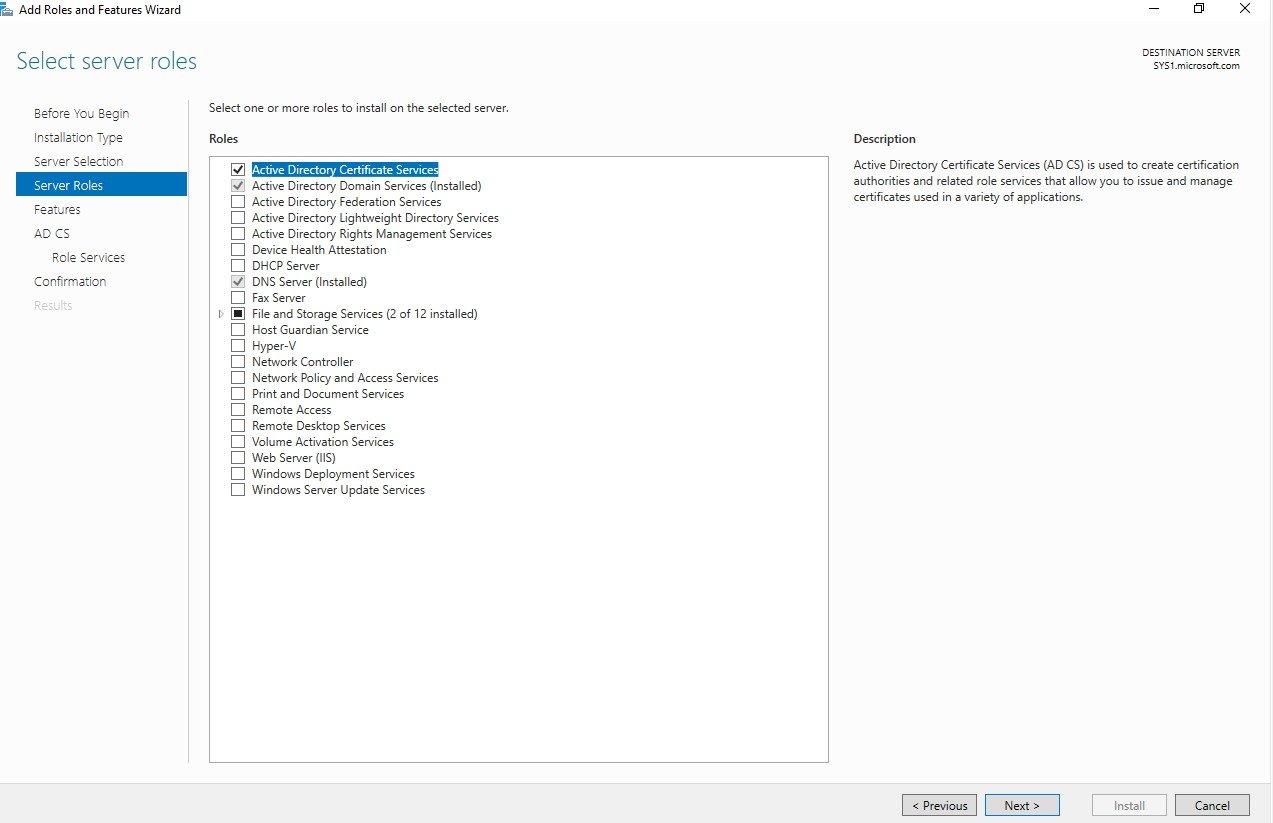
Step 5
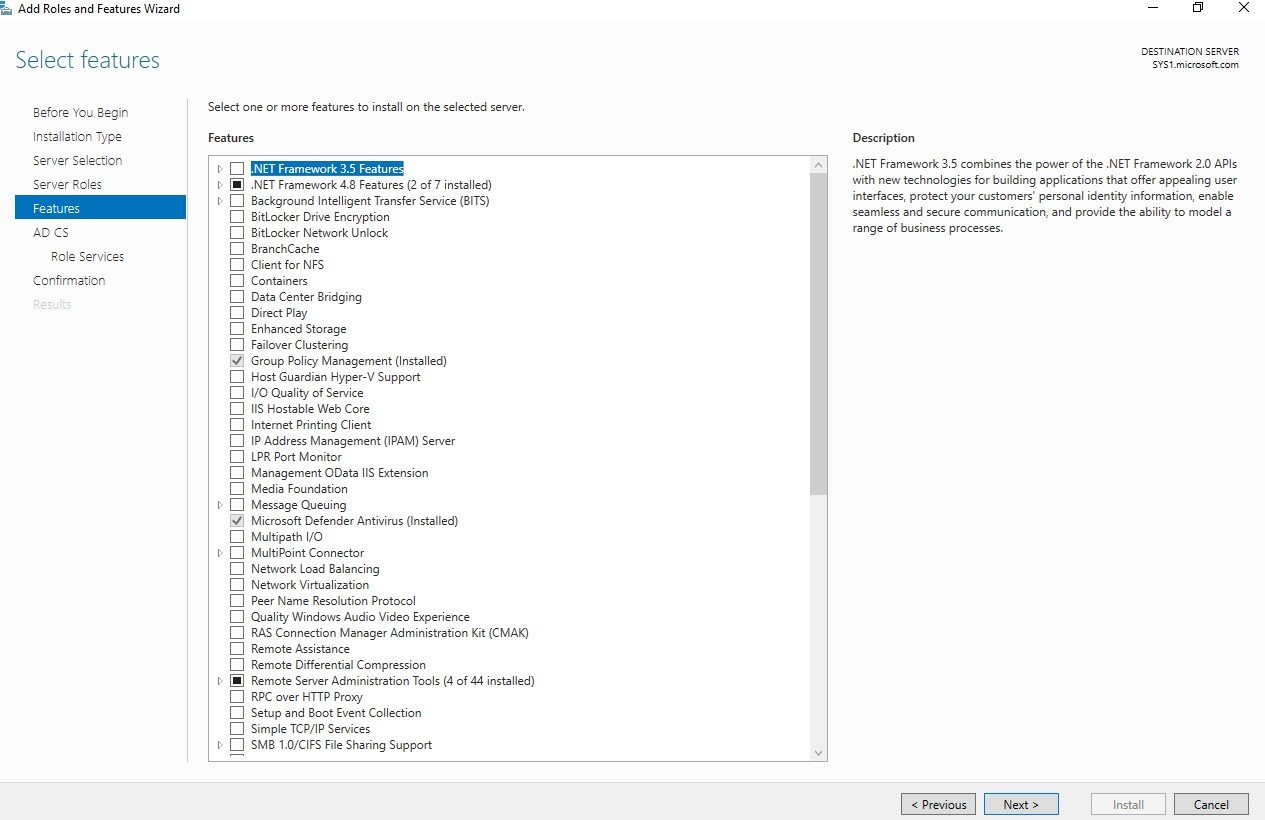
Check the box Active Directory Certificate Services
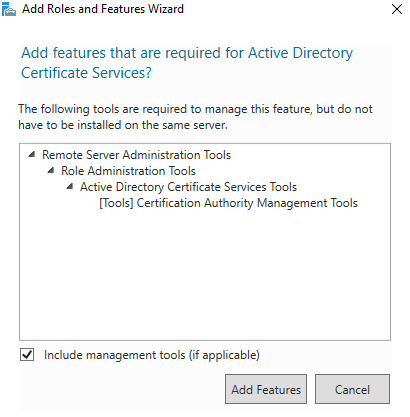
Step 6
Click Add Features, to install the required Features for Active Directory Certificate Services à Click Next.
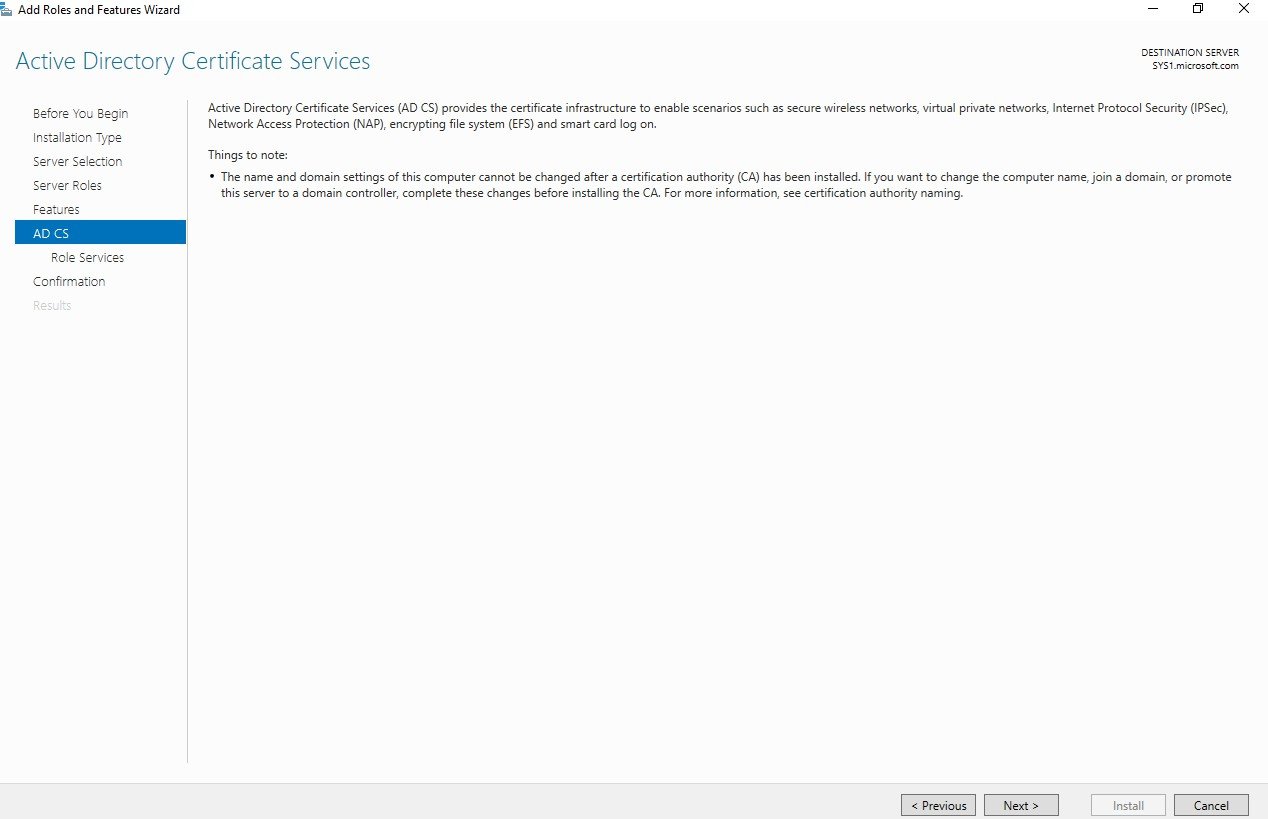
Step 7
Click Next.
Step 8
Click Next.
Step 9
Click Next
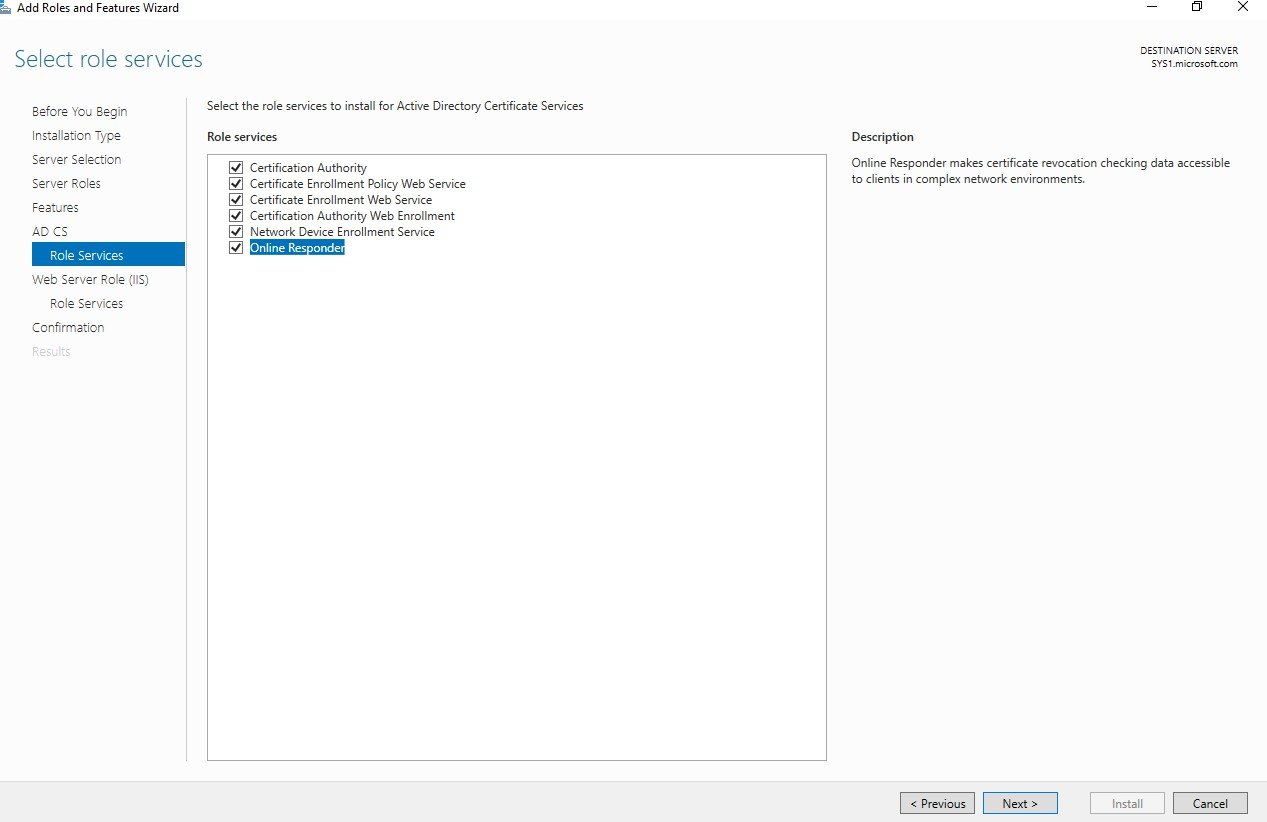
Step 10
Check the boxes Certificate Authority, Certificate Enrollment Policy Web Service, Certificate Enrollment Web Service, Certification Authority Wen Enrollment, Network Device Enrollment Service & Online Responder à click Next
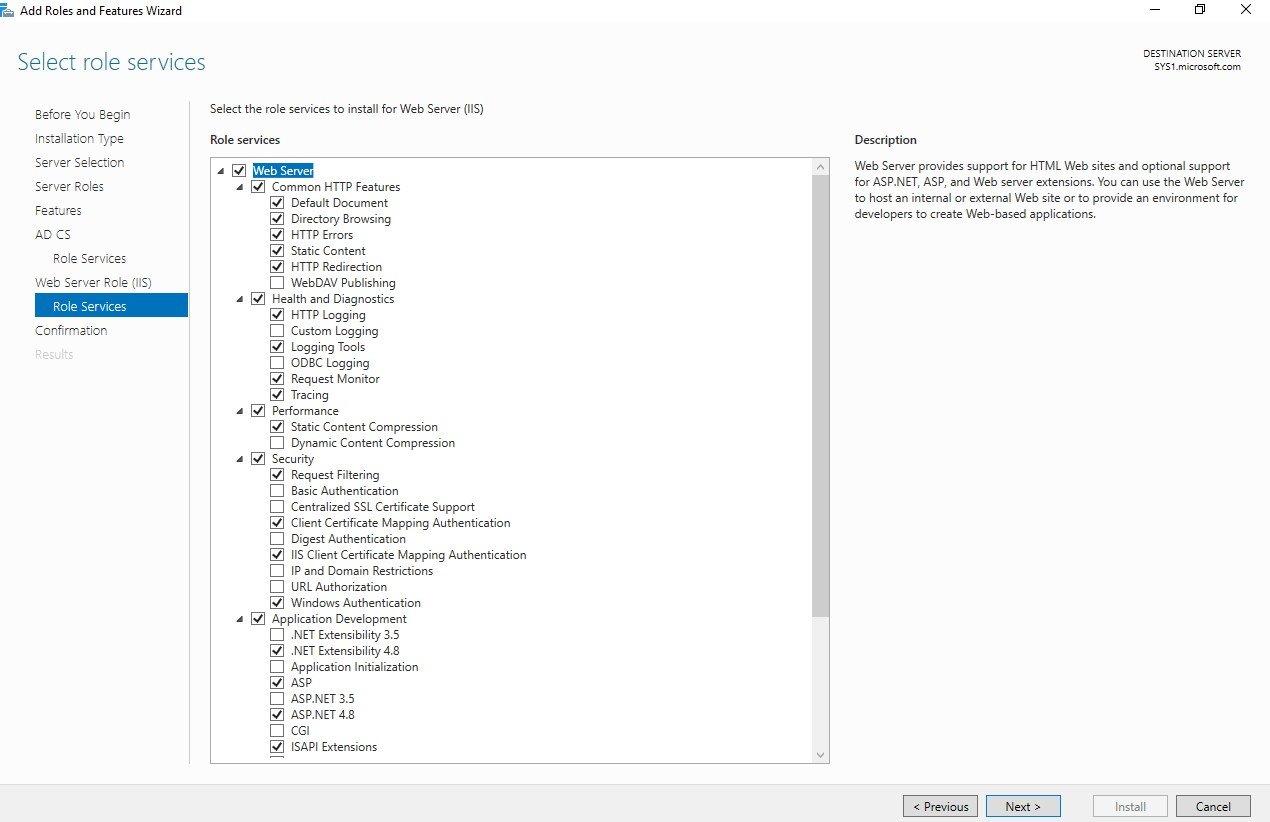
Step 11
Click Next

Step 12
Click Next
Step 13
Check the box restart the destination server automatically if required à click Next
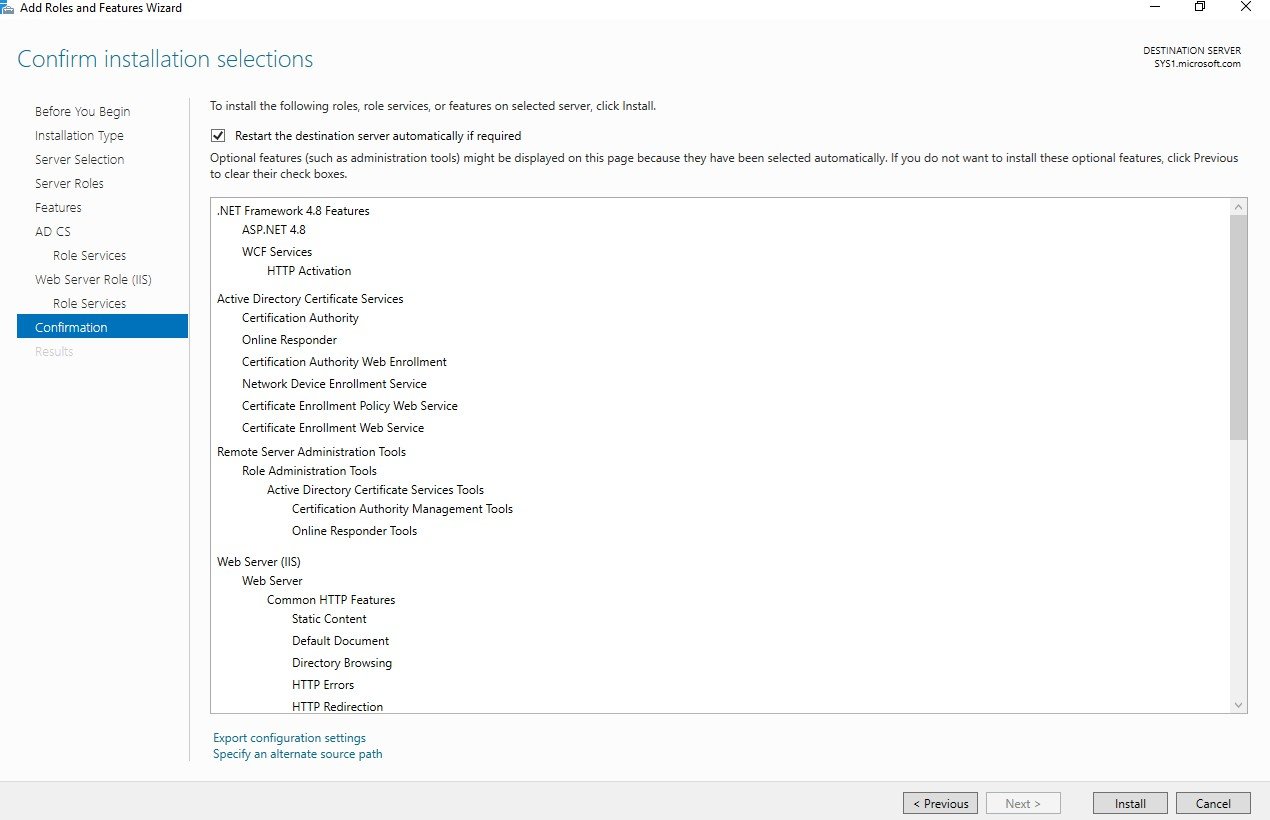
Step 14
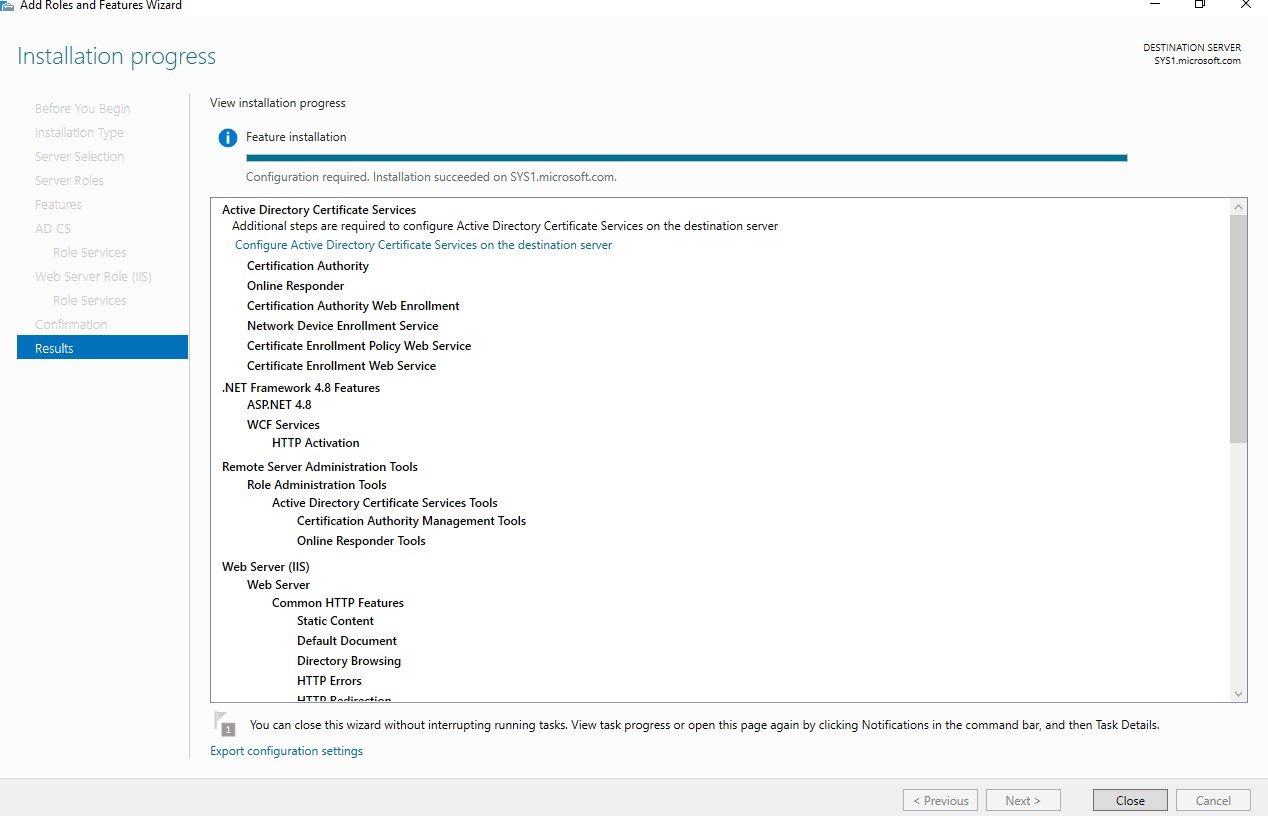
Click Configure Active Directory Services on the destination server
Step 15
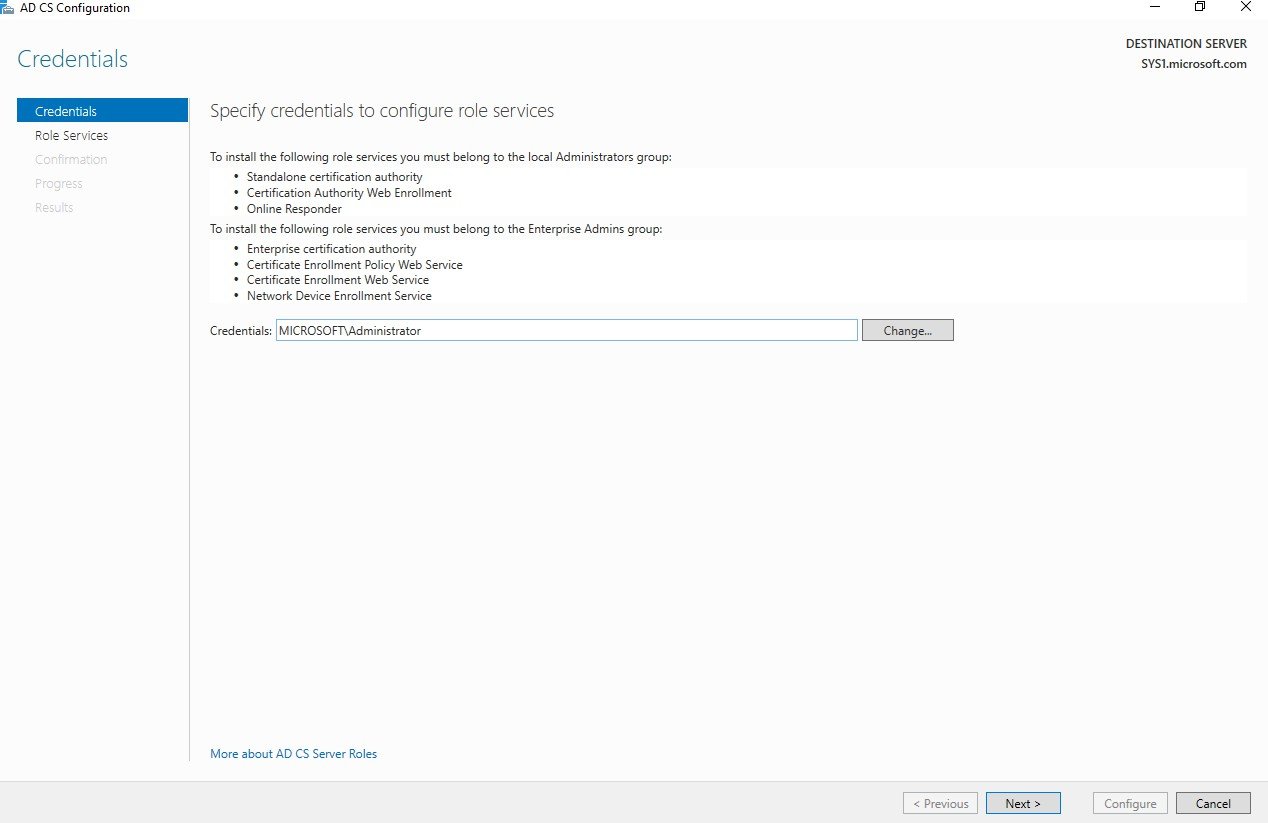
In Credentials ,Click Next
Step 16
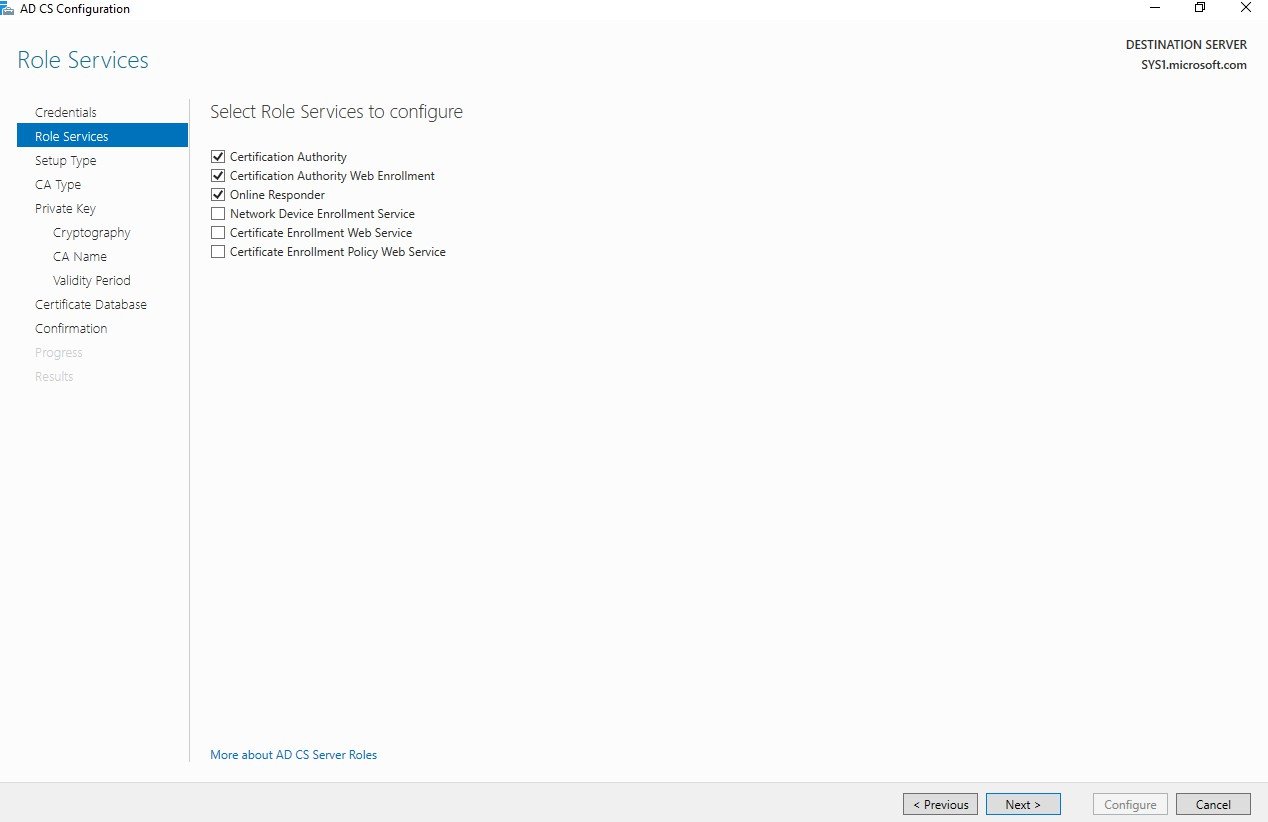
Check the boxes Certificate Authority, Certification Authority Web Enrollment & Online Responder à click Next
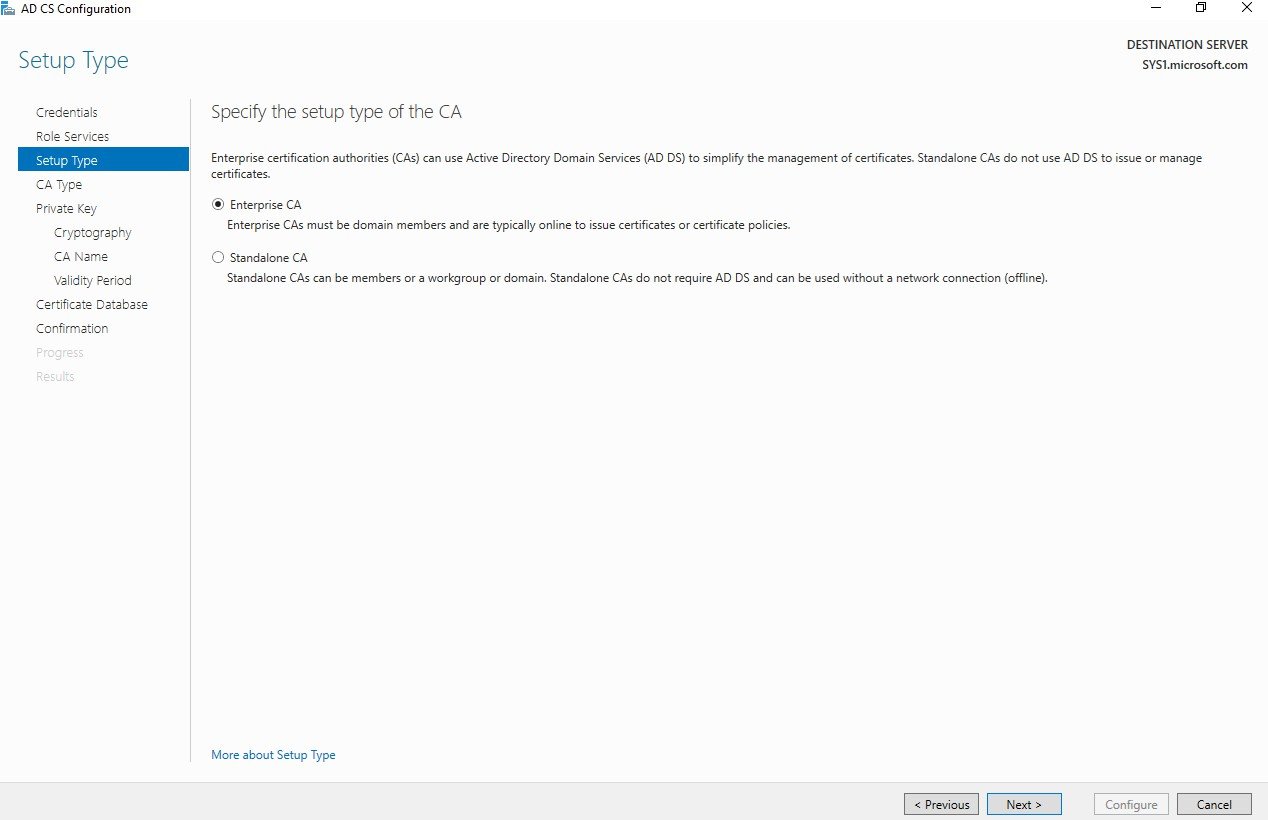
Step 17
In Setup Type Select Enterprise CA and Click Next
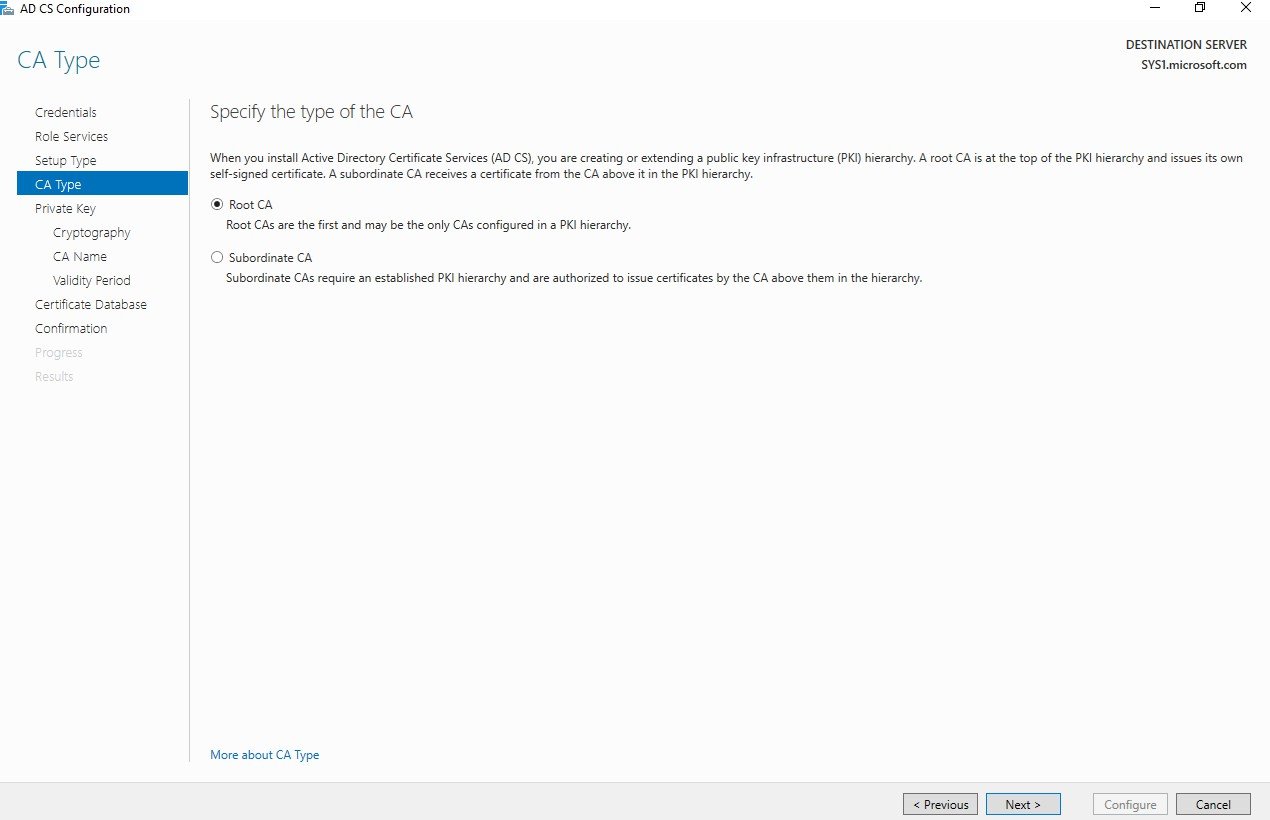
Step 18
In CA Type Page Select Root CA and Click Next
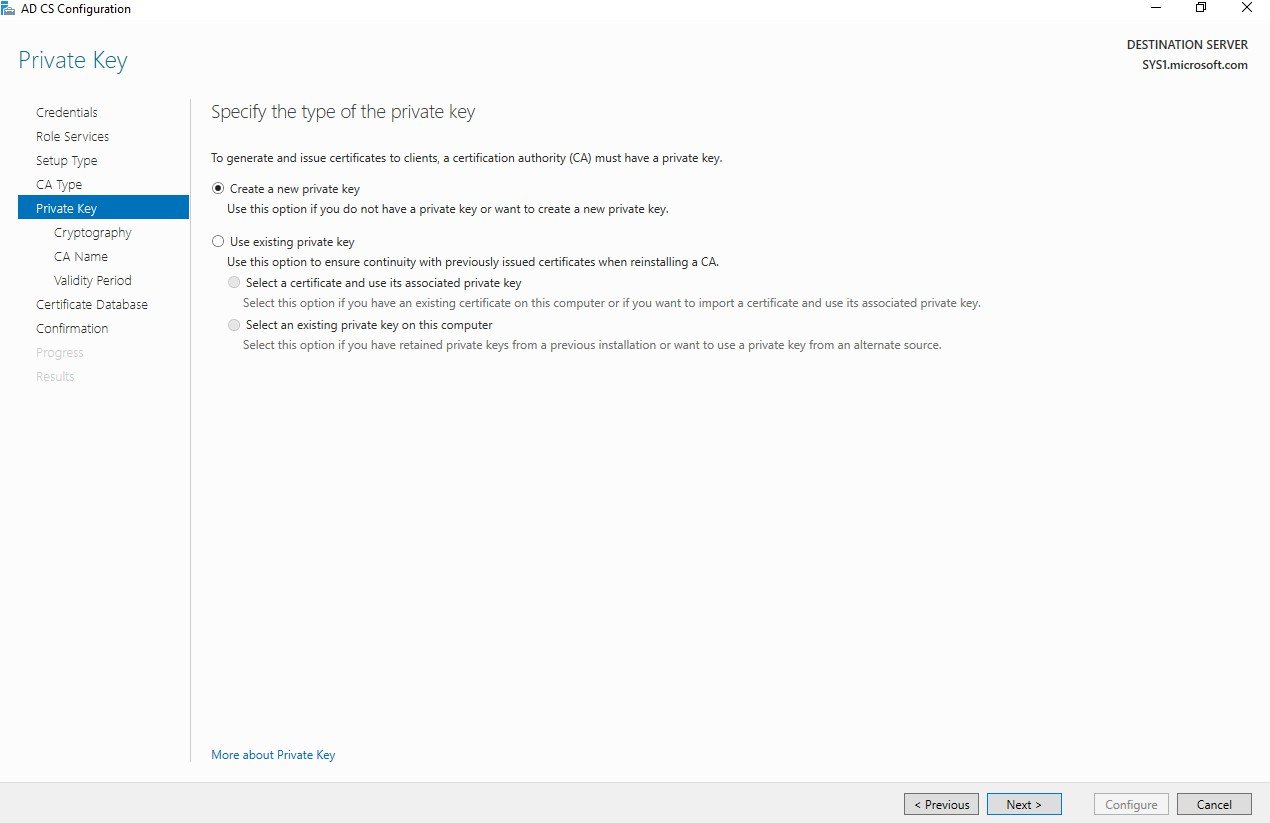
Step 19
In Private Key Select Create a New Private Key and Click Next
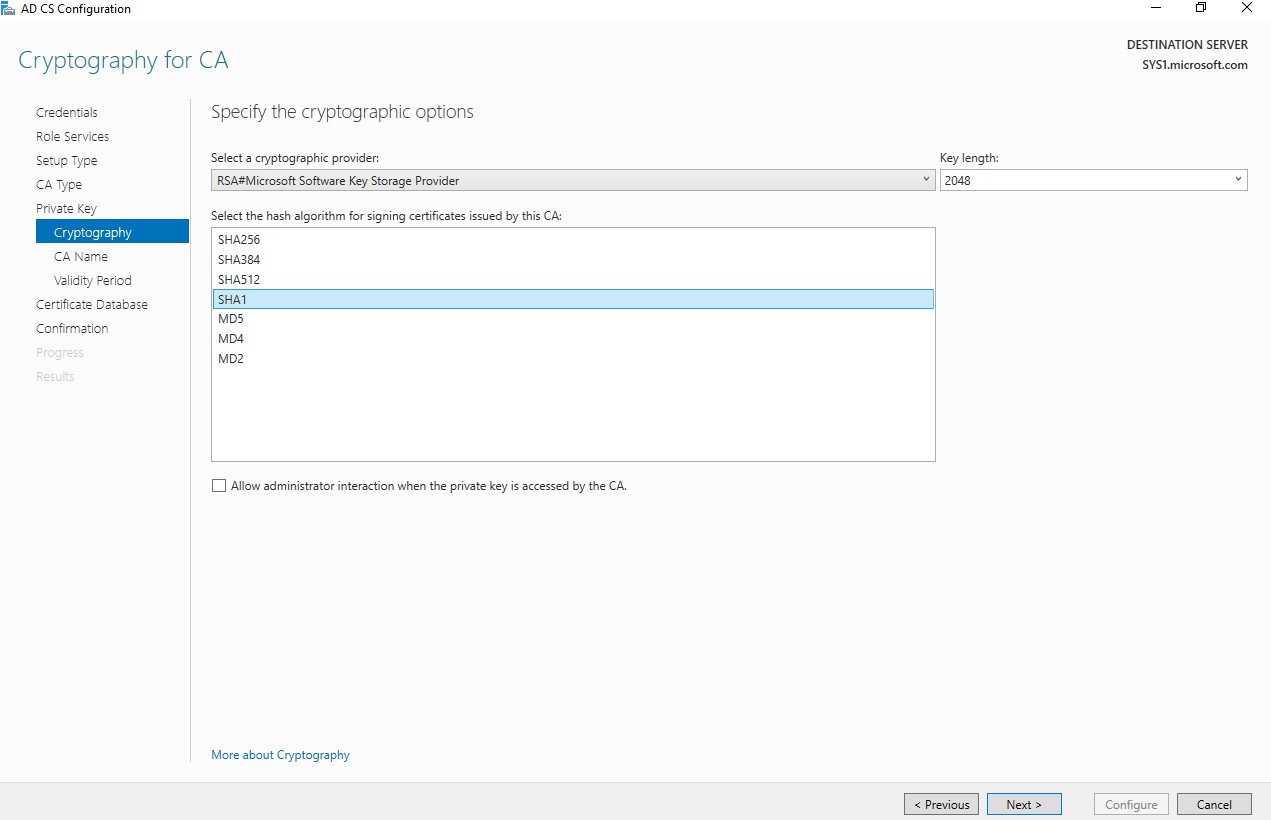
Step 20
Select SHA1 à click Next
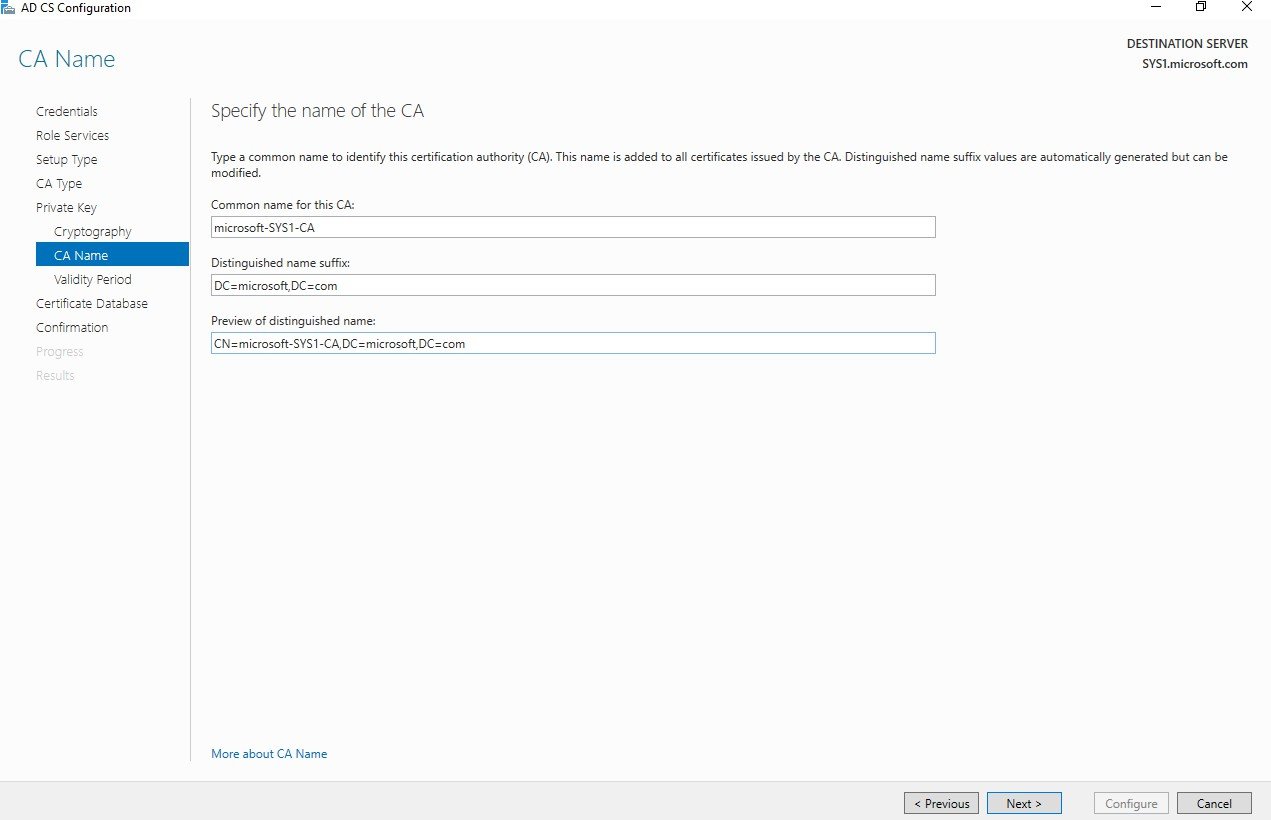
Step 21
In CA Name, Click Next
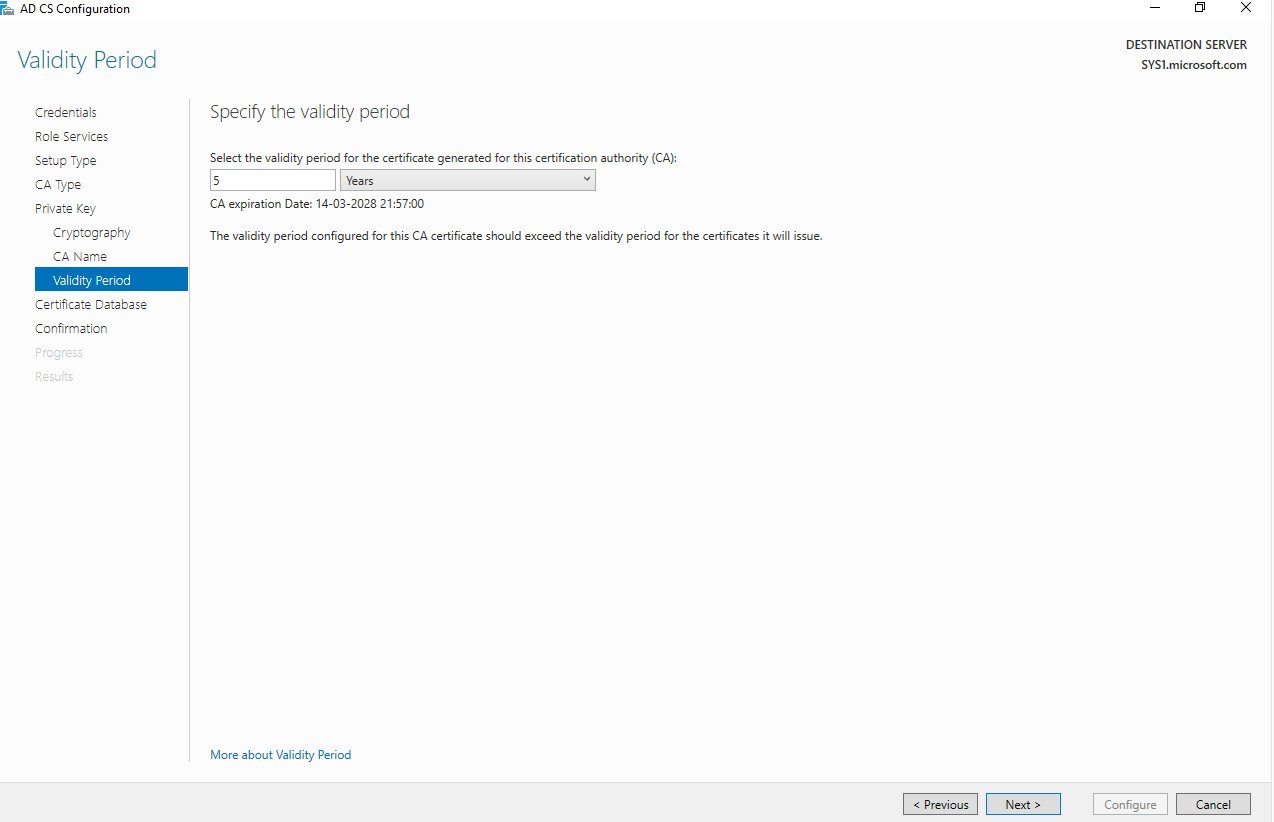
Step 22
In Validity Period, Click Next
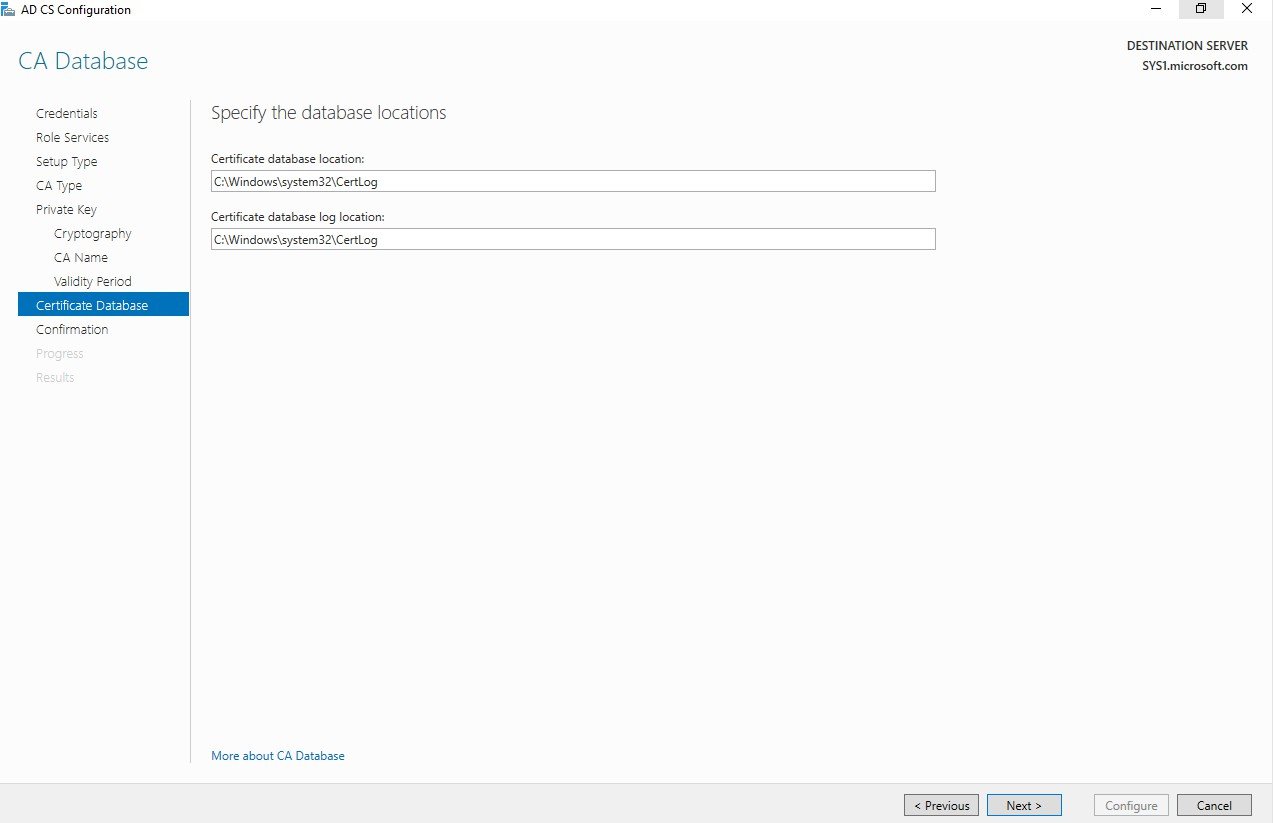
Step 23
In CA Database, Click Next
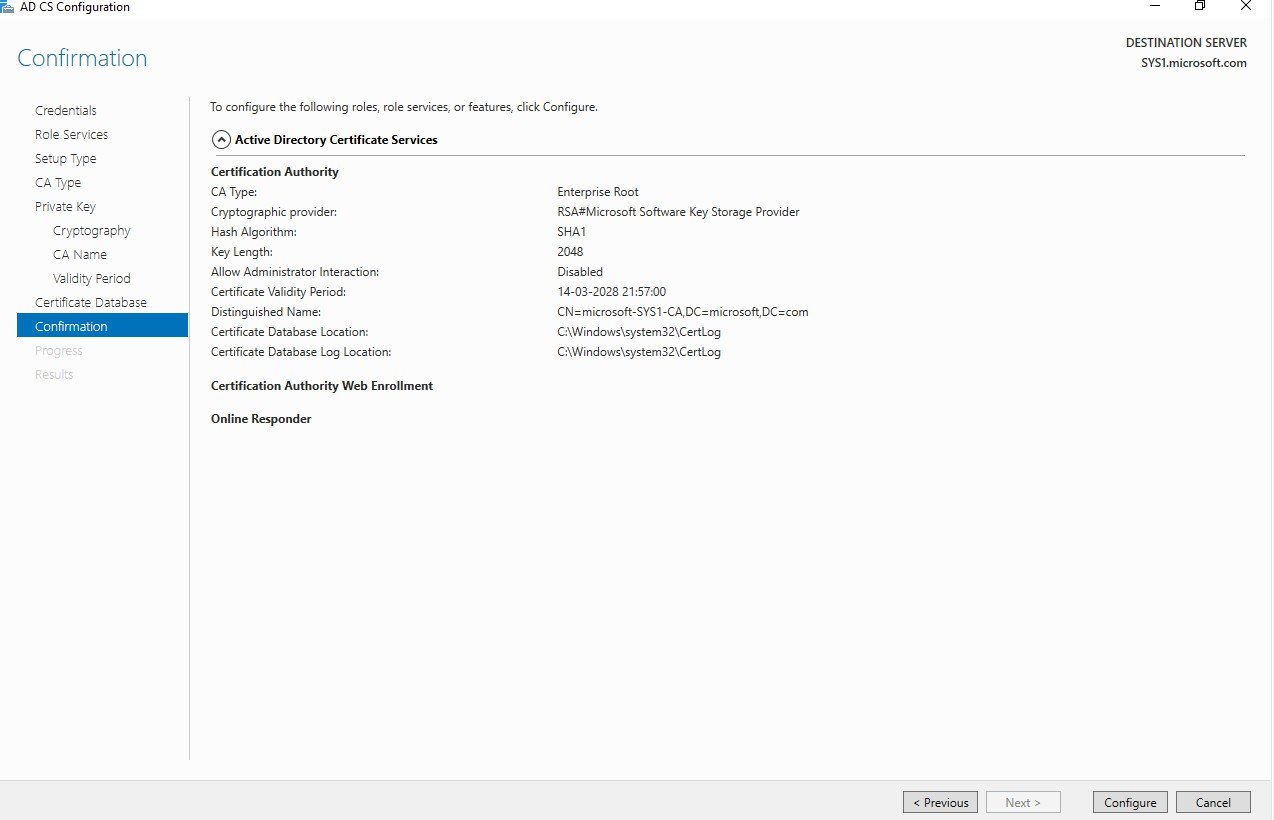
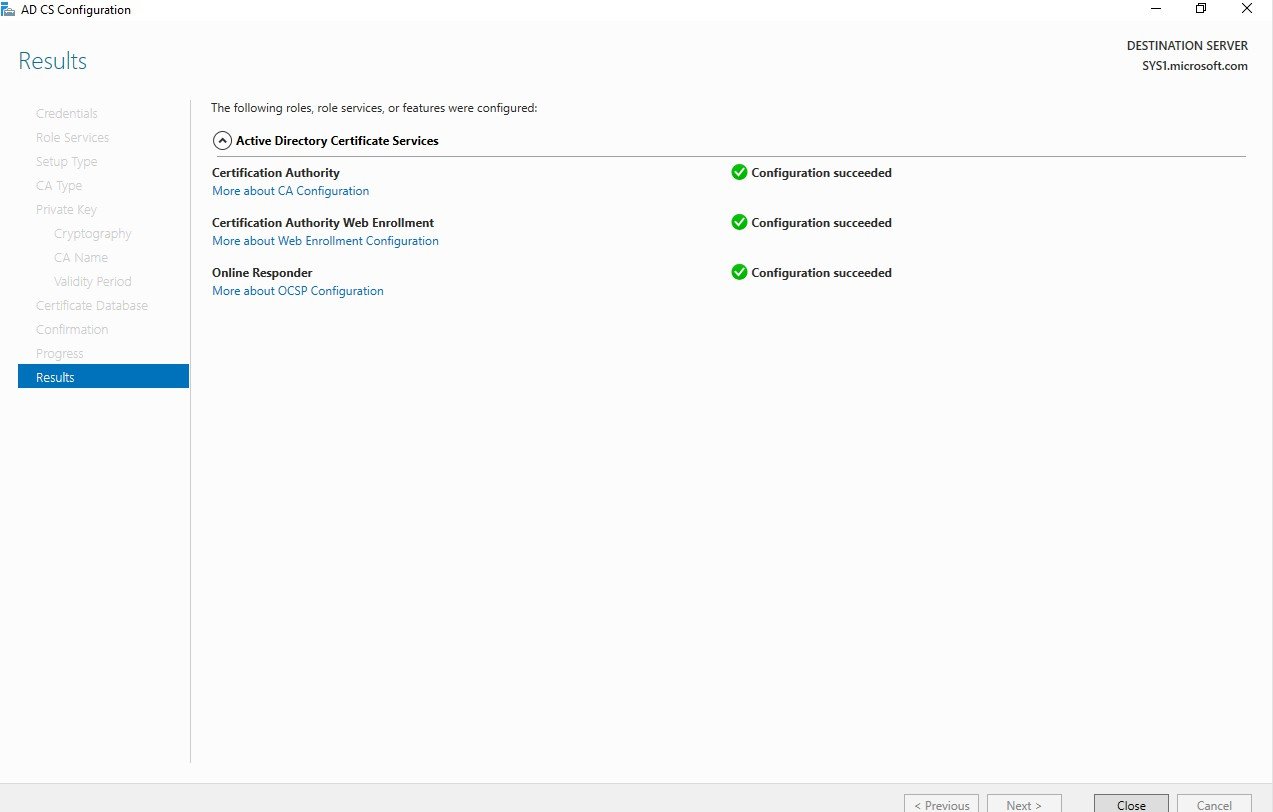
Step 24
Click Configure
Step 25
Click Close
Step 26
Click No
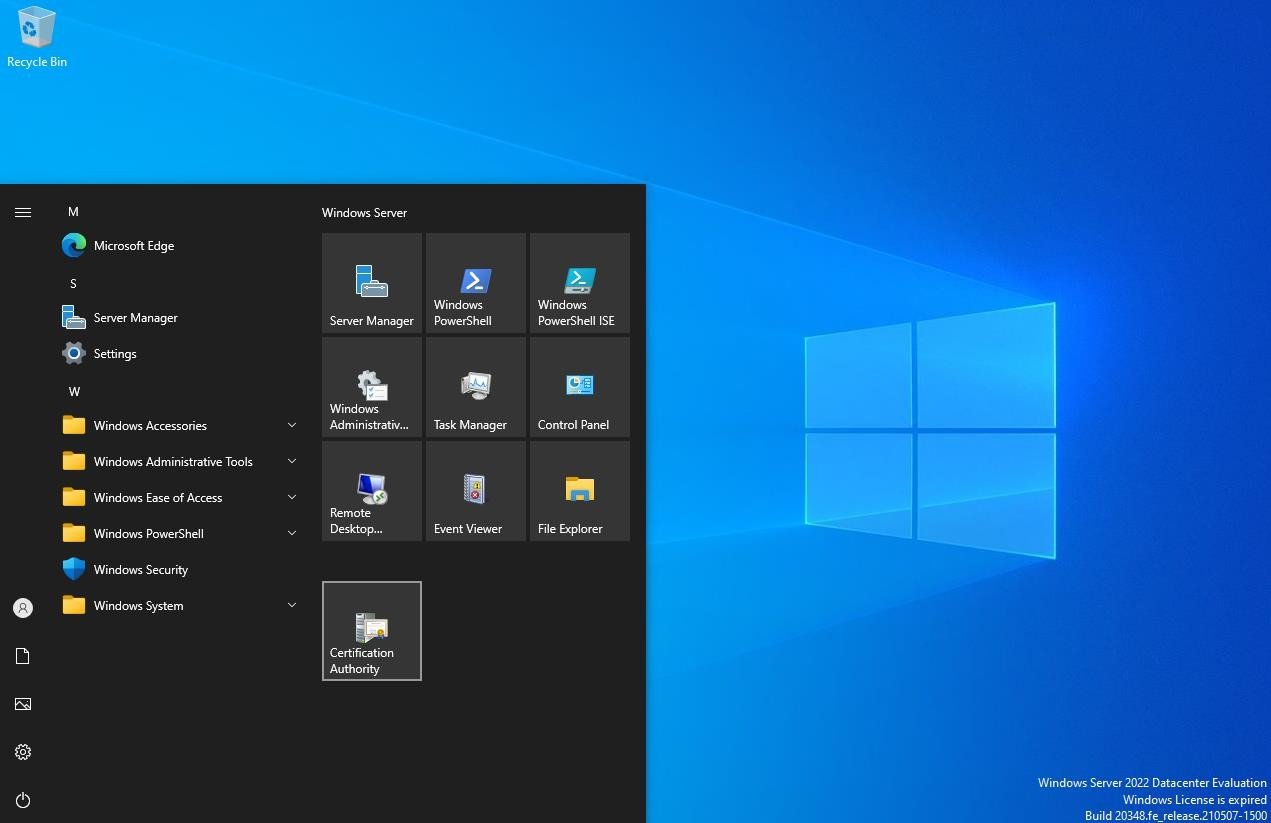
Step 27
Click Start à click Certification Authority
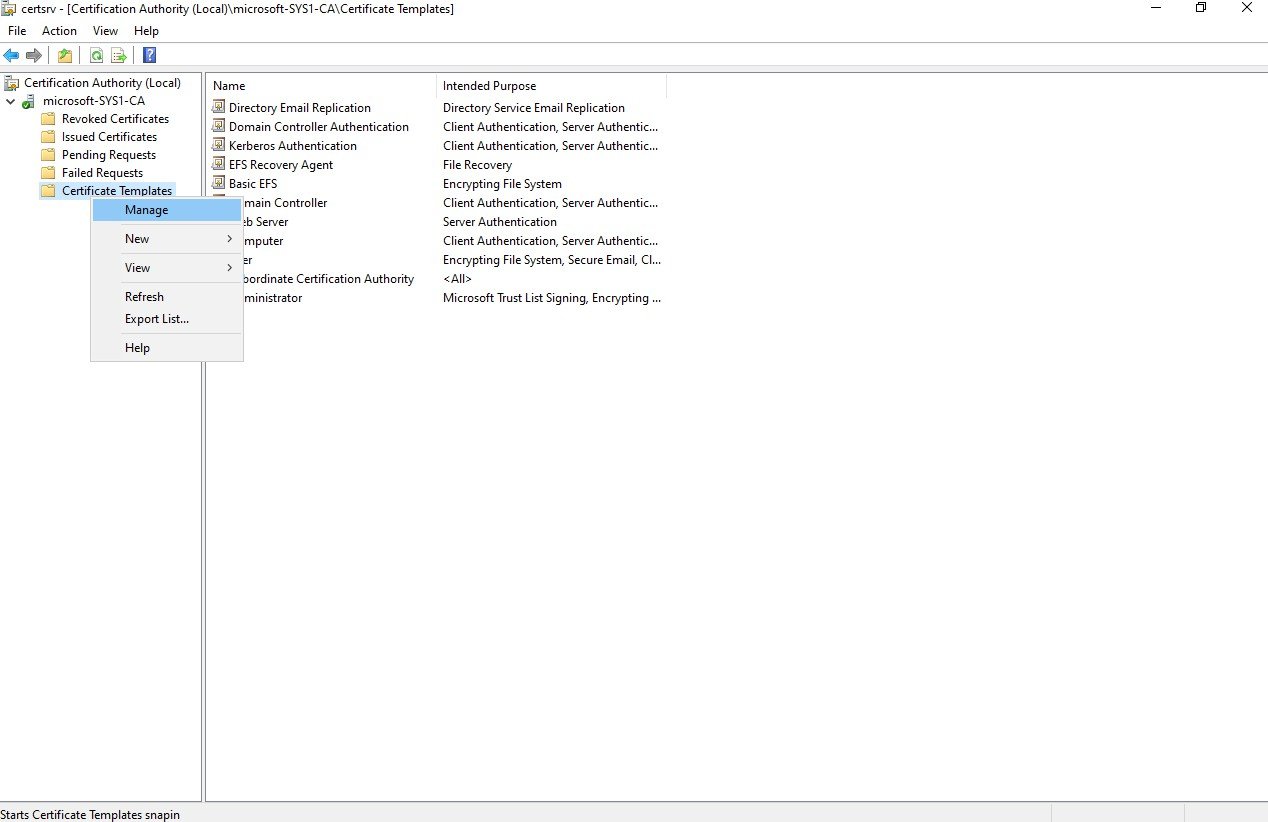
Step 28
Expand Domain (Ex:Microsoft-SYS1-CA) à right click on Certificate Templates à click Manage
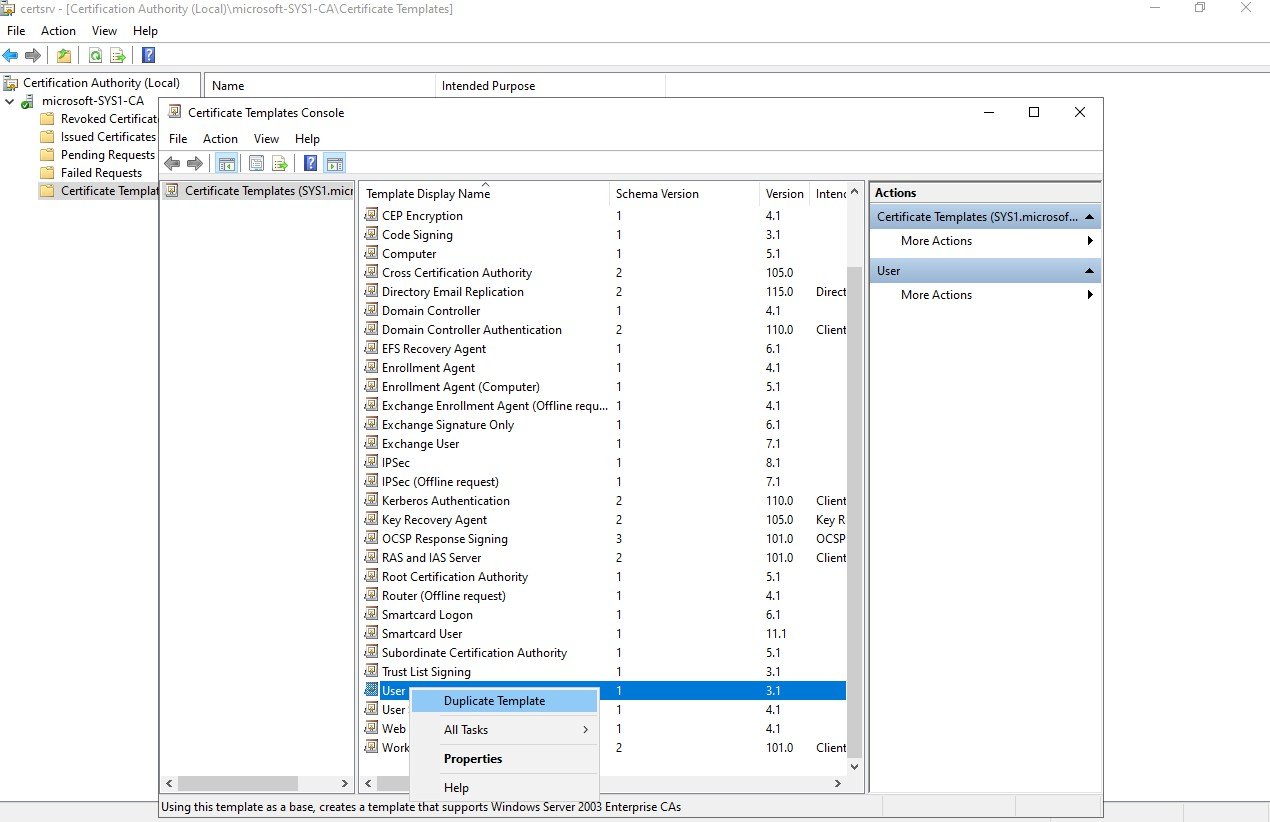
Step 29
Right click on User à click Duplicate Template
Step 30
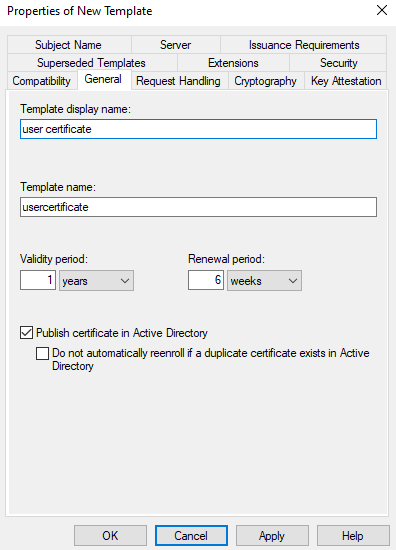
Click General à Enter template display name (Ex: User Certificate) à check the box Do not automatically reenroll if a duplicate certificate exists in Active Directory.
Step 31
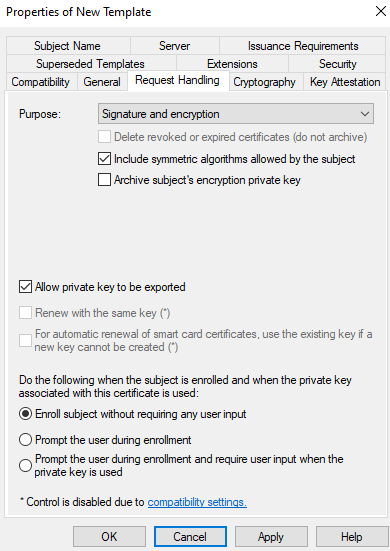
Click Request Handling à Expand Purpose à Select Signature and Encryption
Step 32
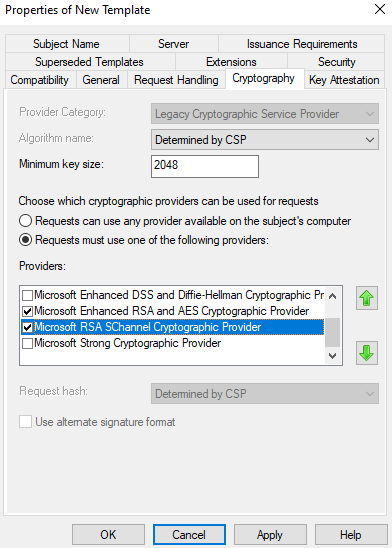
Click Cryptography à check the box Microsoft Enhanced Cryptographic Provider v
Step 1
0 Microsoft Enhanced RSA and AES Cryptographic Provider & Microsoft RSA SChannel Cryptographic Provider
Step 33
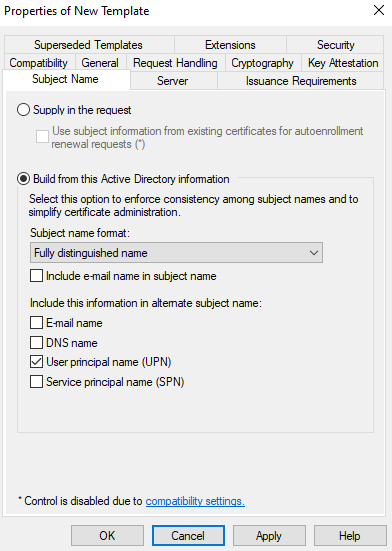
Click Subject Name à uncheck the box Email Name
Step 34
Click Security à select Domain Users à check the box Read, Enroll & Auto enroll àclick Apply à click Ok

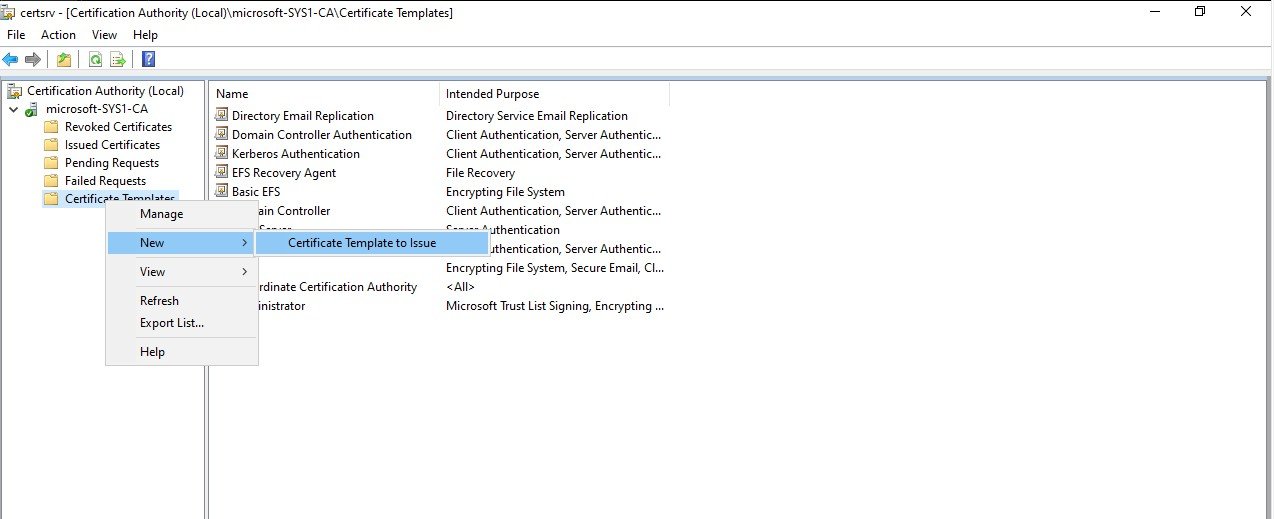
Step 35
Right click on Certificate Templates à click New à click Certificate Template to Issue
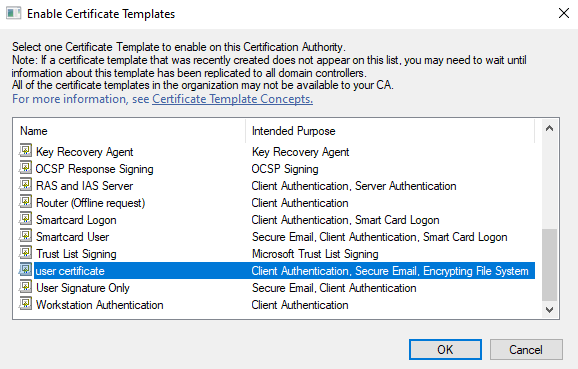
Step 36
Select User Certificate à click Ok
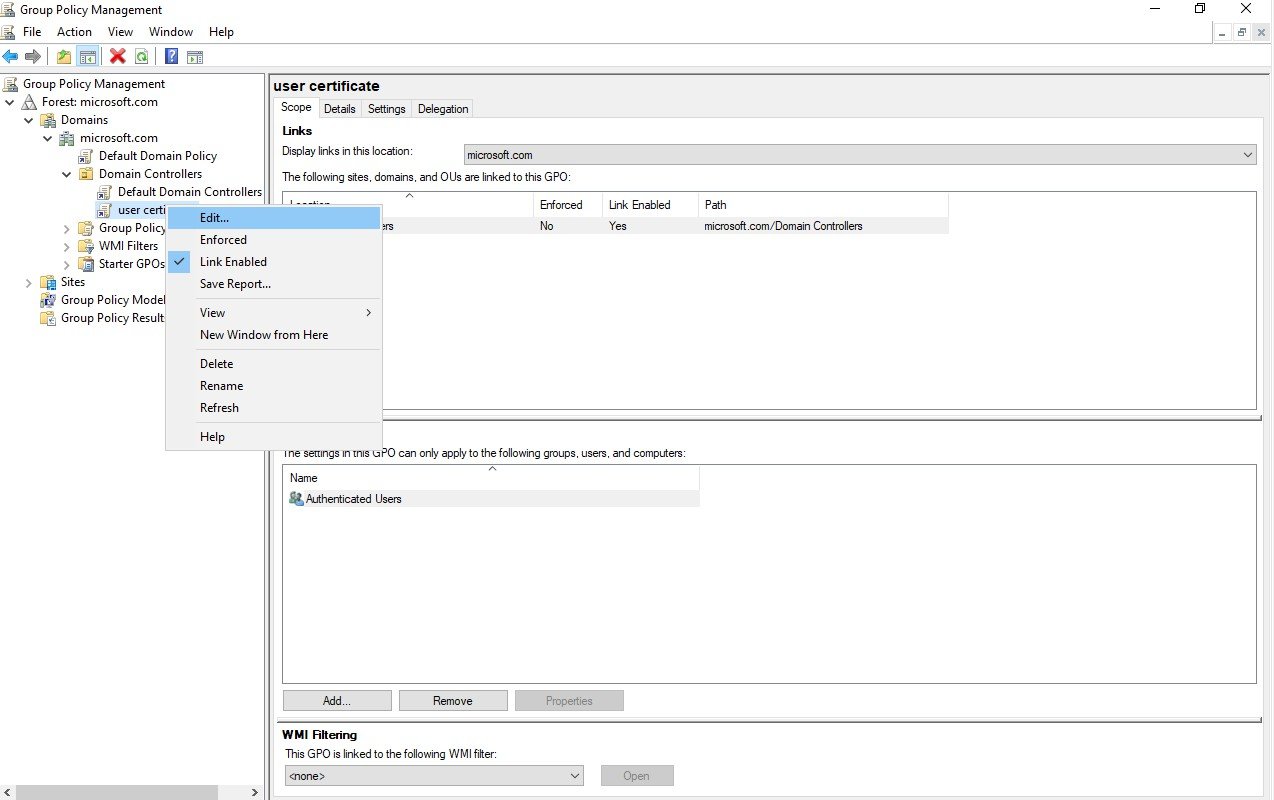
Step 37
Go to Group Policy à expand Forest à expand Domains à right click on Domain Name (Ex:Microsoft.com) à create a GPO (Ex:User Certificate) à right click on GPO (Ex:User Certificate) à click Edit
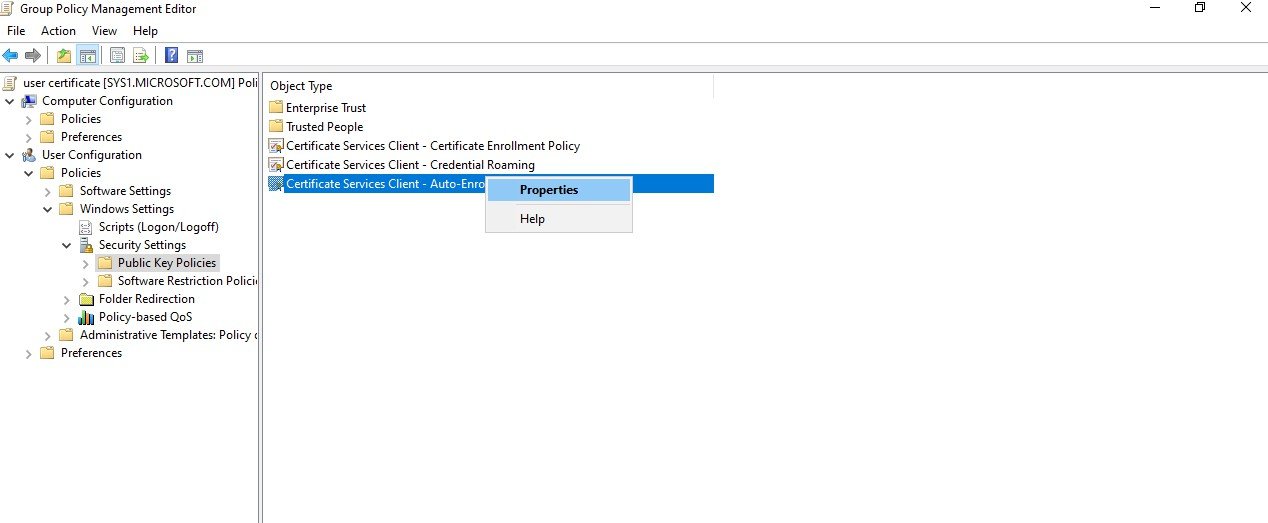
Step 38
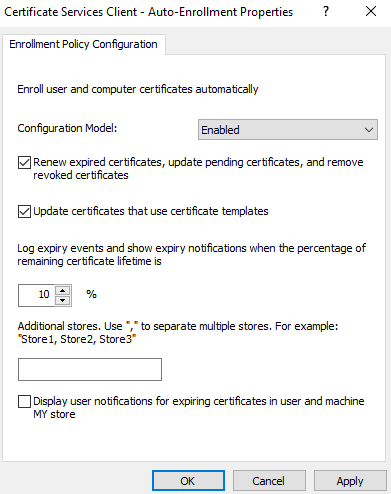
Expand User Configuration à expand Policies à expand Windows Settings à expand Security Settings à select Public Key Policies à right click on Certificate Services Client-Auto Enrollment à click Properties
Step 39
Expand Configuration Model à click Enabled à check the box Renew expired certificates à check the box Update certificates that use certificate templates à click Apply à click Ok
Step 40
Open Command Prompt à type gpupdate
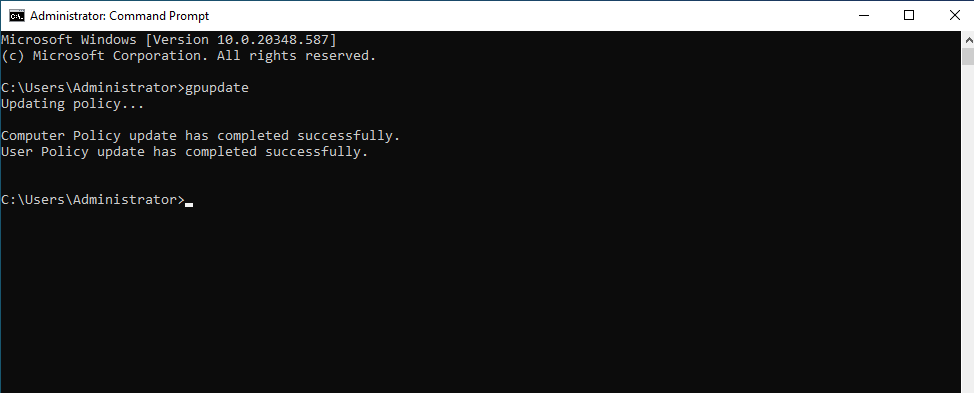
Step 41
In Command Prompt à type certutil -pulse
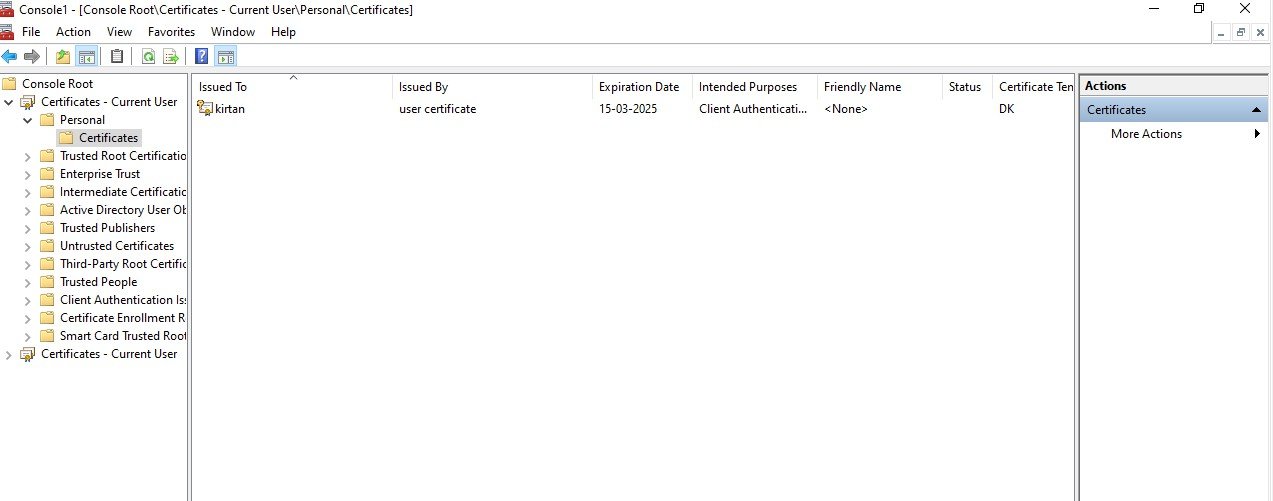
Verification
- 1. Logon to Member Server as User (EX:User1)
- 2. Go to MMC Console
- 3. Click File à click Add/Remove Snap
- 4. Select Certificates à select Certificates-Current User à click Ok
- 5. Expand Certificates à expand Personal à select Certificates & verify the certificate
- issued to User1