Prerequisites
- Before working on this lab, You must have
- A computer running windows server 2022 Domain Controller.
- A Member Server running windows server 2022 or Client Running Windows 10.
- Installing Windows Server Backup
Network Topology

Step-by-Step Instructions
Step 1
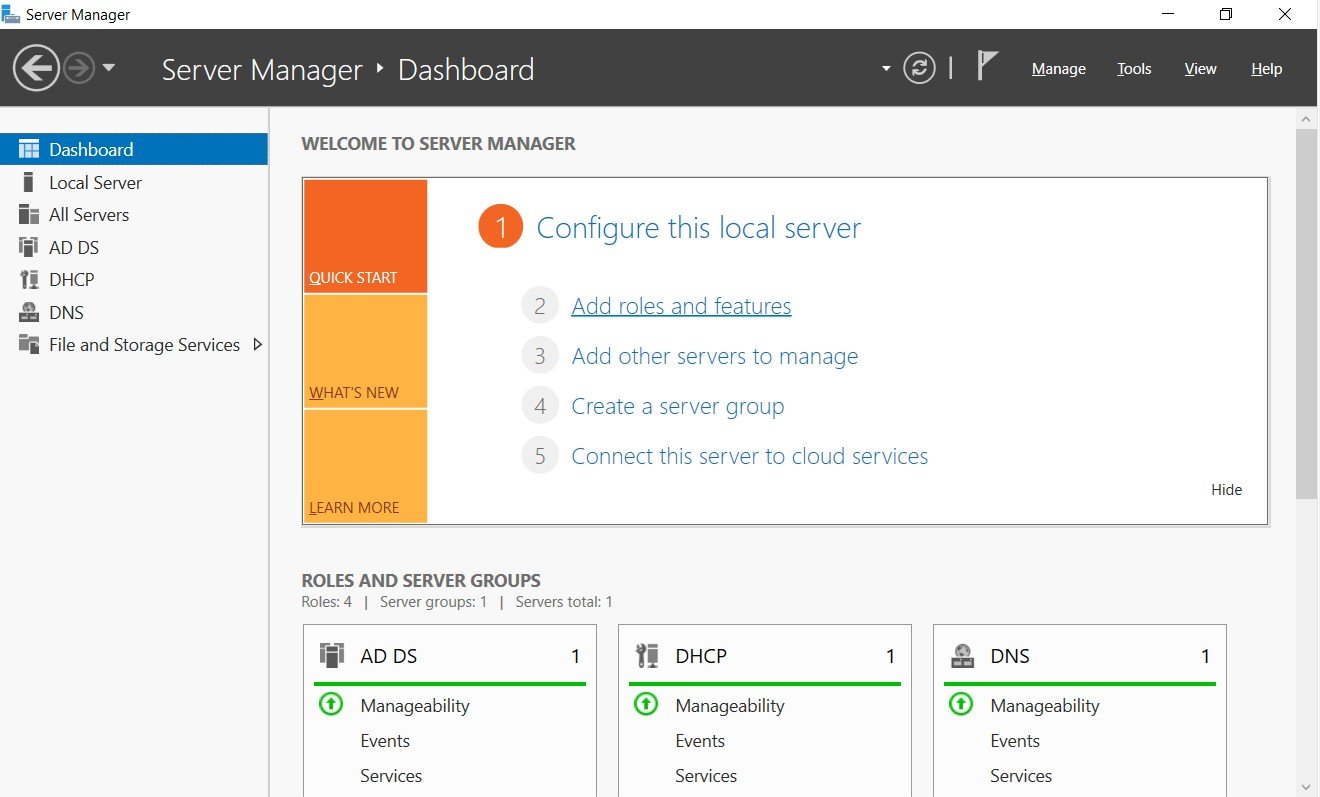
Login as Administrator, go to Server Manager Dashboard and click Add roles and features.
Step 2
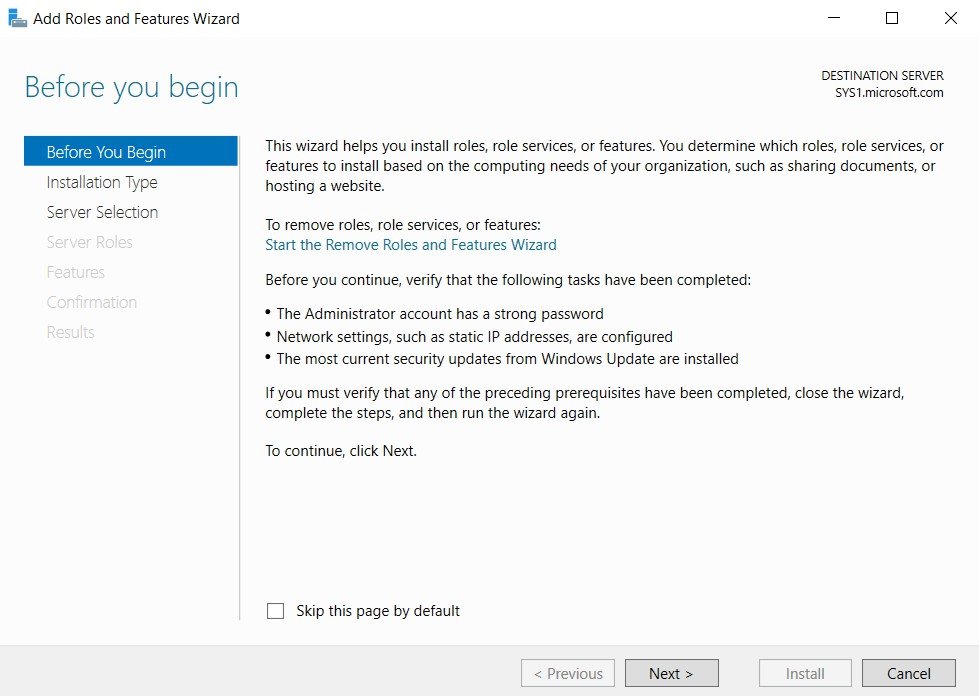
In Before you begin page, click Next.
Step 3
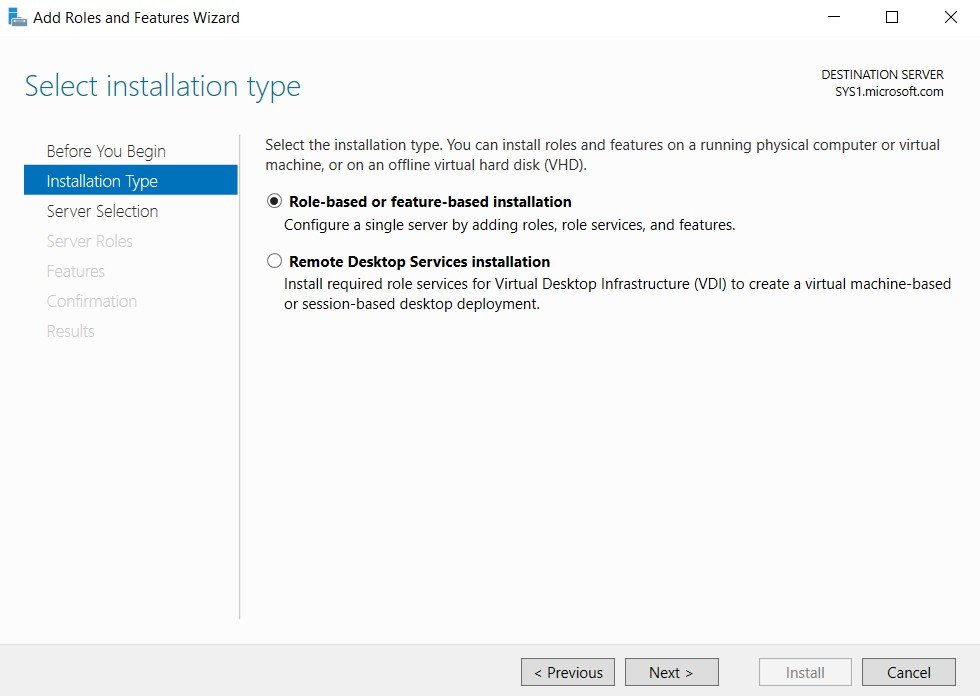
Select Role-based or feature-based installation, click Next.
Step 4
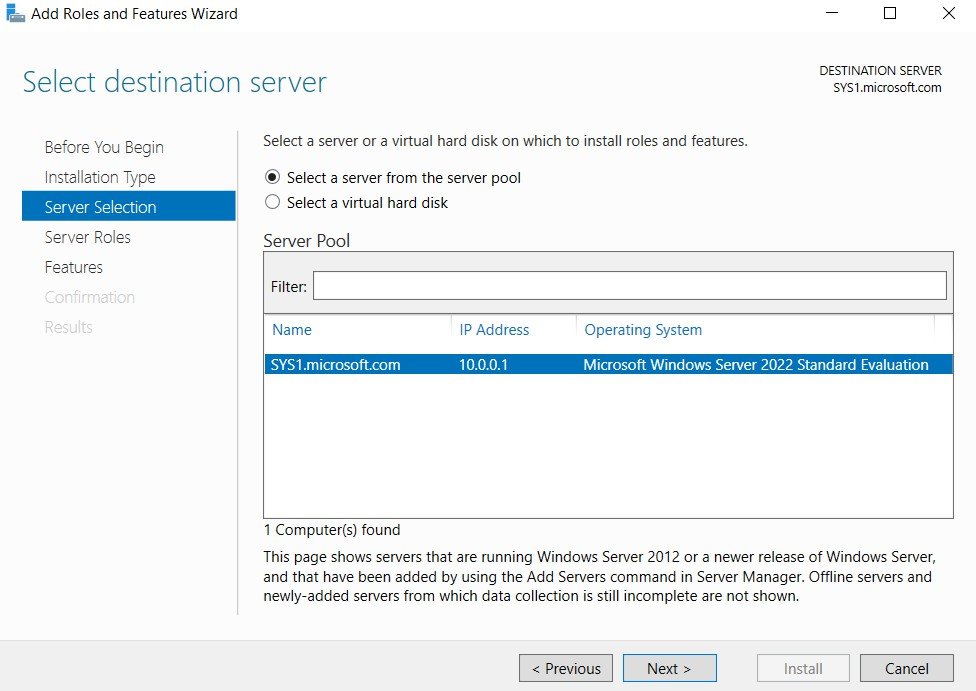
In Select destination server page, select a server (SYS1.Microsoft.com) from the server pool and click Next.
Step 5
In Select server roles page, click Next.
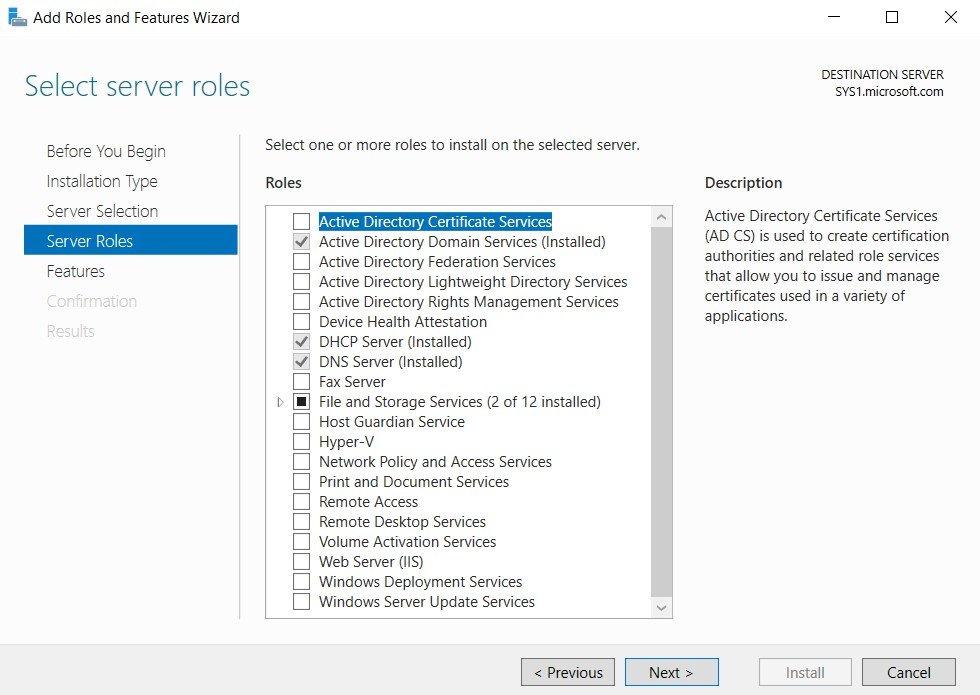
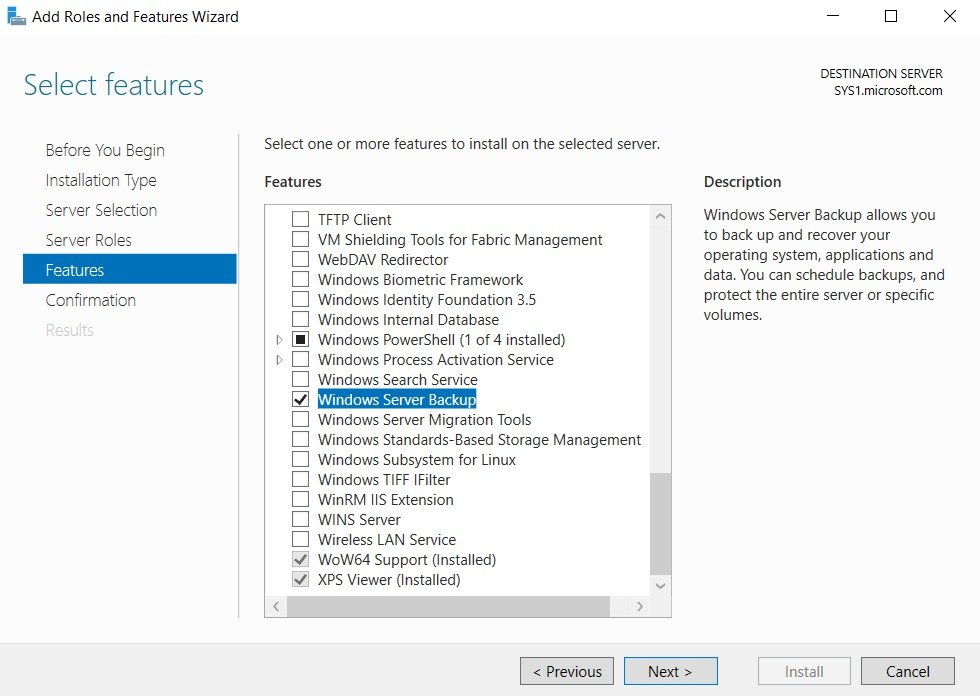
Step 6
In Select features page, check the box Windows Server Backup and click Next.
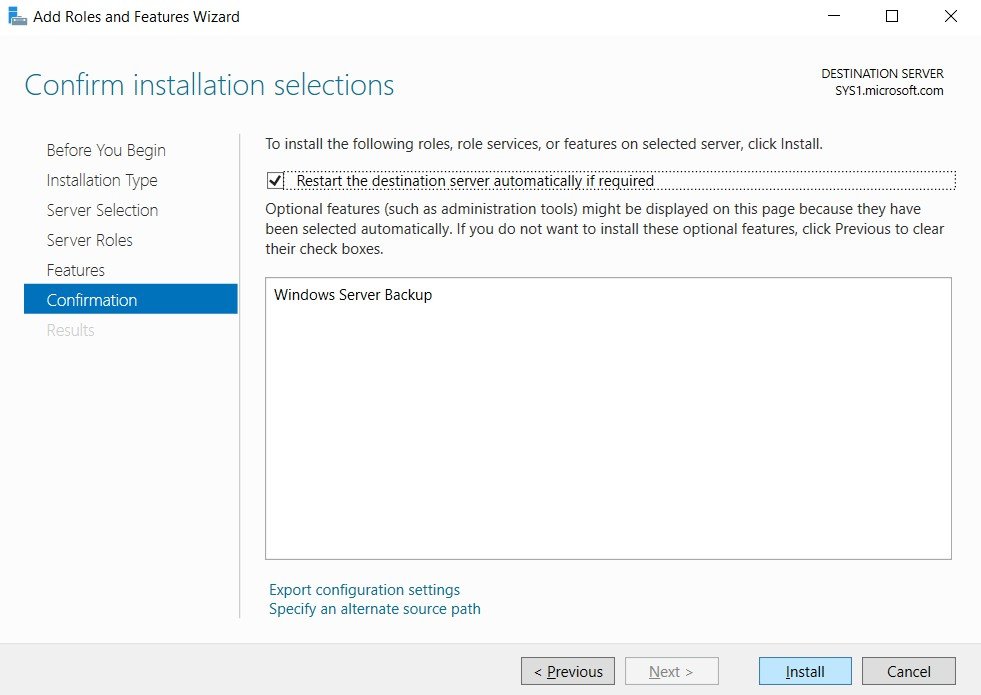
Step 7
Check box Restart the destination server automatically if required, click Install.
Step 8
Click Close to complete the feature installation. How to Backup Data using Windows Server Backup
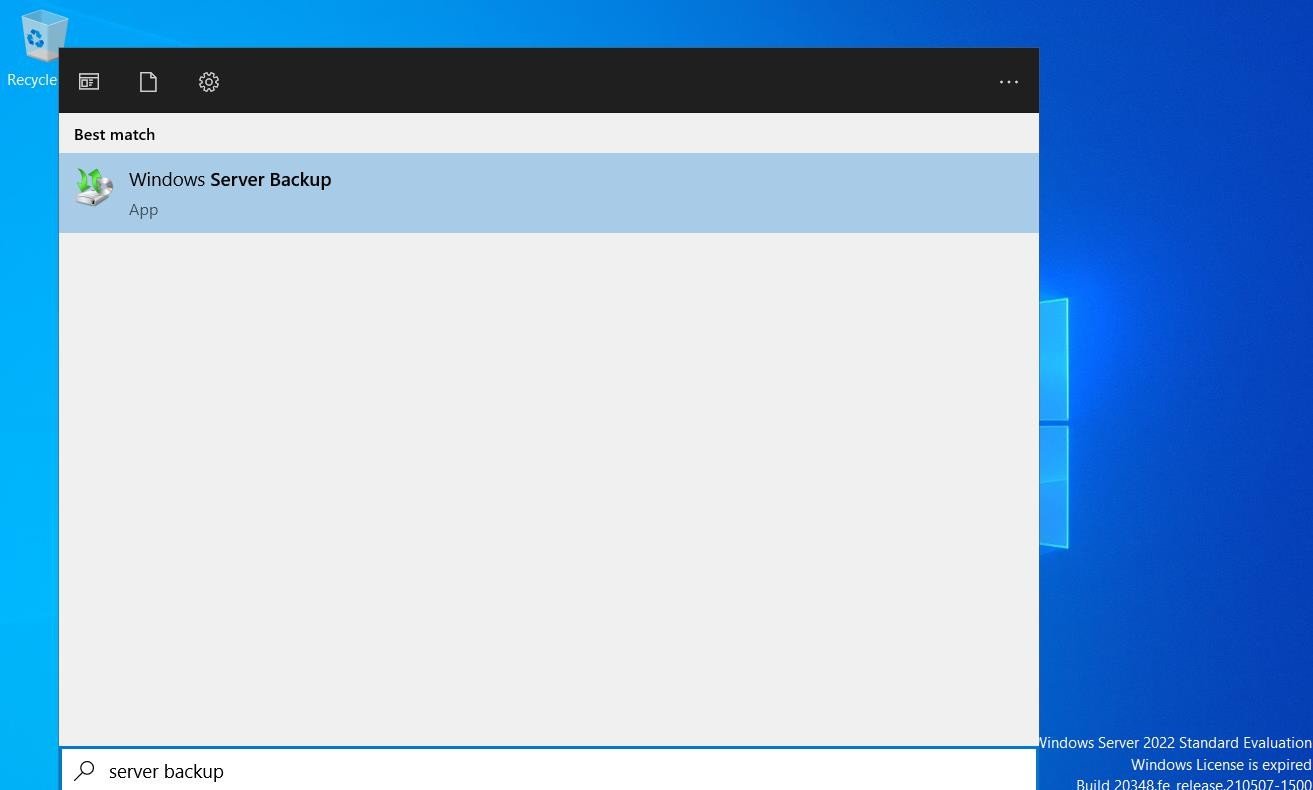
Step 1
Go to Start, type Windows Server Backup in Search Apps, select Windows Server Backup.
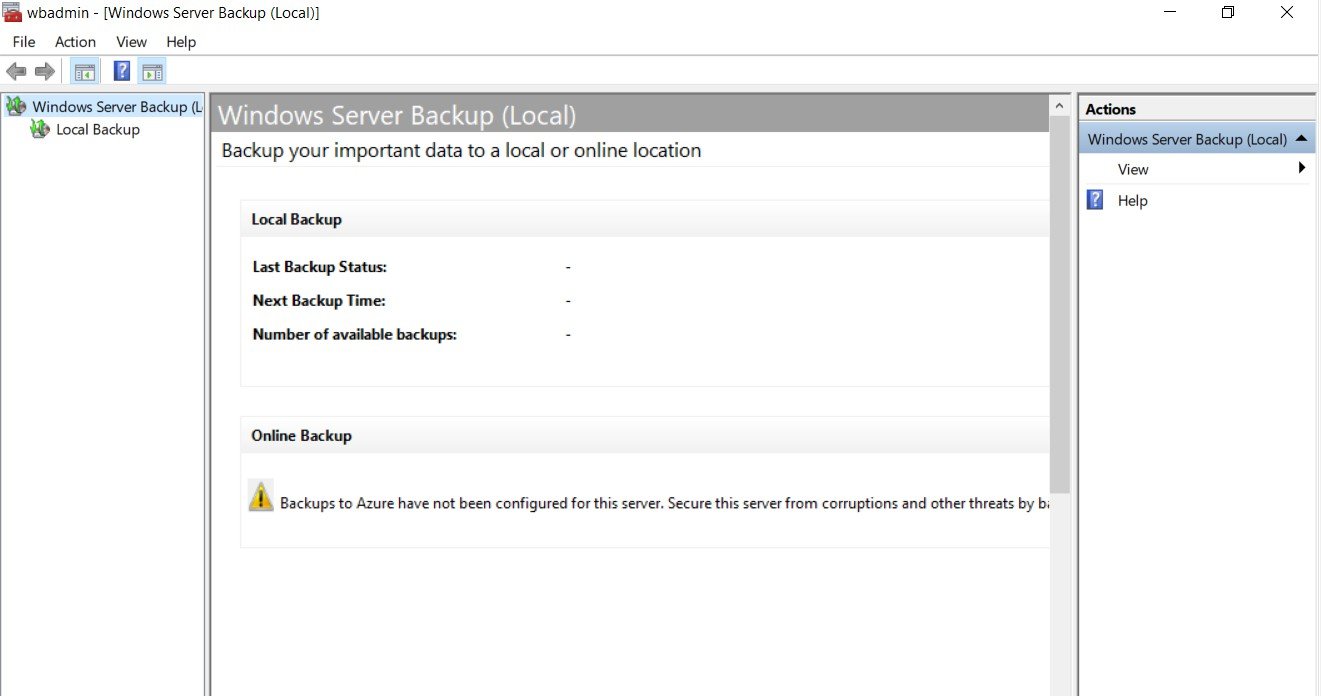
Step 2
Select Windows Server Backup, (or) to use online backup click Continue under Online backup.
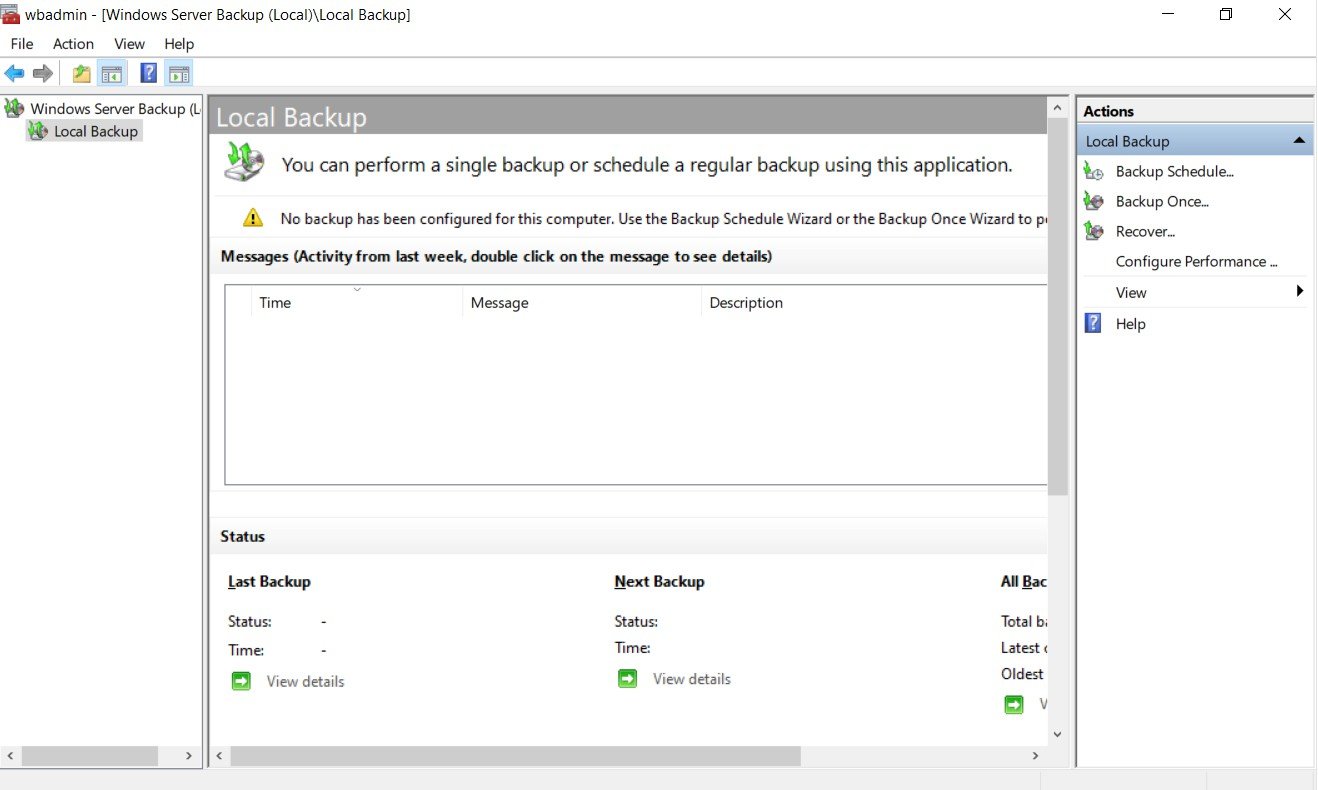
Step 3
Select Local Backup, and click Backup Once.
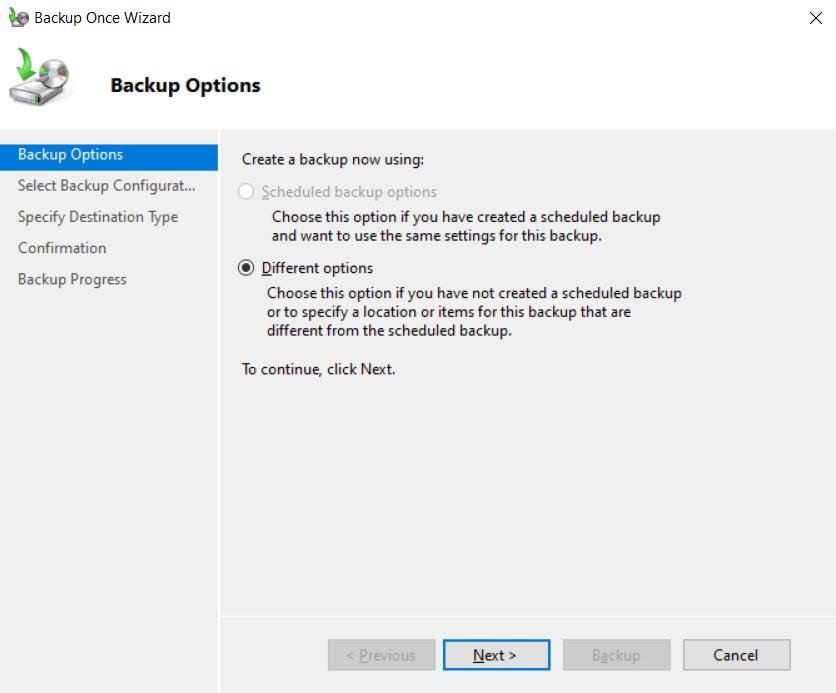
Step 4
Select Different Options, click Next.
Step 5
Select Custom, click Next.

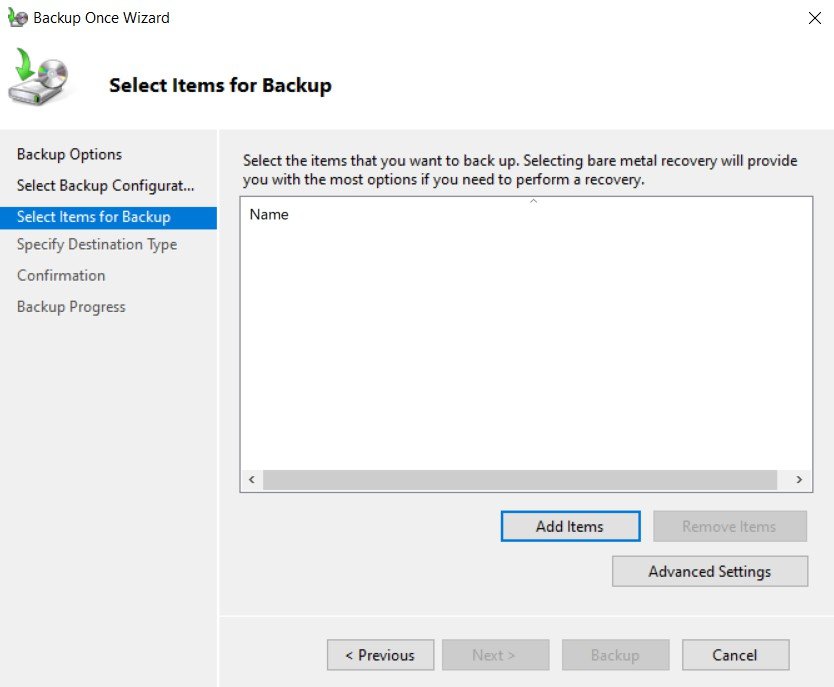
Step 6
In Selects items for Backup, click Add Items.
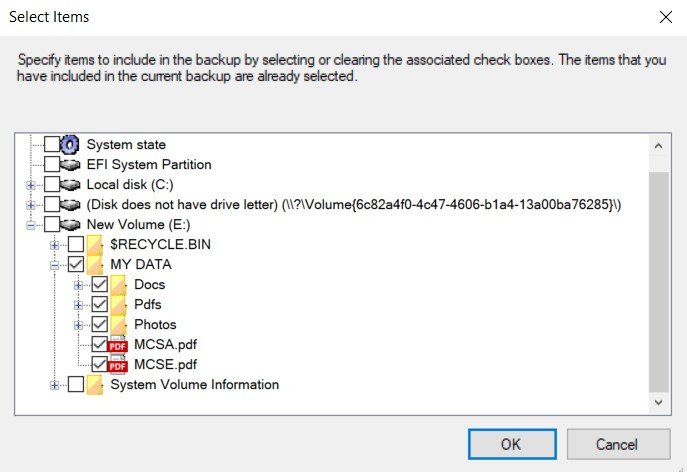
Step 7
In Select Items window, check the box “MY DATA” folder, click OK.
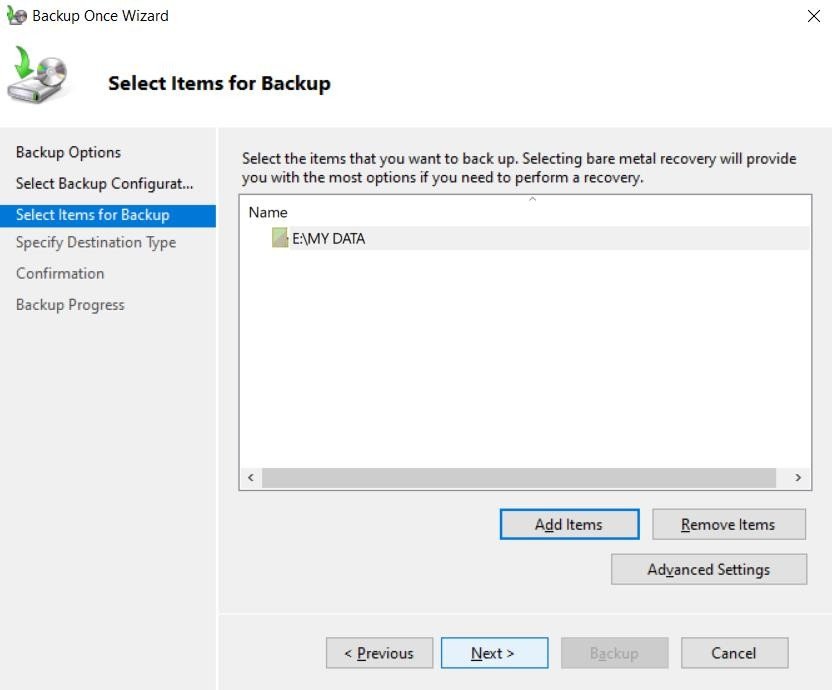
Step 8
In Select Items for Backup page, click Next.
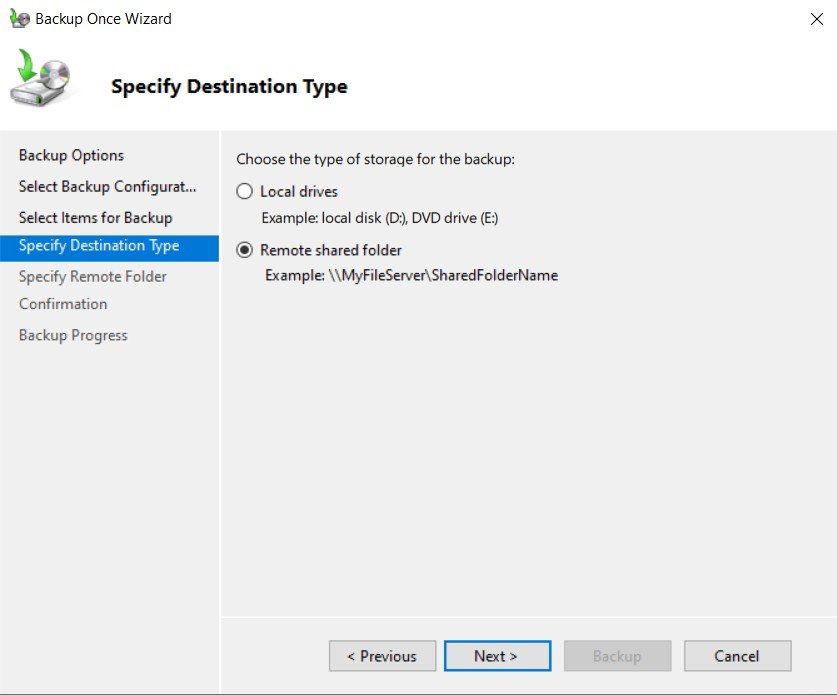
Step 9
In Specify Destination Type page, select Remote shared folder, click Next.
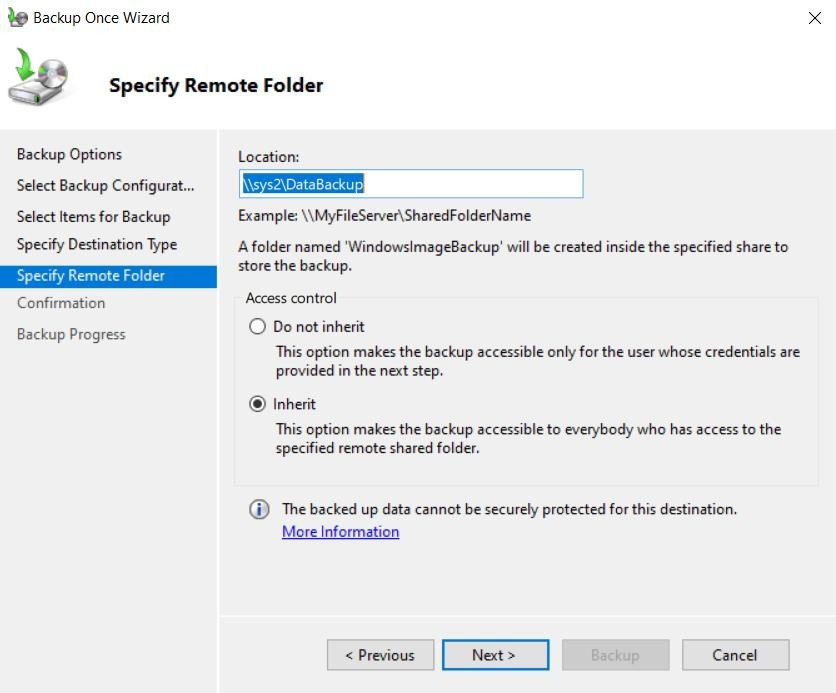
Step 10
In Specify Remote Folder, Enter Location:\\PC_name\Shared_folder (\\sys2\DataBackup), click Next.
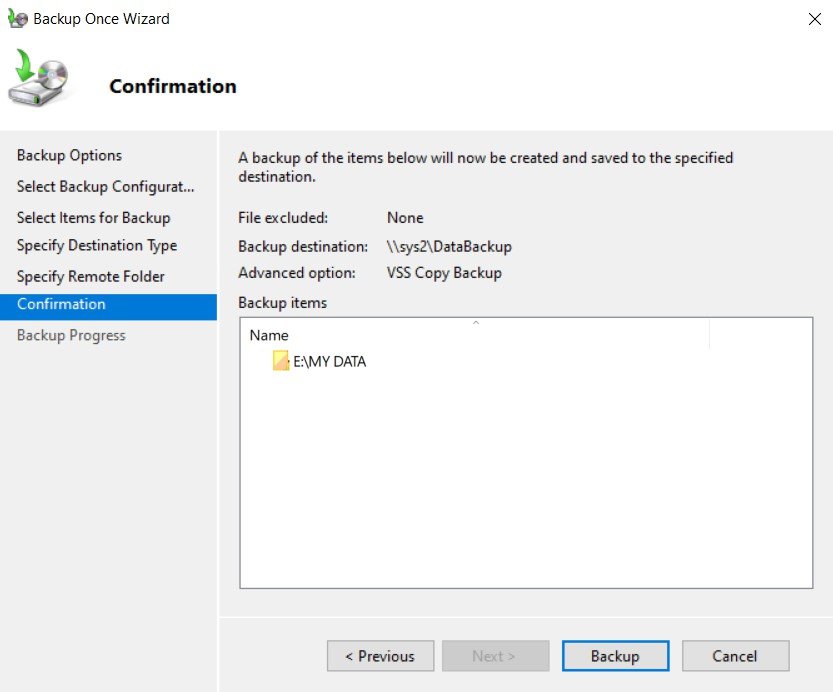
Step 11
In Confirmation page, click Backup.
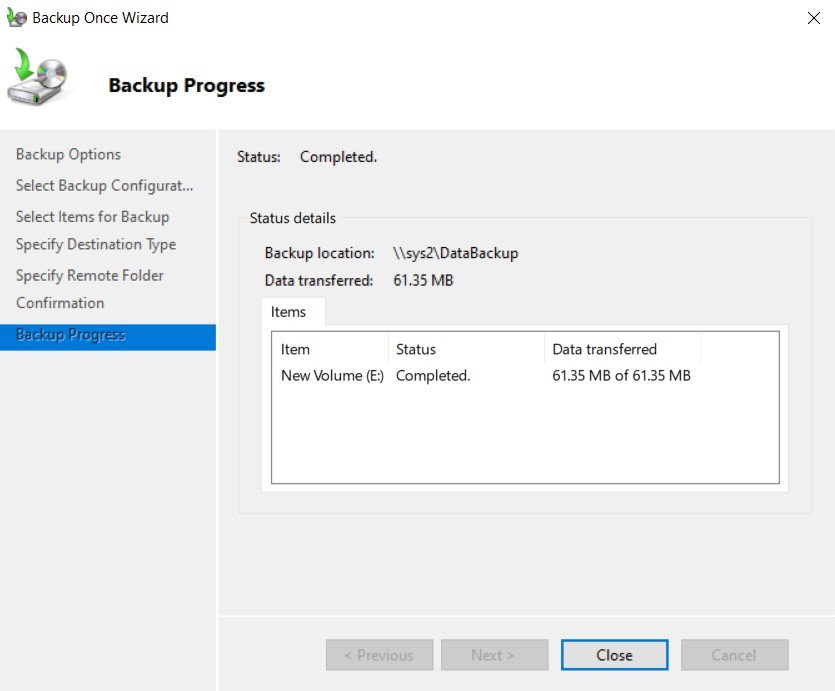
Step 12
Finally click Close. How to Recover the Data from Backup File
Step 1
Before Restoration, go to the drive and delete the data. (only for Lab purpose)
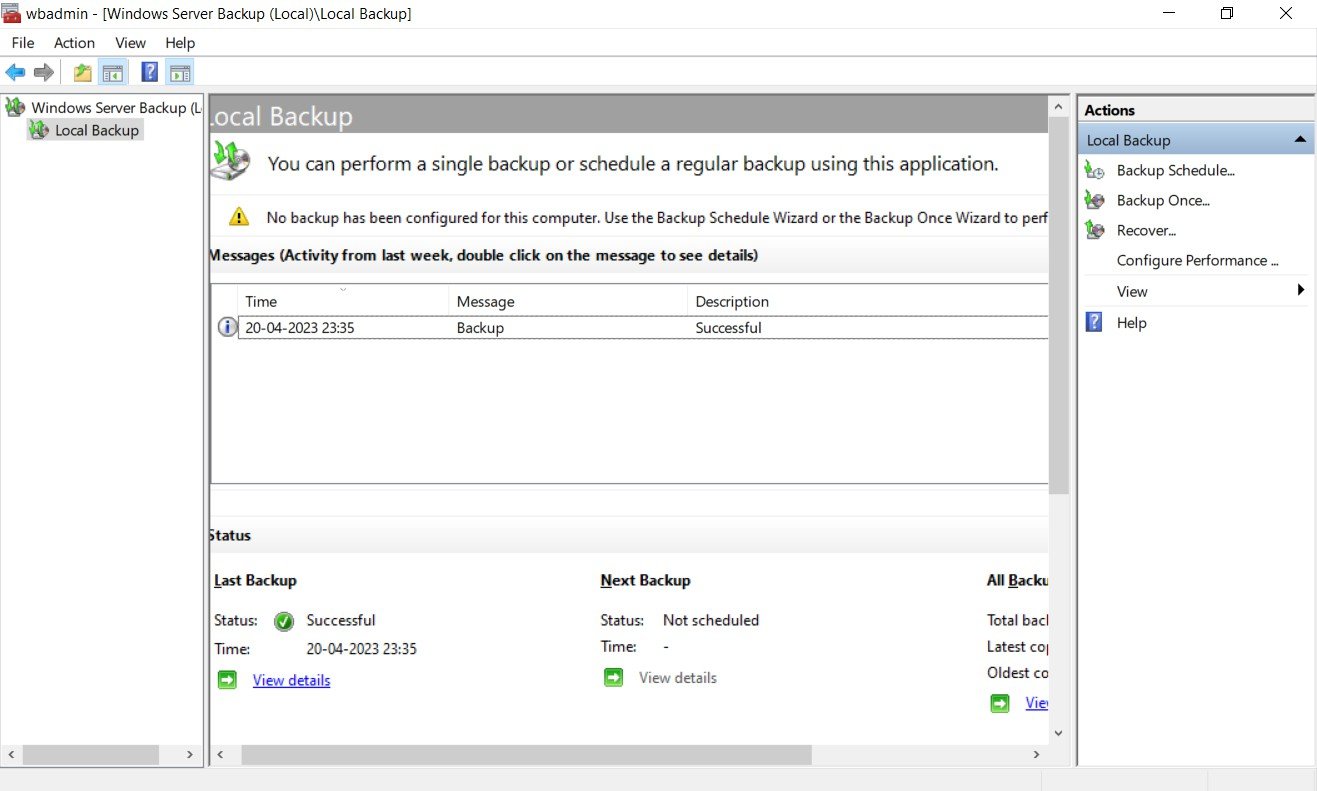
Step 2
Go to Windows Server Backup, select Local Backup, and click Recover.
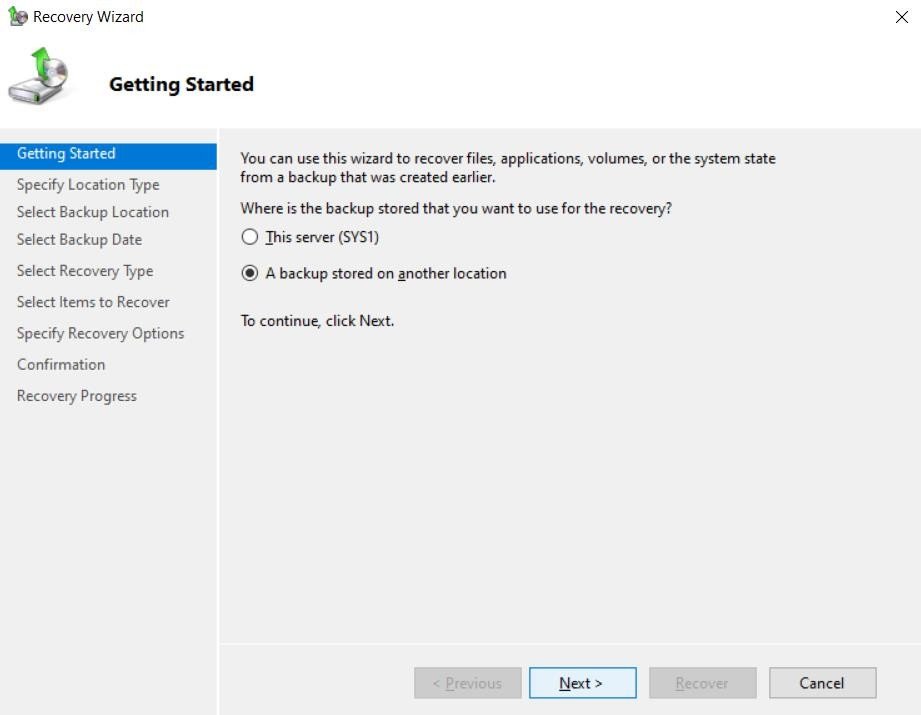
Step 3
In Getting Started page, select A backup stored on another location, click Next.
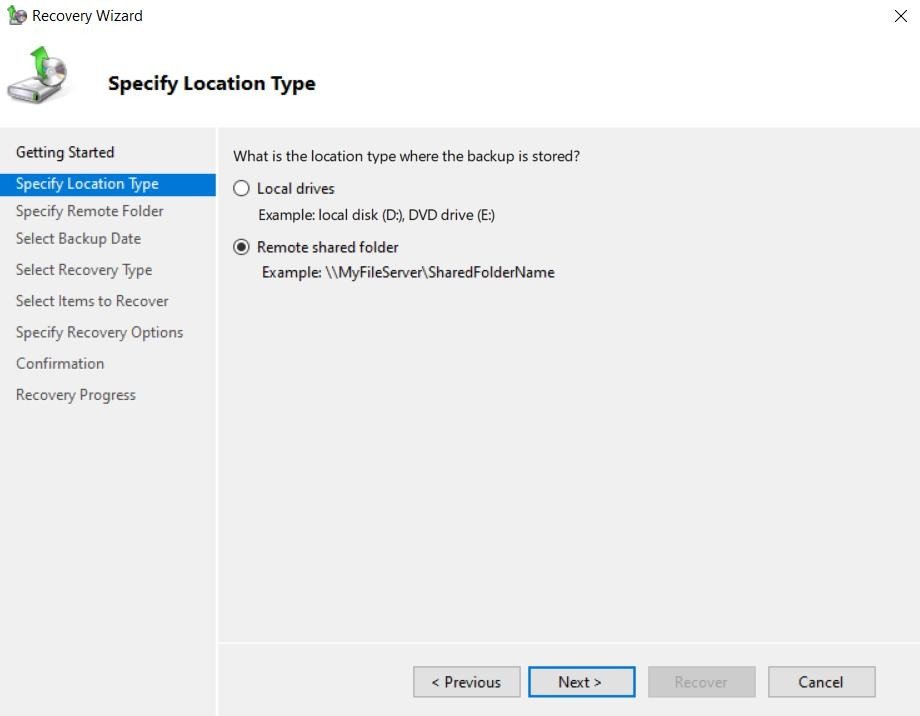
Step 4
In Specify Location Type page, select Remote shared folder, click Next.
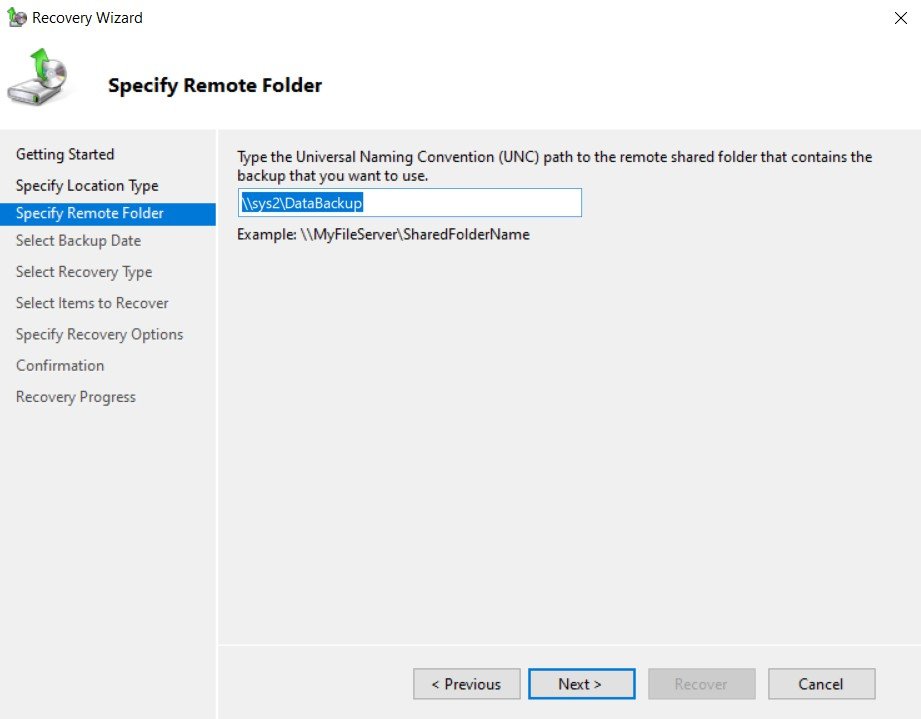
Step 5
In Specify Remote Folder, Enter Location:\\PC_name\Shared_folder (\\sys2\DataBackup), click Next.
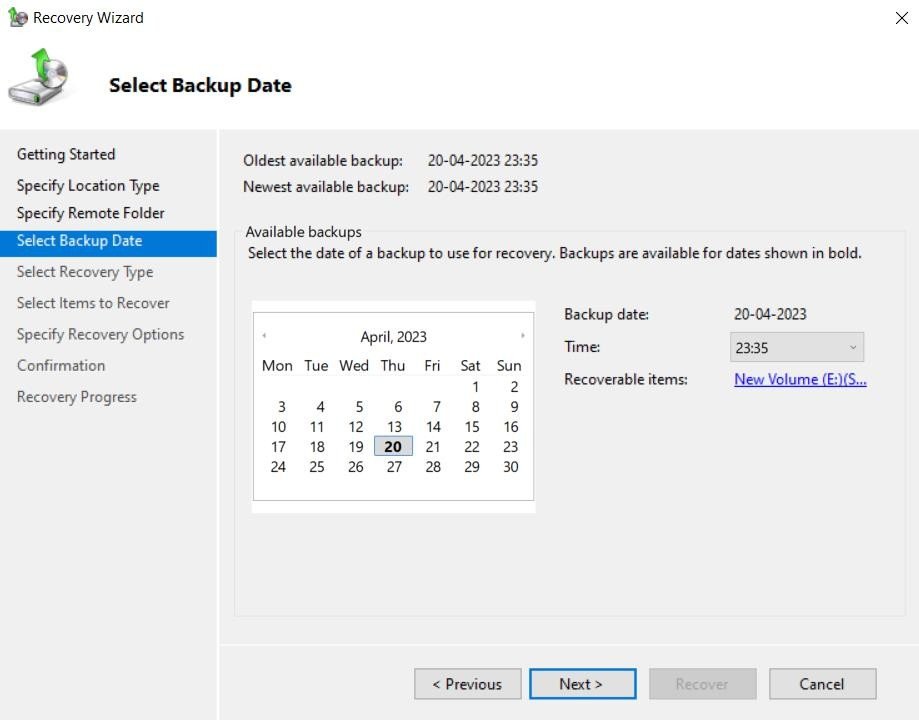
Step 6
Select Date and Time of the Backup file to be restored, click Next.
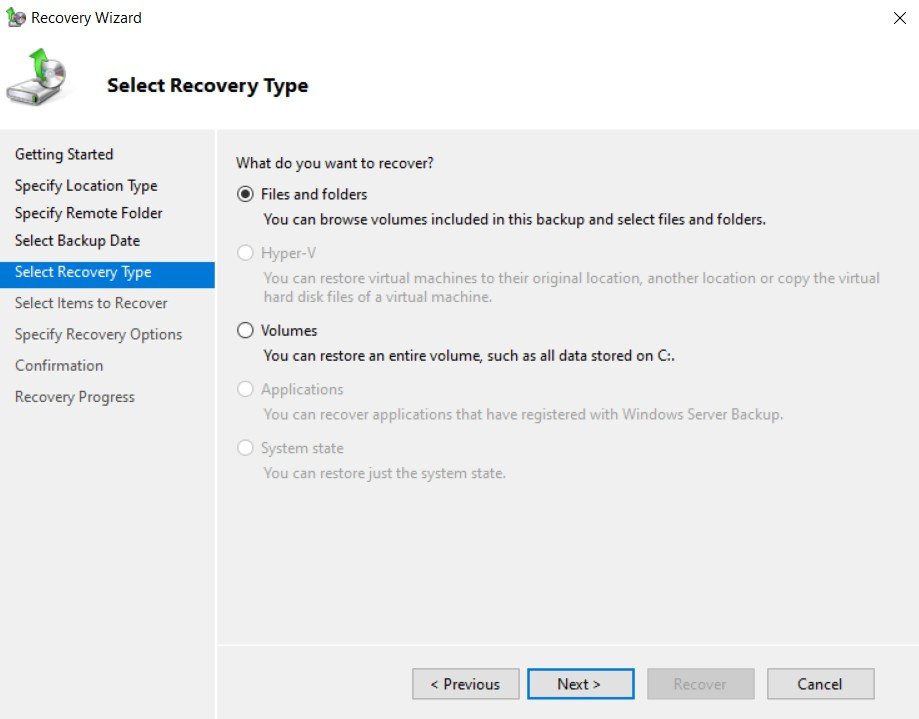
Step 7
In select Recovery Type, select Files and folders, click Next.
Step 8
Select the folder or files to be recovered and click Next.

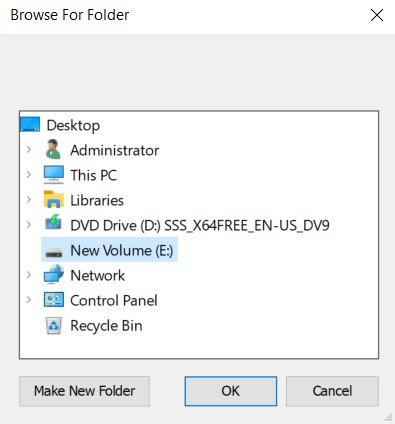
Step 9
Select Another location, click Browse.
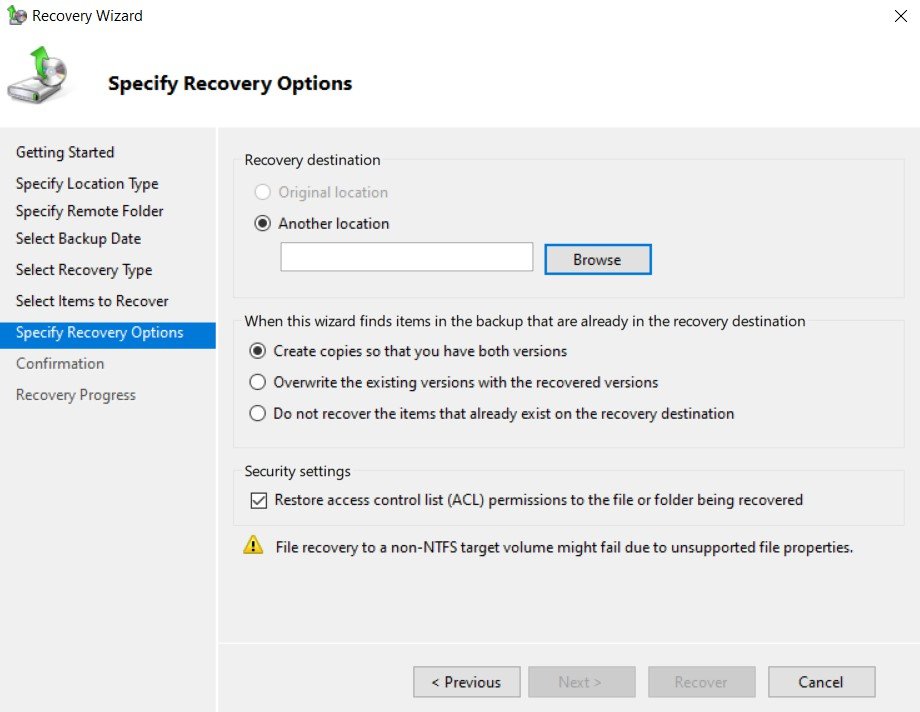
Step 10
Select Drive for recovered Data, Click Next.
Step 11
In Confirmation page, click Recover.
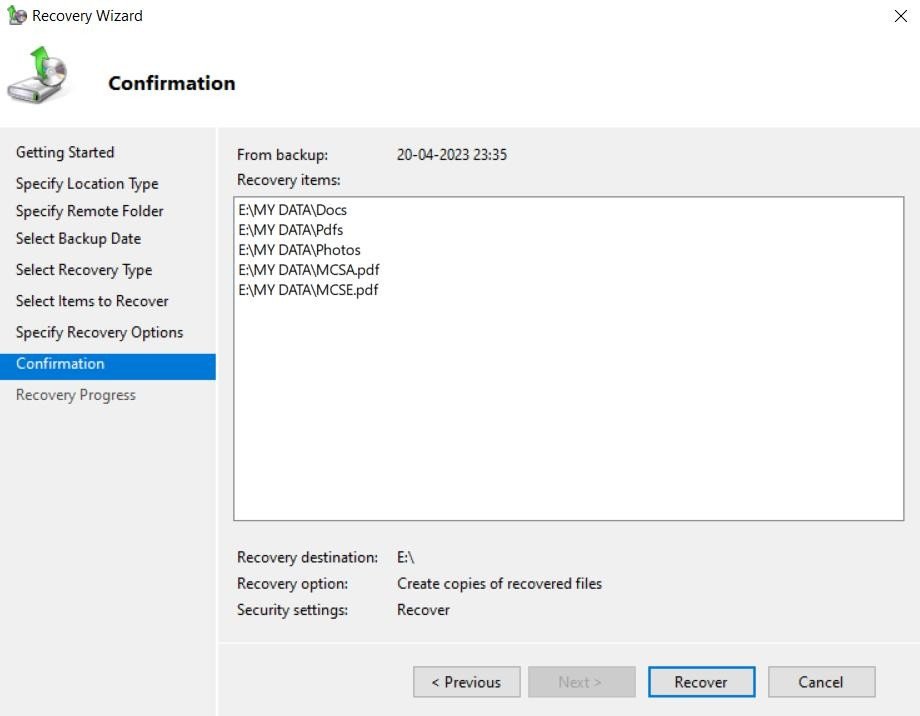
Step 12
Click Close.

Verification
- 1. Go to the drive and verify for the folder and files.