Prerequisites
- Before working on this lab, You must have
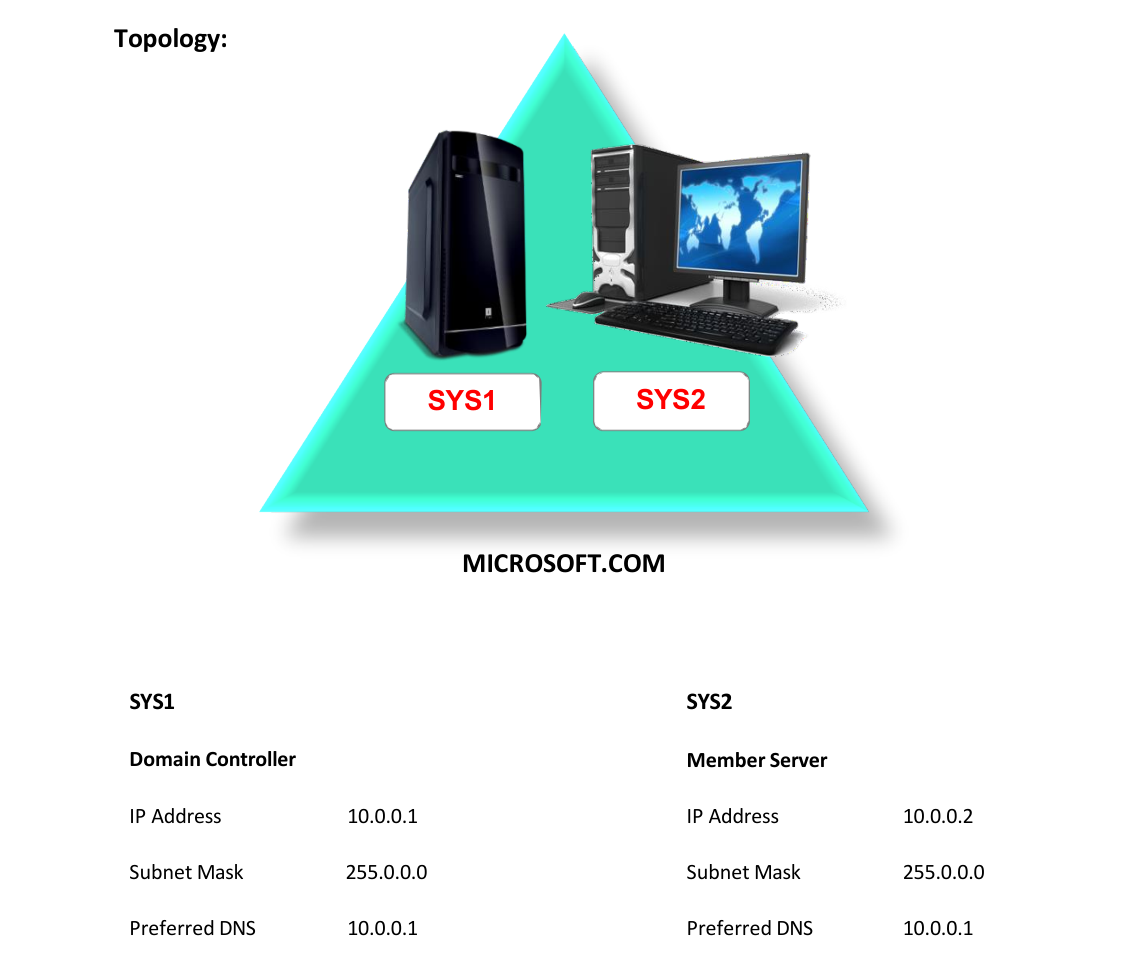
- A computer running windows 2022 server Domain Controller.
- A Member Server running windows 2022.
- Installing Distributed File System (DFS)
Network Topology
Step-by-Step Instructions
Step 1
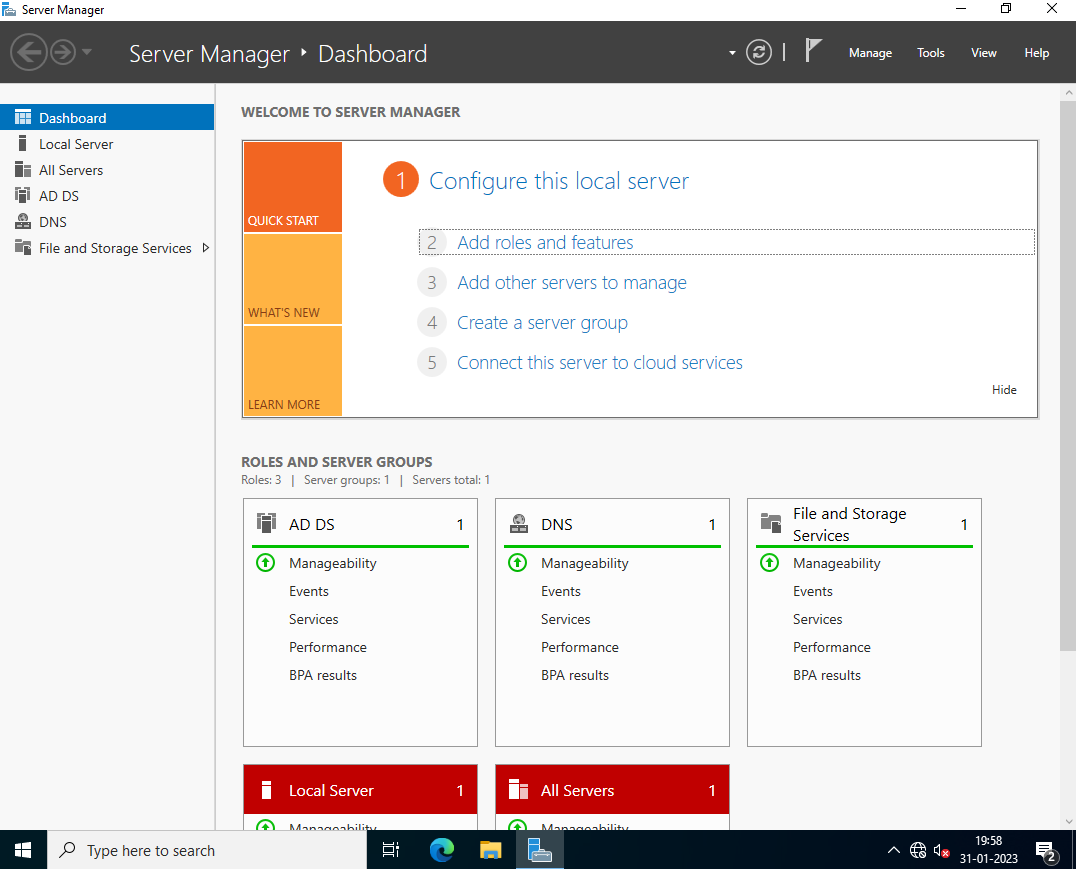
In SYS2 (Member Server), Go to Server Manager. Click Add roles and features.
Step 2
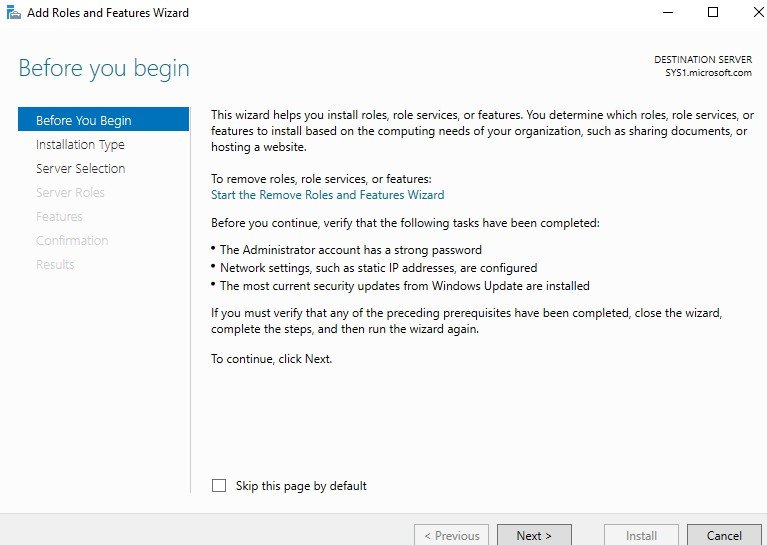
In Before you begin page, click Next.
Step 3
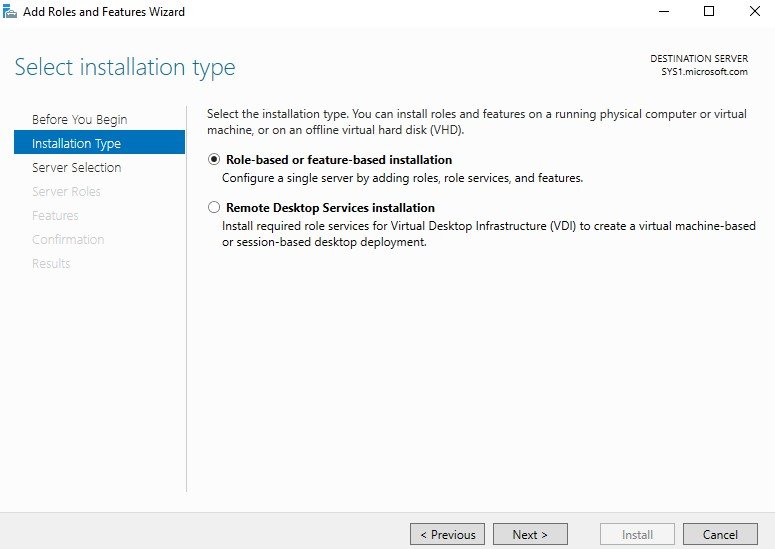
Select Role-based or Feature-based Installation.
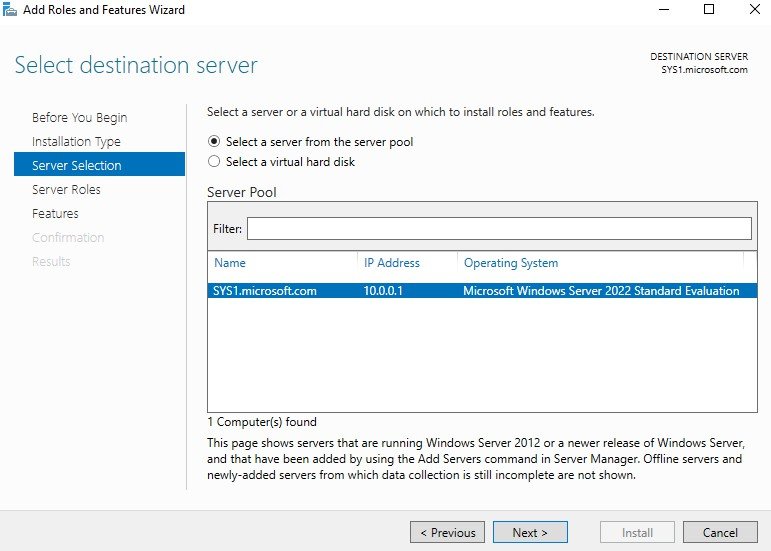
Step 4
In Select destination server, from Server Pool select SYS2.Microsoft.com, click Next.
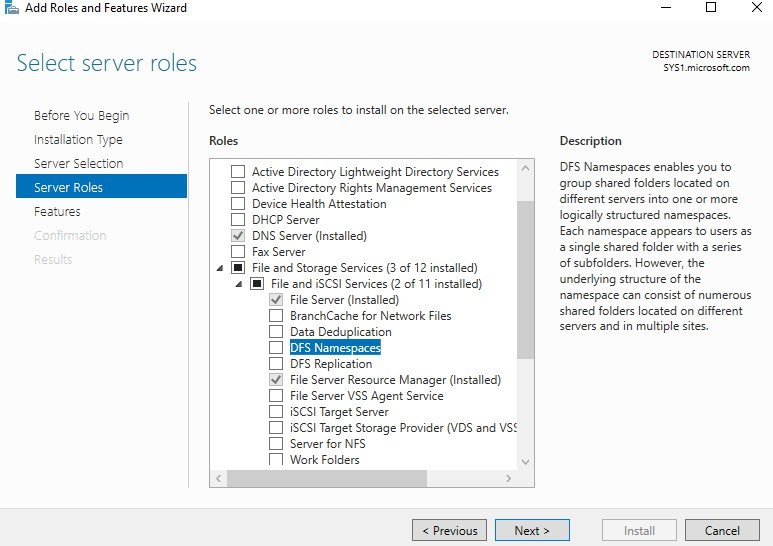
Step 5
Expand File and Storage Services, Expand File and iSCSI Services, check box DFS Namespaces.
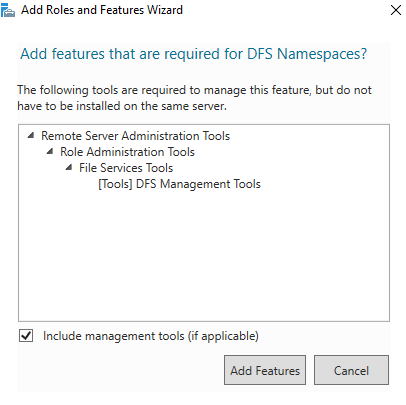
Step 6
Click Add Features, to install the required features for DFS Namespaces, Click Next.
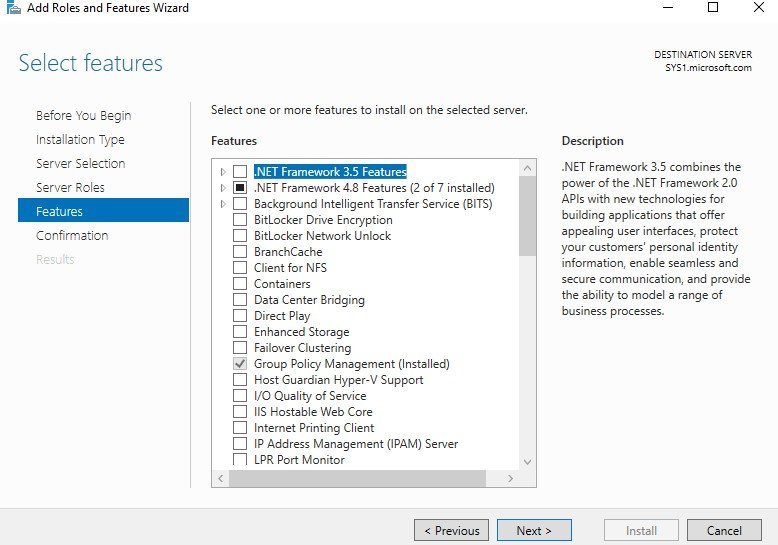
Step 7
In Select features wizard, click Next.
Step 8
Check the box Restart the destination server automatically if required. Click Install.
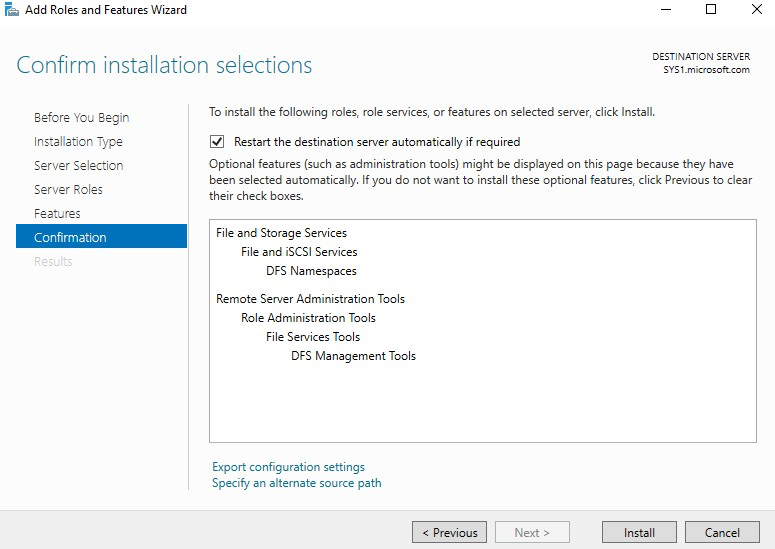
Step 9
Click Close. Configuring Namespace In DFS
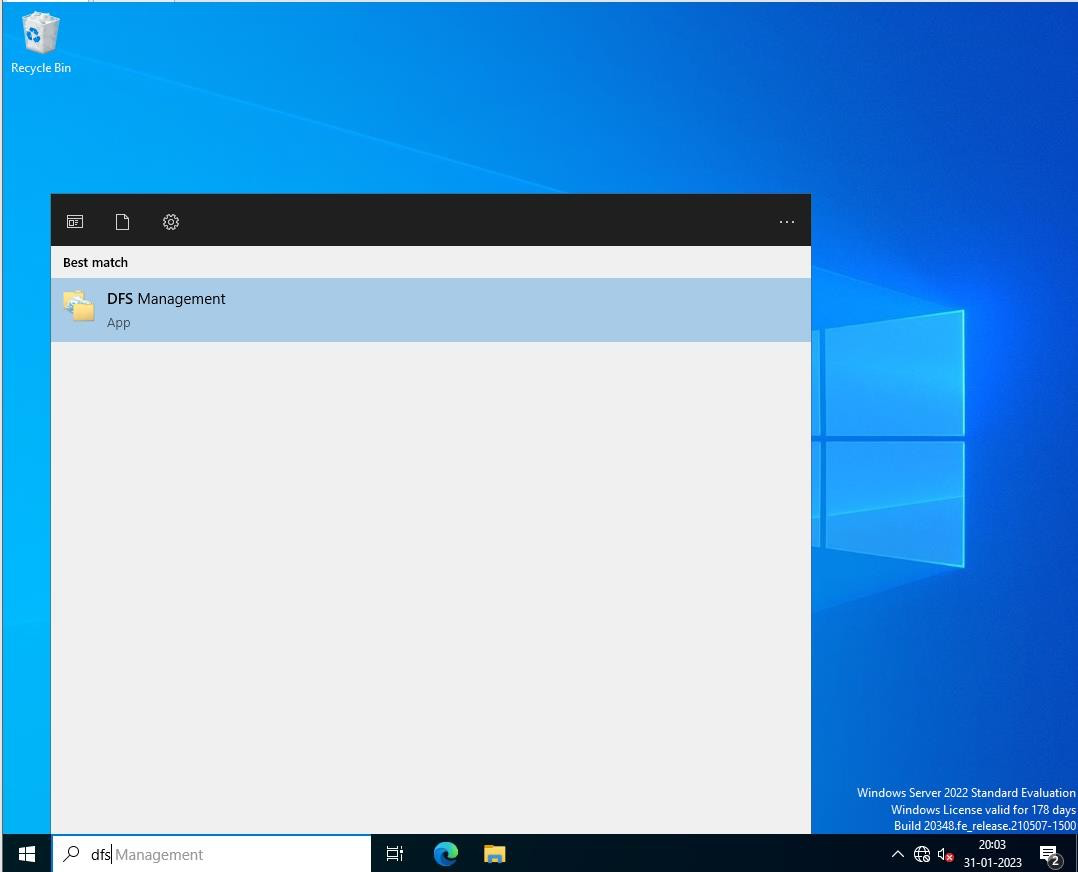
Step 1
In SYS2 (Member Server) Go to Start, select DFS Management.
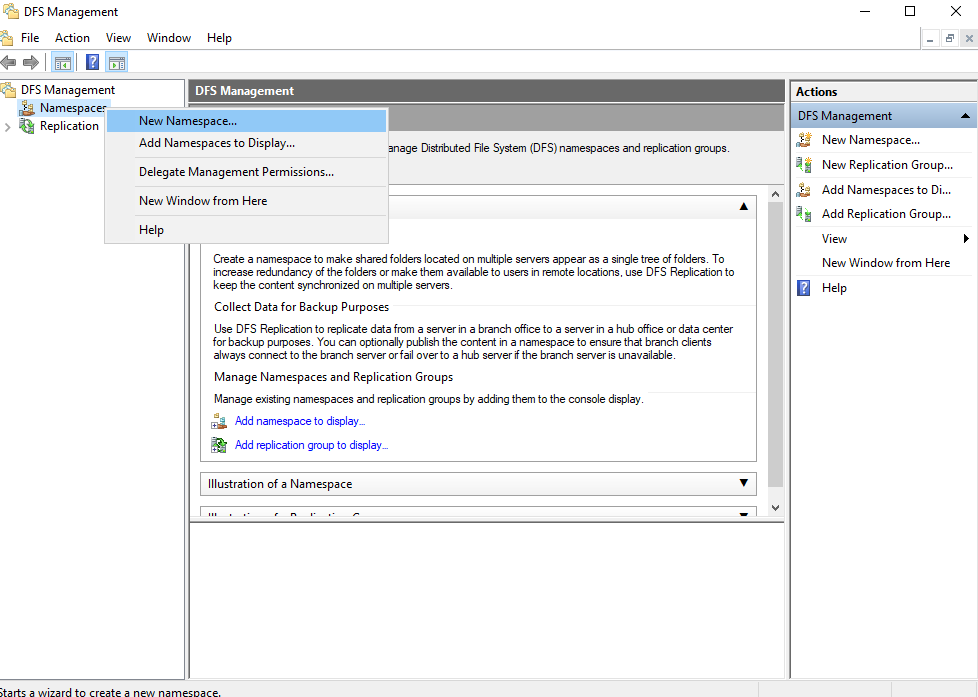
Step 2
Right click Namespaces and Select New Namespace.
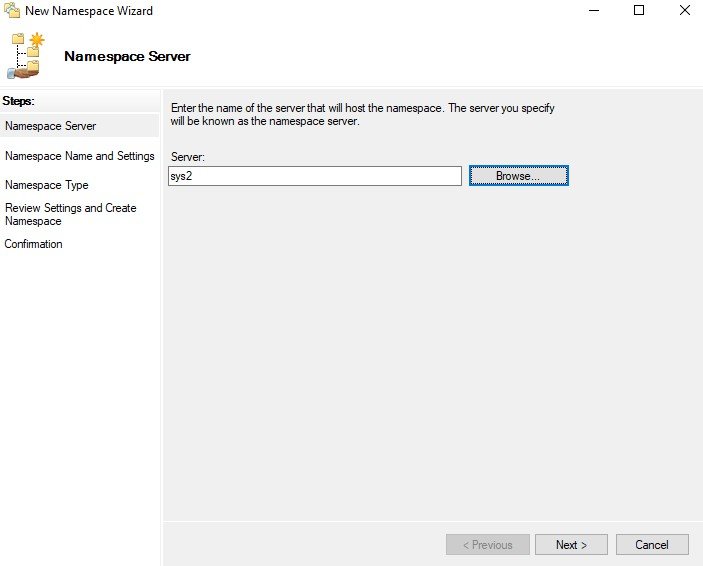
Step 3
Enter the Server Name in which DFS Installed and Select Next.
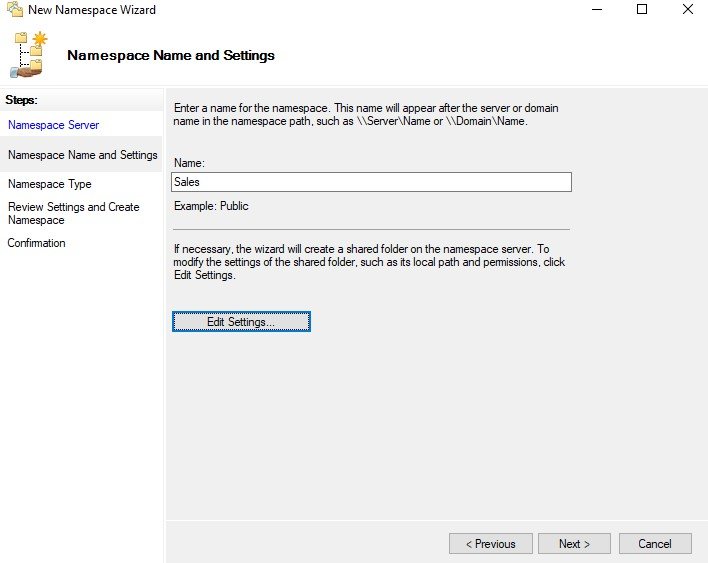
Step 4
Enter Name for the Namespace (Sales) and click Edit Settings.
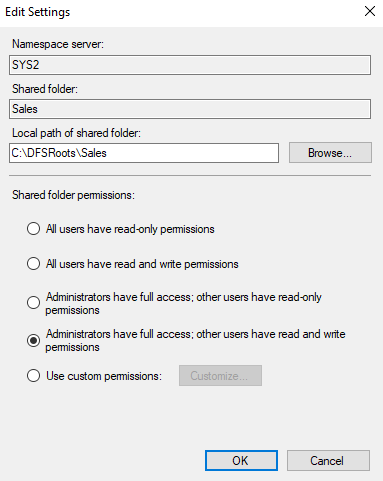
Step 5
Select the Permissions Administrators have full access, other users have read and write permissions, and click Next.
Step 6
Select Domain Based Namespace à Click Next.

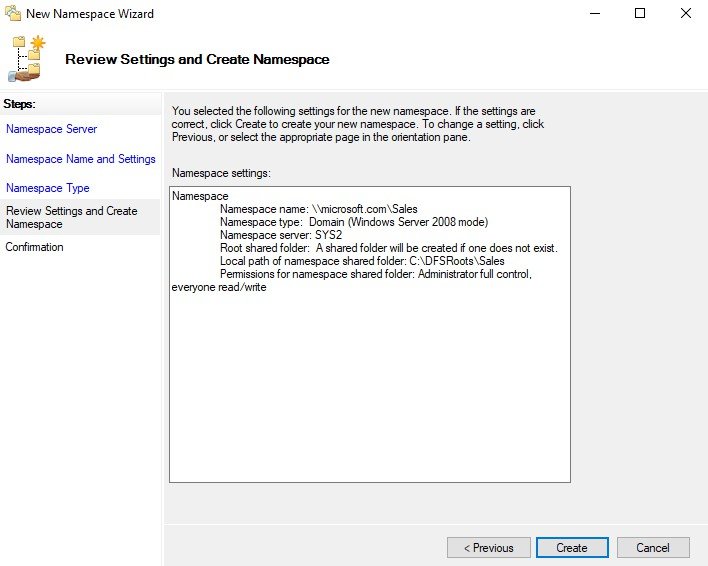
Step 7
Click Create.
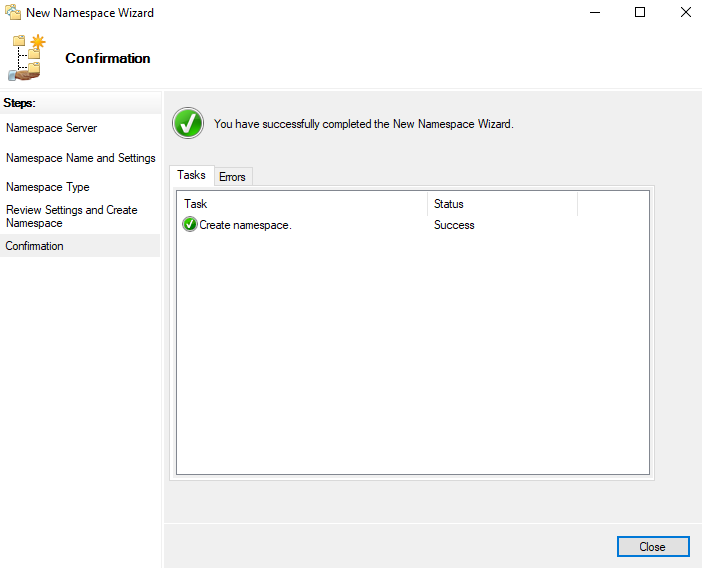
Step 8
Select Close. Configuring New Folder In DFS
Step 1
In SYS1 (DC) open any Drive which is formatted with NTFS
Step 2
Create a shared folder (Sales1) and give permission (Ex: Read\Write for Everyone)
Step 3
Similarly create a shared folder (Sales2) on SYS2 and assign permission.
Step 4
In SYS2 (Member Server) go to DFS Management and Expand Namespaces.
Step 5
Right click on namespace name and Select New Folder.
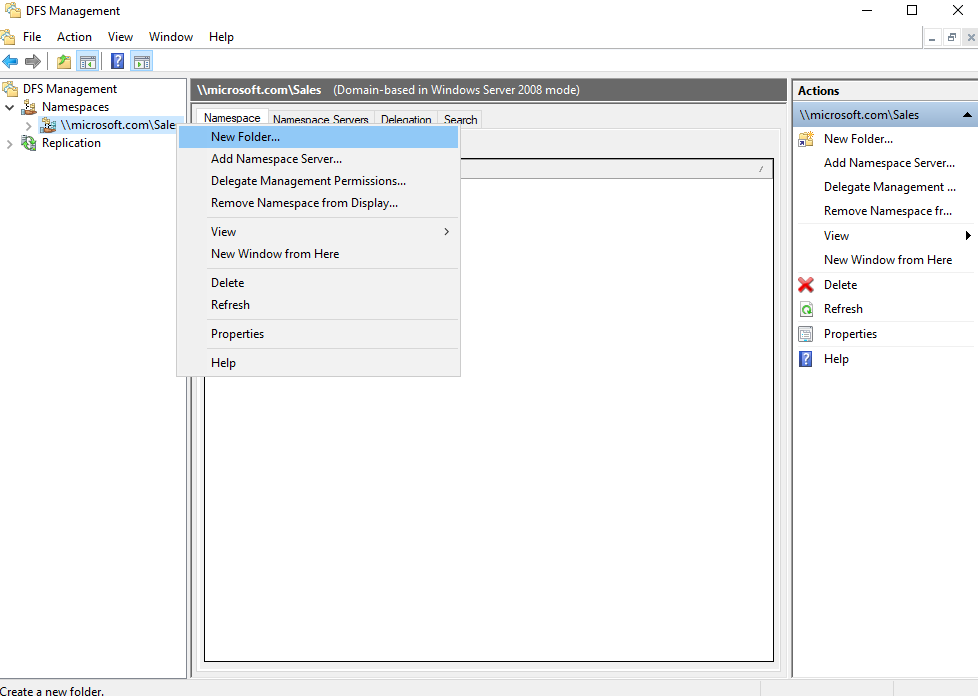
Step 6
Enter the Name (Ex: Sales1) and click Add.
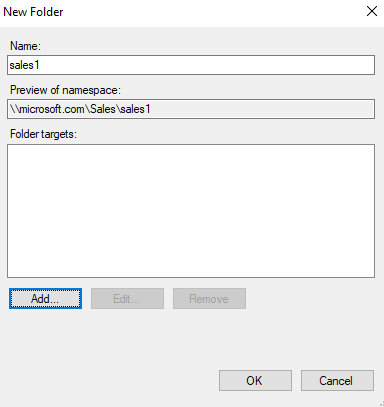
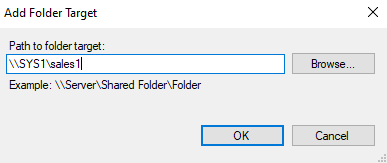
Step 7
Enter the path for folder target ( \\Systemname\Sharefoldername ) & click OK.
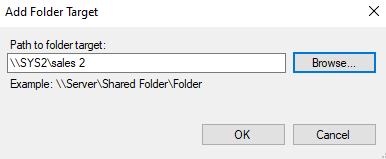
Step 8
Similarly add another DFS Folder (Ex: Sales2) and folder target \\SYS2\Sales2.
Step 9
Go to DFS Management, Expand Namespaces, and select \\Microsoft.com\Sales.
Verification
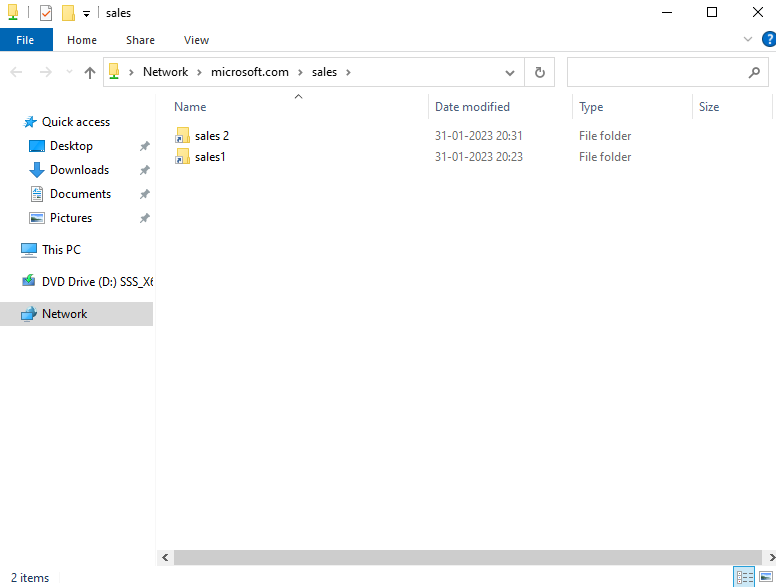
- 1. In SYS2 (Member Server), Go to Start, type Run in Search Apps, and select Run, type
- \\Domain name\Namespace Name (Ex: \\Microsoft.com\Sales).
- 2. It will display the contents (Folder) of Namespace.