Prerequisites
- Before working on this lab, You must have
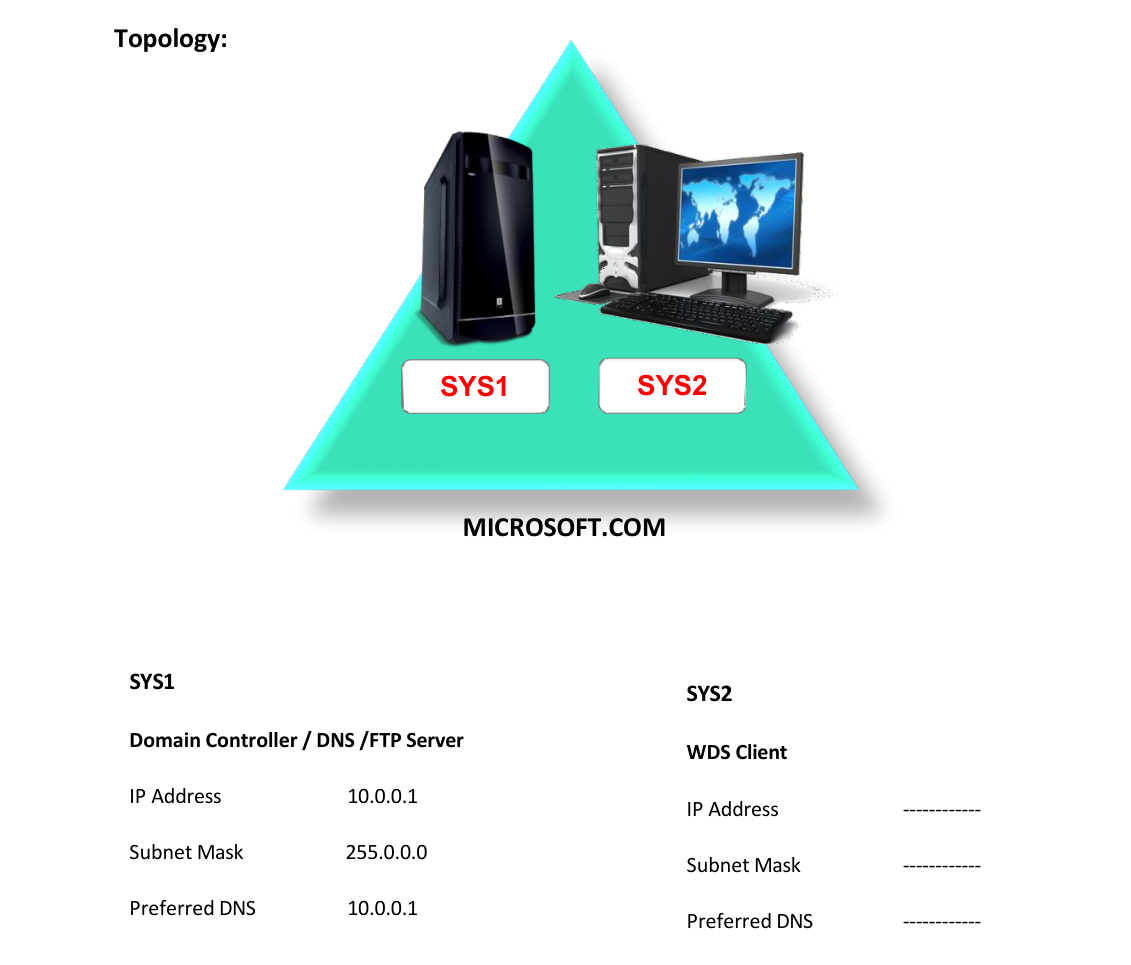
- A computer running windows server 2022 Domain Controller , DHCP with Scope,
- DNS with Service records.
- A Computer with or without any Operating Syatem.
- Installing Windows Deployment Services
Network Topology
Step-by-Step Instructions
Step 1
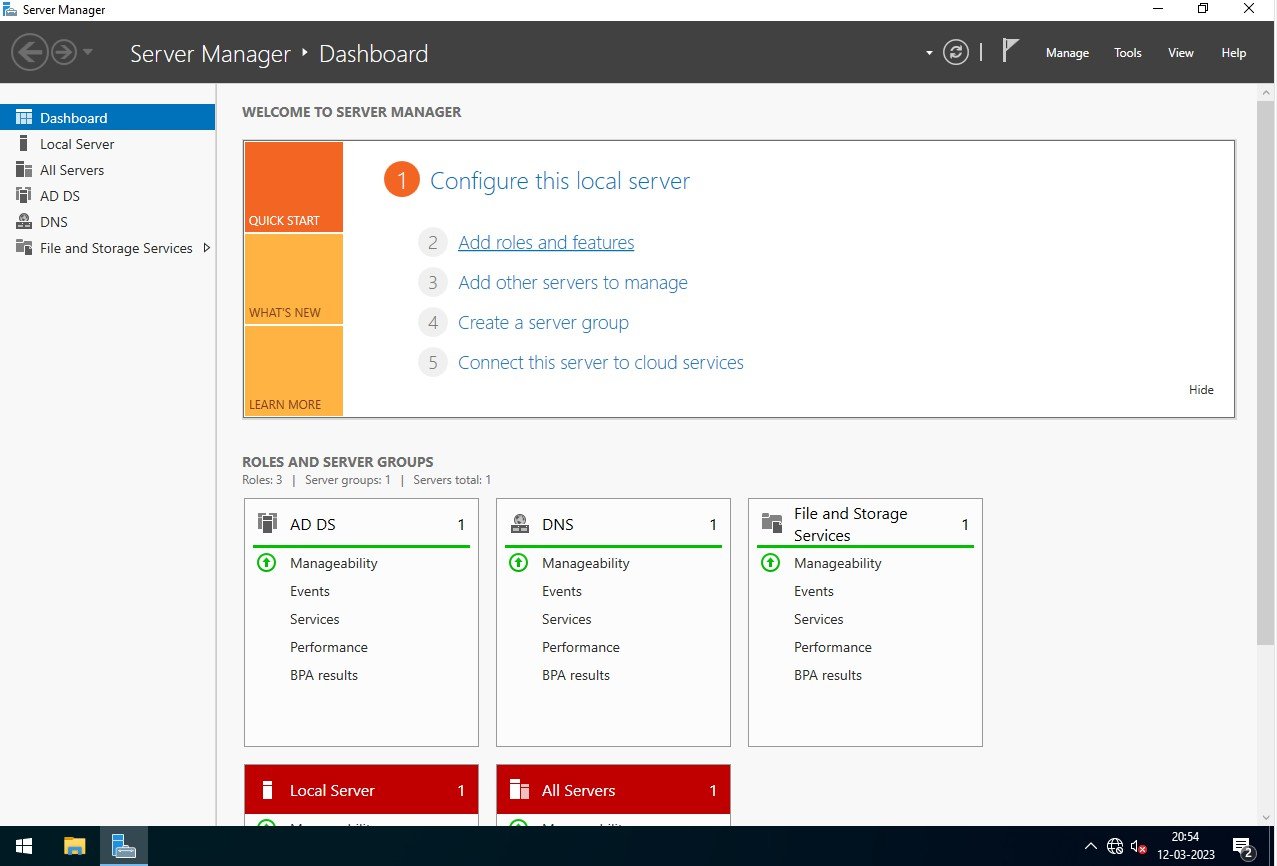
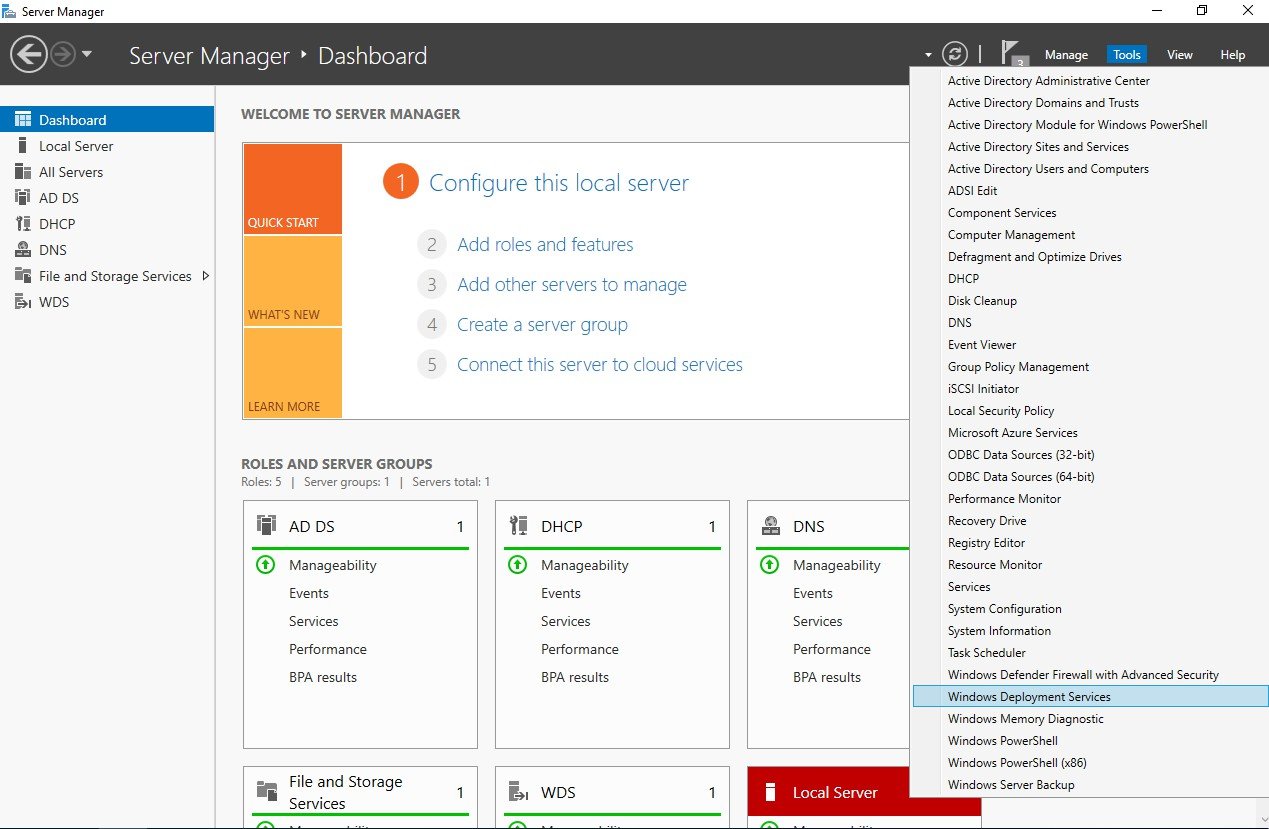
Go to Start, click Server Manager WDS Server
Step 2
In Server Manager Console, Select Add roles and features
Step 3
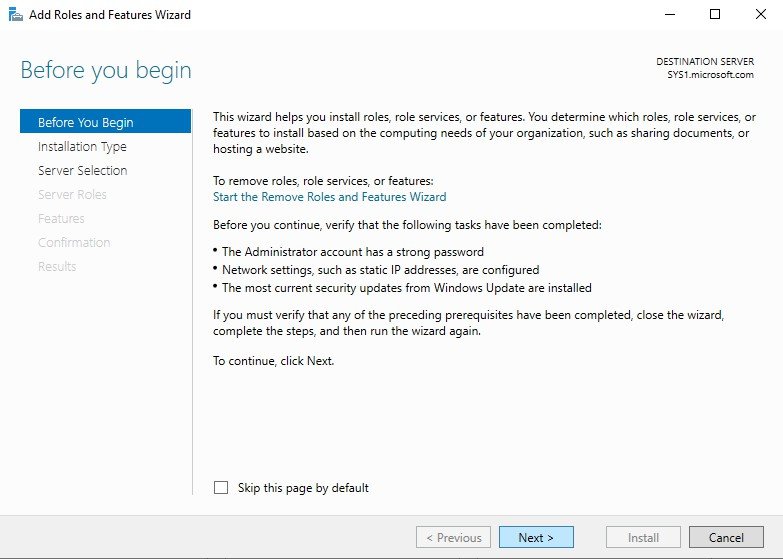
In Before you begin page, click Next.
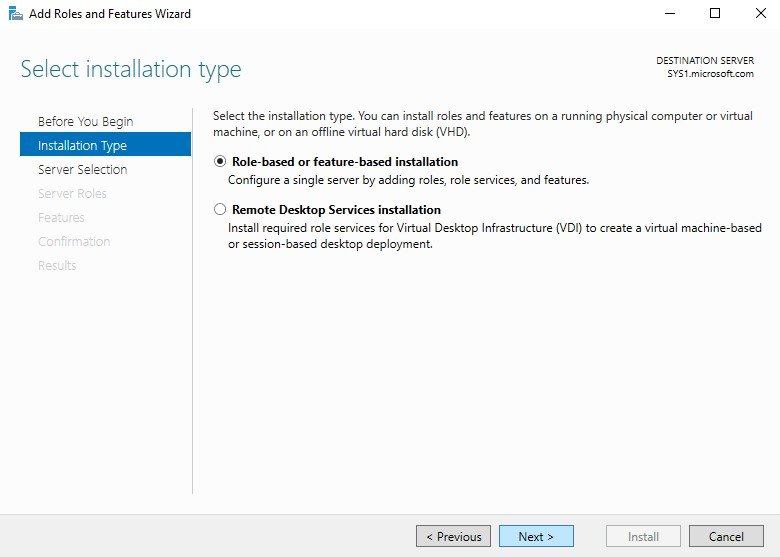
Step 4
Select Role-based or feature-based installation, click Next.
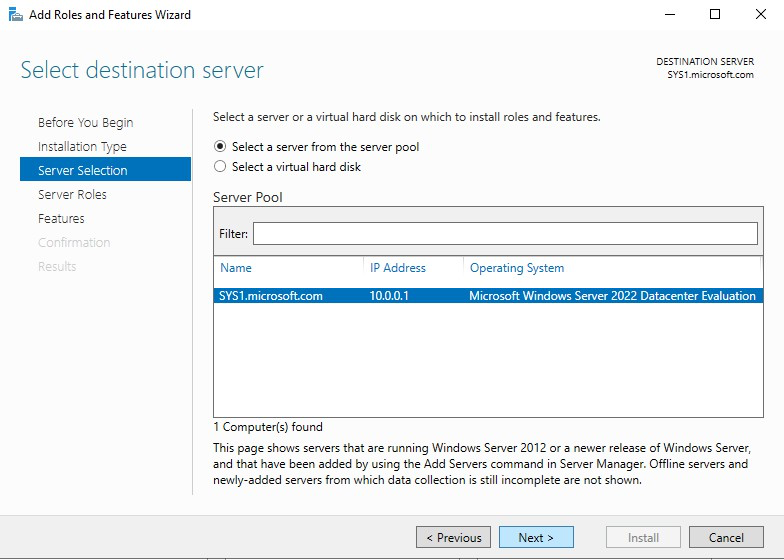
Step 5
Select a server (sys1.Microsoft.com) from the server pool and click Next.
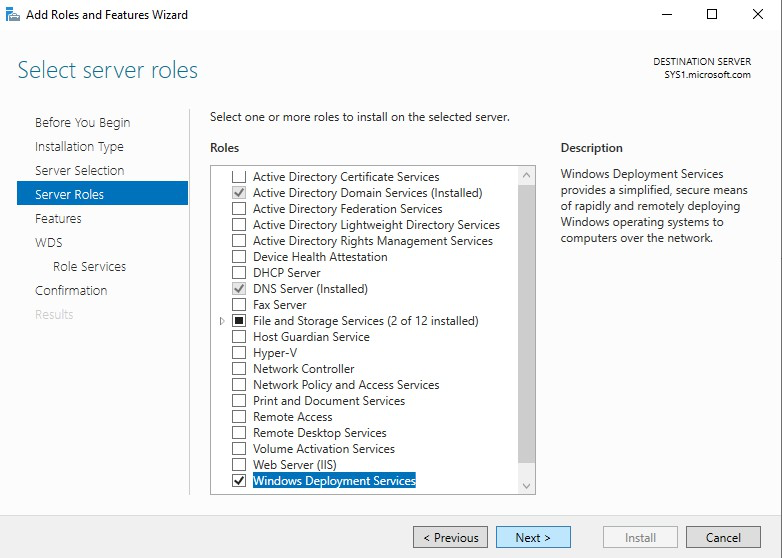
Step 6
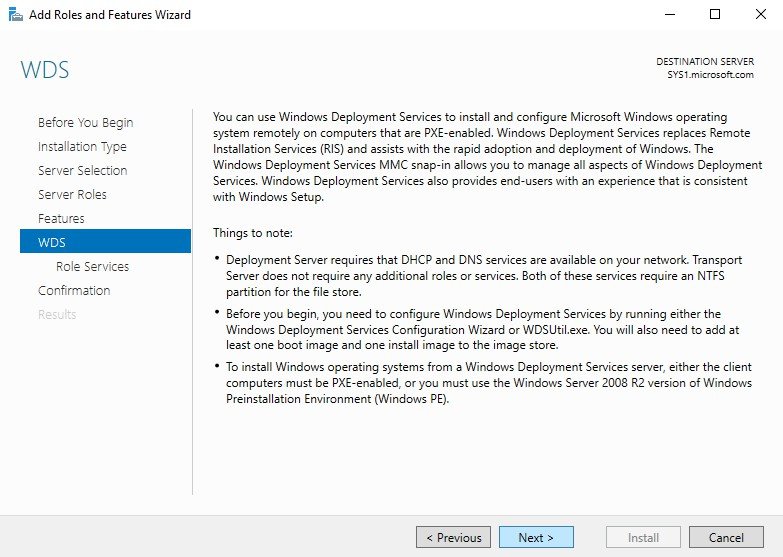
In select server roles, check the box Windows Deployment Services, click Next.
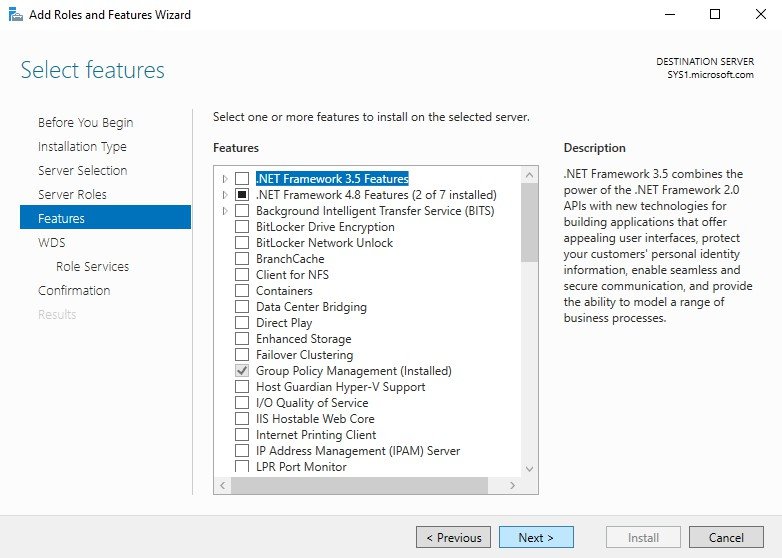
Step 7
In select features, click Next.
Step 8
Click Next.
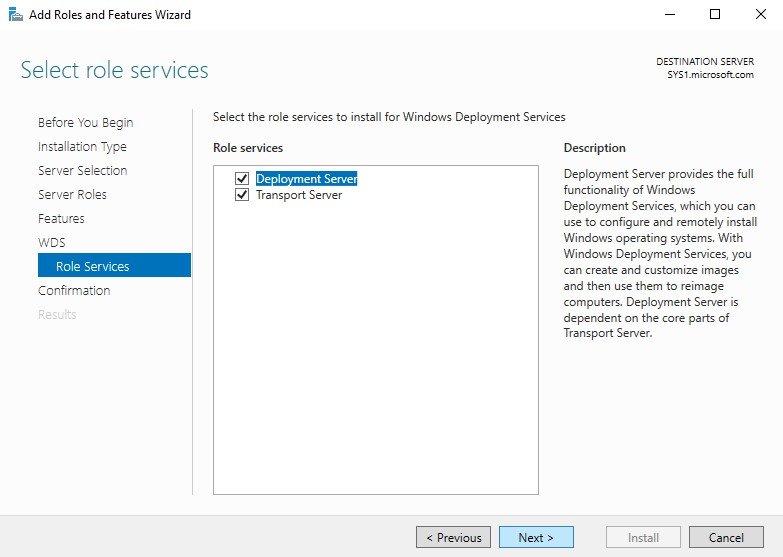
Step 9
In Select role services, Deployment and Transport Server is selected, click Next.
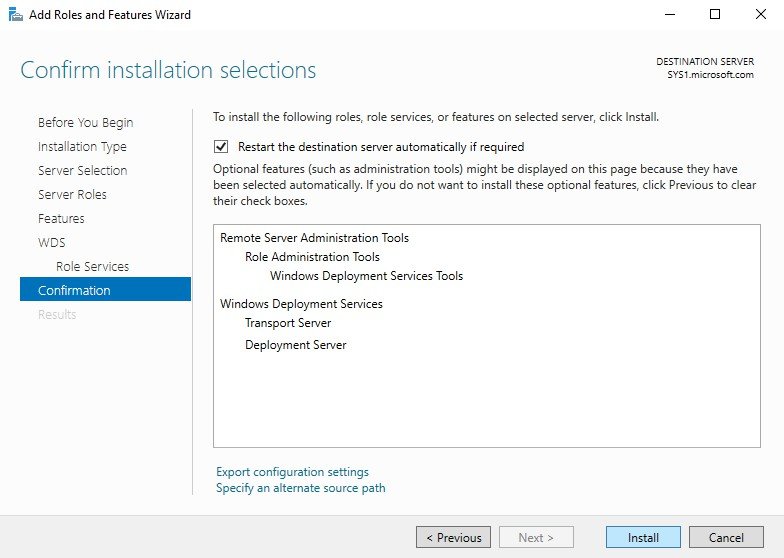
Step 10
Check Restart the destination server automatically if required and click Install.
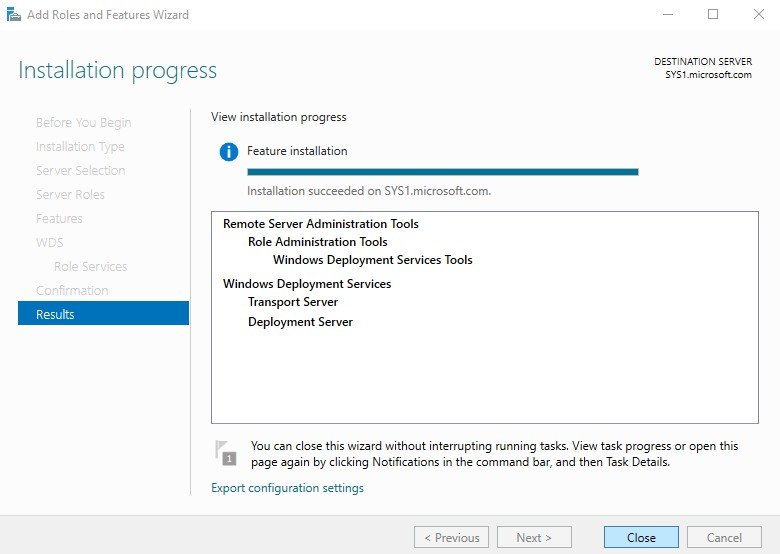
Step 11
Click Close to complete the Installation. Note: SYS1 — CONFIGURATION • Install the DHCP Service (If not installed) and create a scope in the DHCP. • Give the range (10.0.0.10 — 10.0.0.100), and in the DHCP scope options mention the Domain name (Microsoft.com) and mention the DNS server IP address (10.0.0.1). Configuring Windows Deployment Services
Step 1
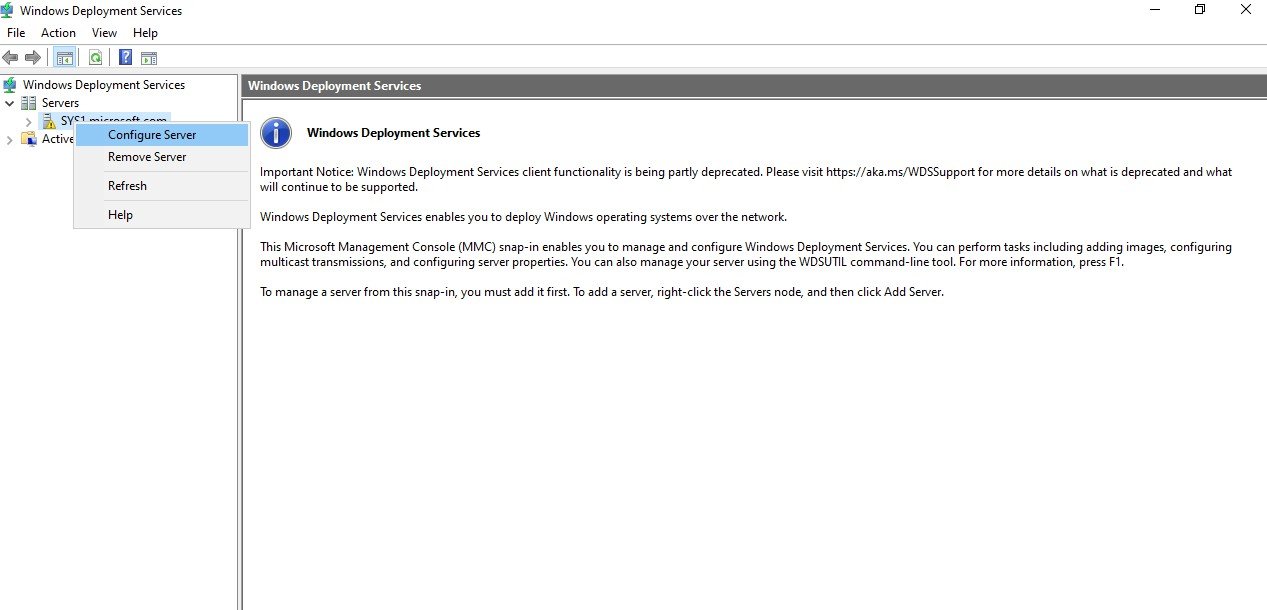
Go to Start, select Windows Deployment Services.
Step 2
Right click Server Name, Select Configure Server.
Step 3
In Before You Begin Page, click Next.

Step 4
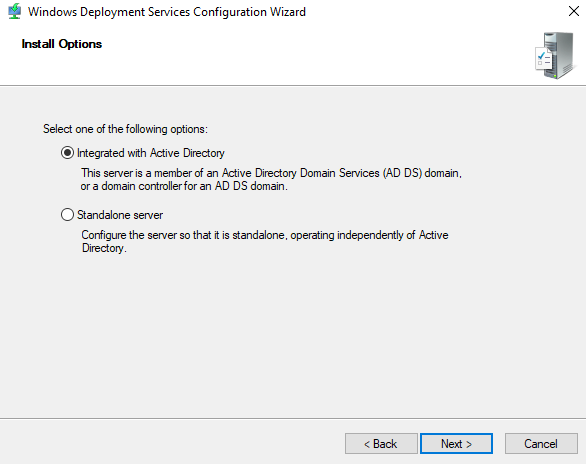
In Install Options, in Domain Model select Integrated with Active Directory, click Next.
Step 5
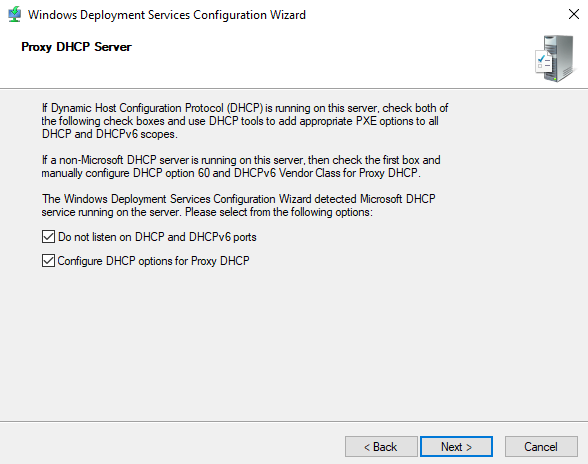
Browse and select any empty drive to store Image Folder (or) change the Drive letter click Next. Note: If the WDS server is a DHCP server also then one more wizard will be displayed indicating that the WDS service should not listen on port 67. So, we have to check the boxes, Do not listen on port 67 and Configure DHCP option tag 60 in all DHCP scope options to PXE Client.
Step 6
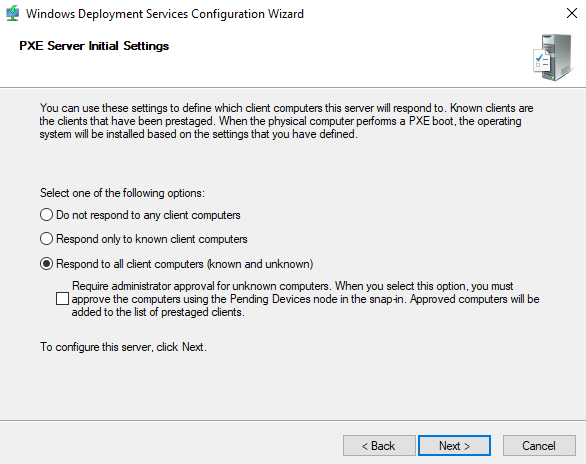
Select Respond to all Known and Unknown Client Computers, and click Next.
Step 7
Wizard will Configure the WDS Server
Step 8
Uncheck the box Add Images to Windows Deployment Server now, and click Finish.
Step 9
WDS Server Service configured successfully and started. Adding Windows 2022 Boot Image to WDS Server
Step 1
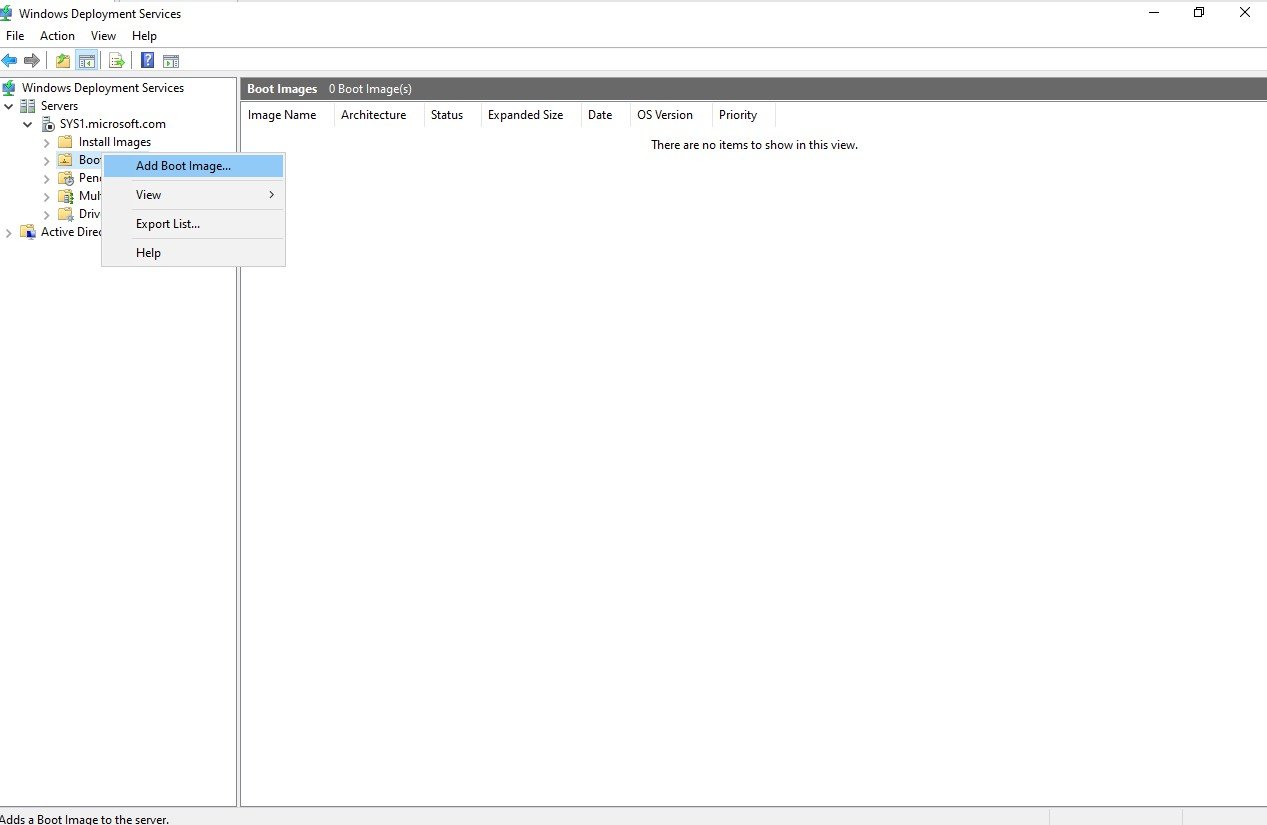
Right click Boot Images Select Add Boot Image.
Step 2
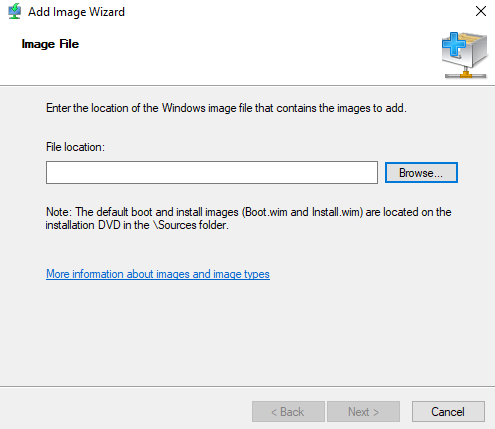
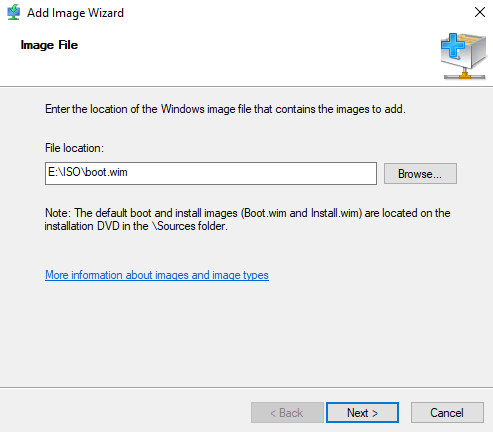
Browse and Select boot.wim file from 2022 OS DVD (Ex: E:\ISO\boot.wim)
Step 3
Click Next.
Step 4
Give Name to image Ex: Windows Server 2022.
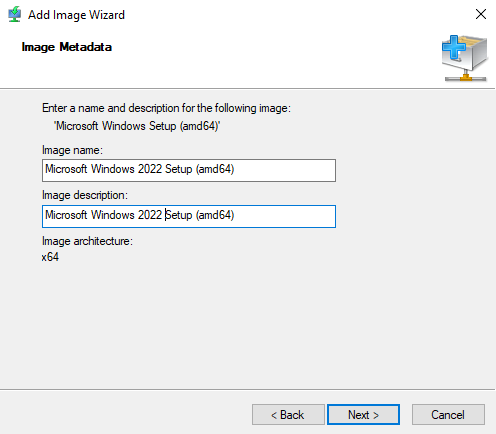
Step 5
Click Next.
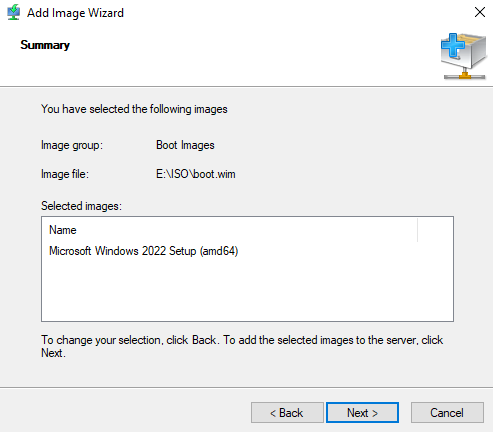
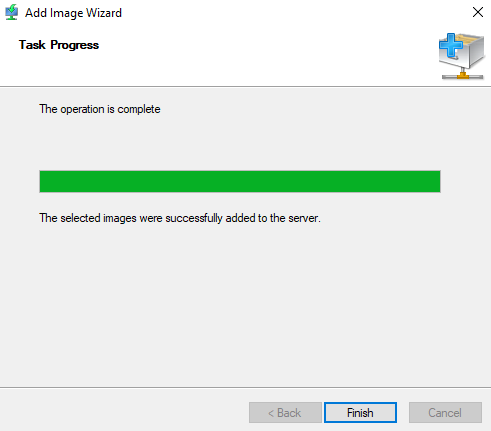
Step 6
Image will be added à click Finish. Adding Windows 2022 Install Image to WDS Server
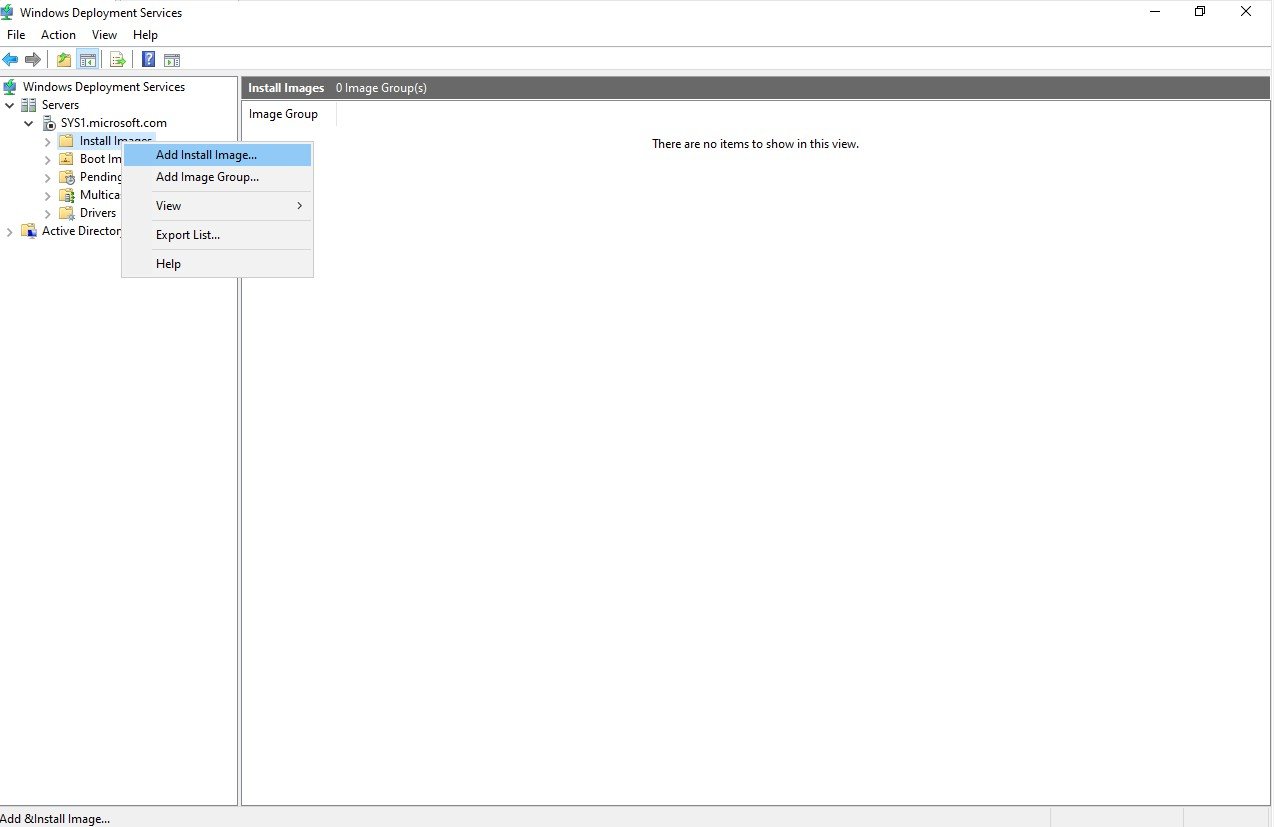
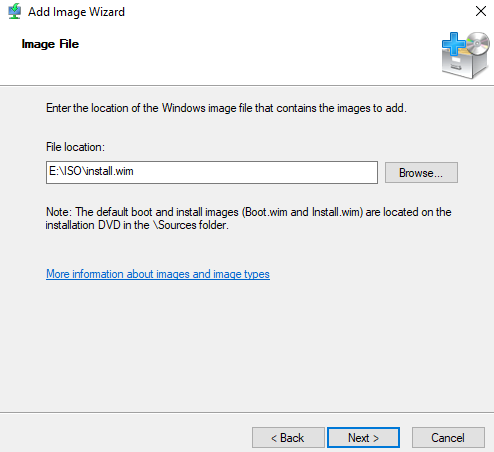
Step 1
Right click Install Images Select Add Install Image.
Step 2
Give Name to Image Group Ex: ServerGroup and click Next.

Step 3
Browse and select Install.wim file from 2022 OS DVD (Ex: E:\ISO\install.wim) à click Next.
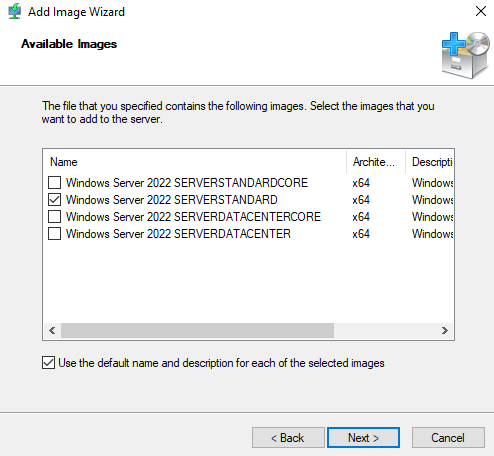
Step 4
Select Windows Server 2022 STANDARD and click Next.
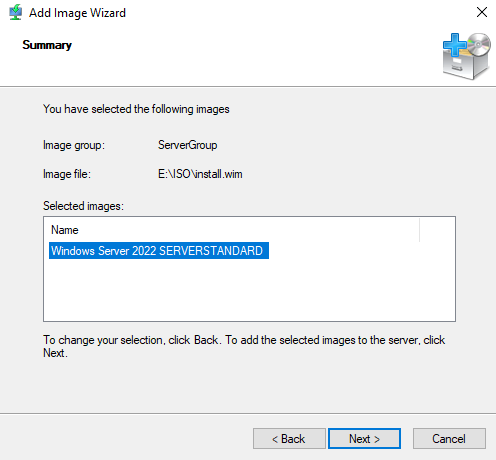
Step 5
Click Next.
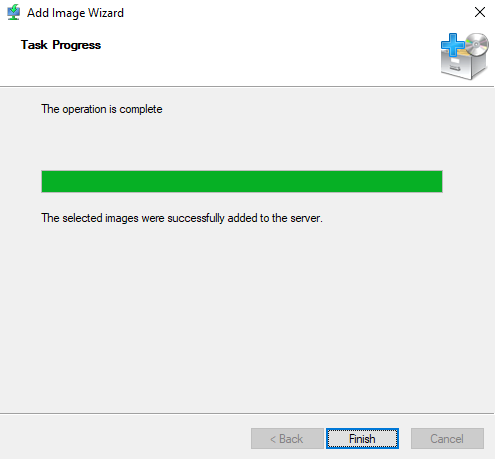
Step 6
Click Finish.
Verification
- 1. Boot the Client system with PXE NIC Card
- 2. Press F12 key when prompted to start the Installation.
- 3. Then mention the Administrator Credential.
- 4. Select the Operating System which you want to install.
- 5. Select the Partition to install the O.S and follow the instructions