Prerequisites
- Before working on this lab, You must have
- A computer running windows server 2022 Operating System Hyper-V host.
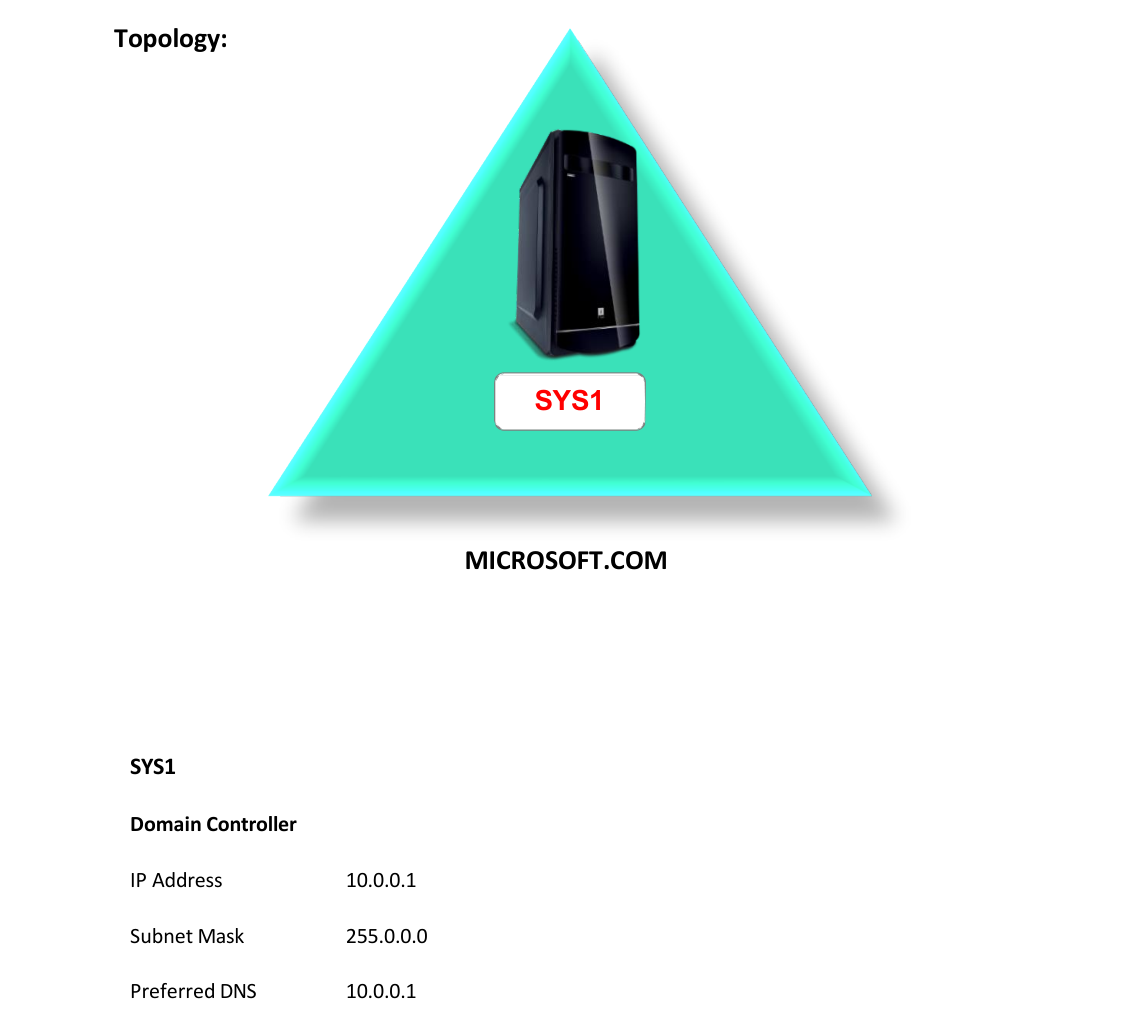
Network Topology
Step-by-Step Instructions
Step 1
Click Server Manager.
Hyper-V Server
Step 2
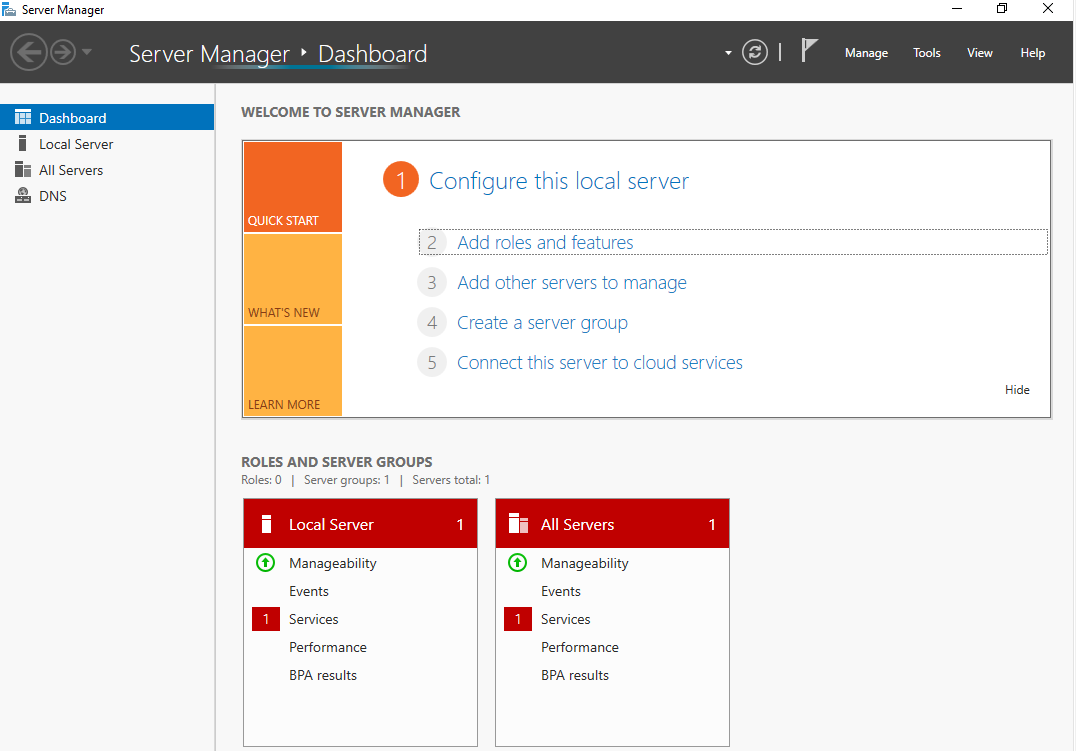
In Server Manager Dashboard, Click Add roles and features.
Step 3
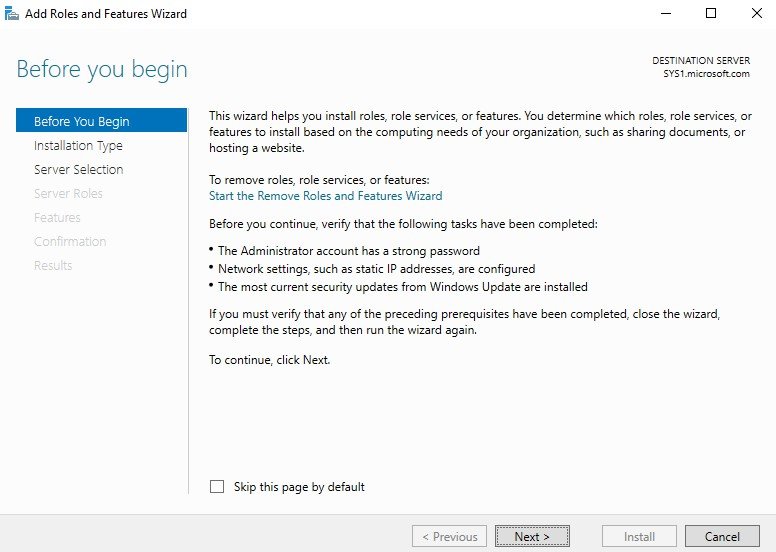
In Before you begin page, click Next.
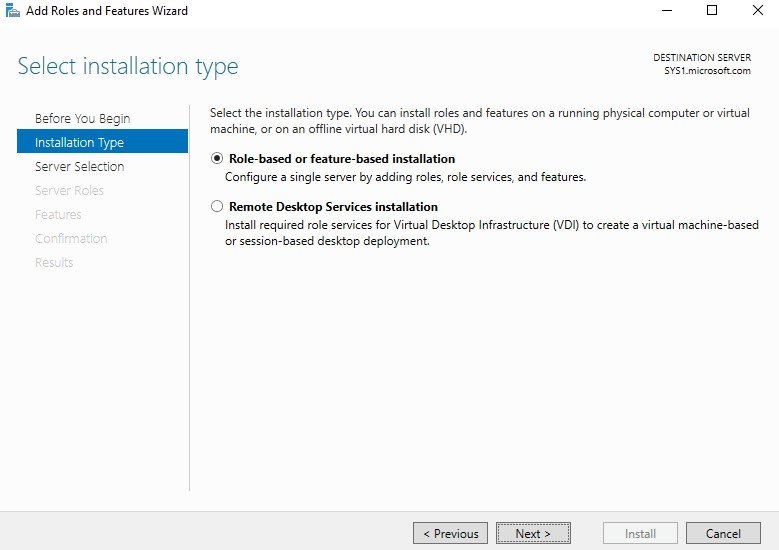
Step 4
In Select installation type, select Role-based or feature-based installation, click Next.
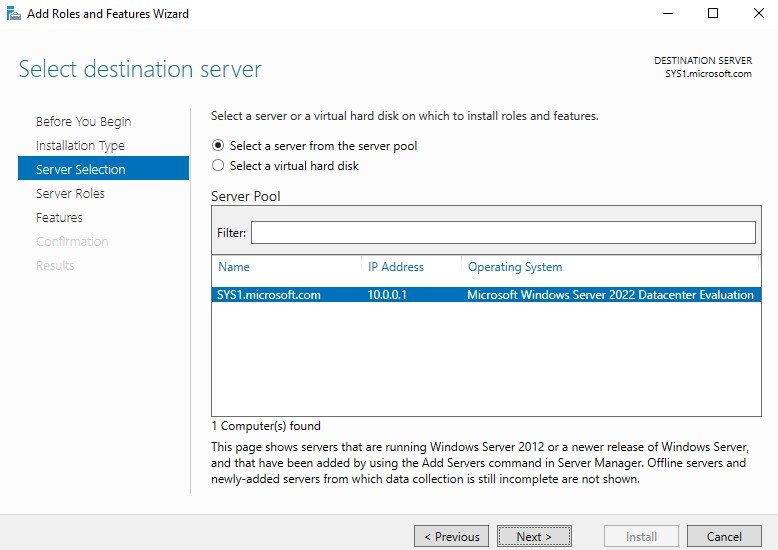
Step 5
In Select destination server, from Server Pool select SYS1.Microsoft.com, click Next.
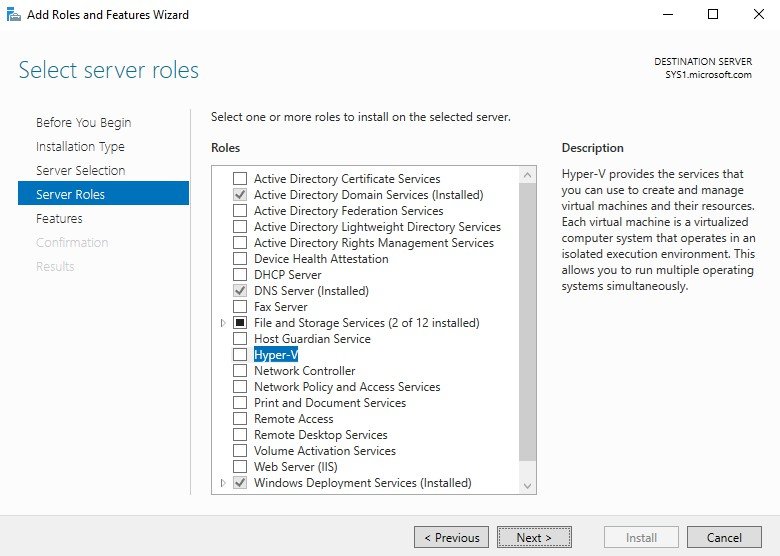
Step 6
In Roles, check the box Hyper-V.
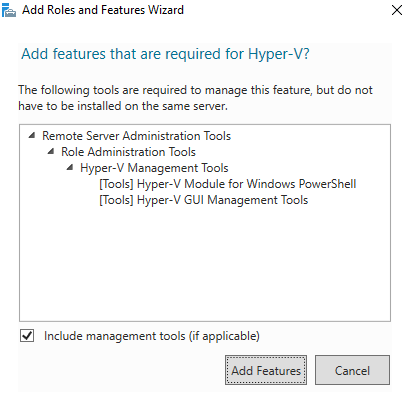
Step 7
Click Add Features, to install the required features for Hyper-V. Click Next.
Step 8
In Select features wizard, click Next.

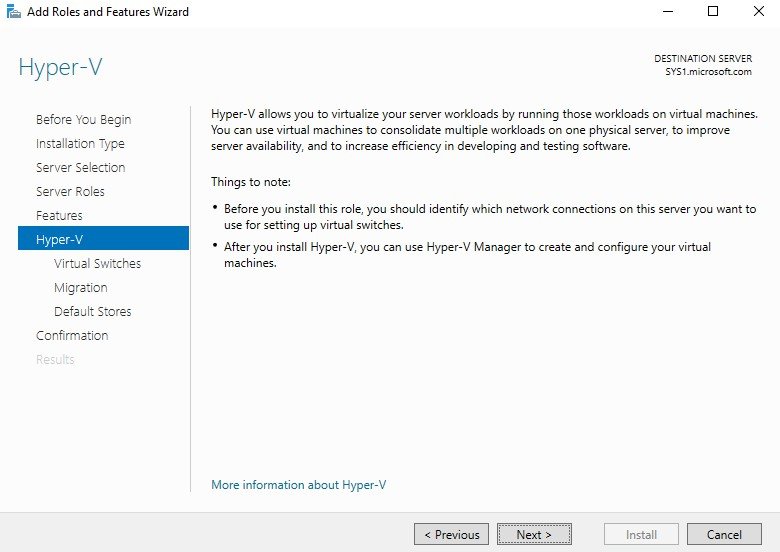
Step 9
In Hyper-V wizard, click Next.
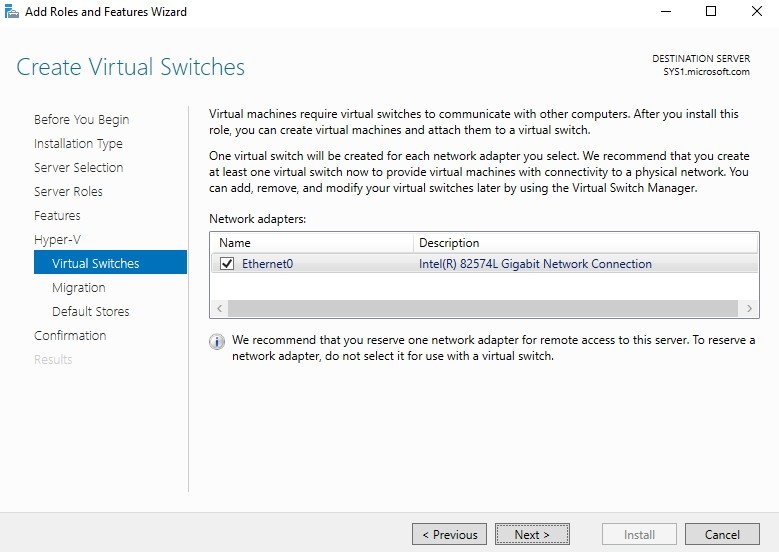
Step 10
Check the box Ethernet 0 to work as Virtual Switch. Click Next.
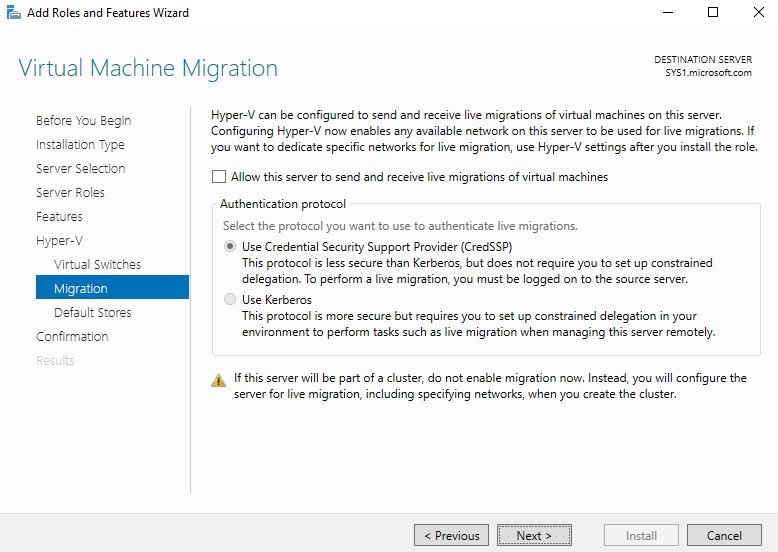
Step 11
In Virtual Machine Migration Page, click Next.
Step 12
In Default Stores Page, click Next.

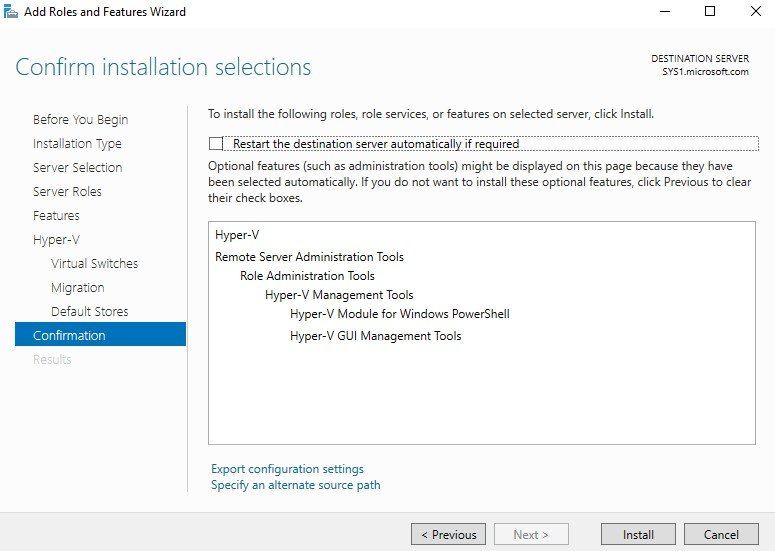
Step 13
Check box Restart the destination server automatically if required, click Install.
Step 14
Computer Restarts and completes the installation of Hyper-V Role.
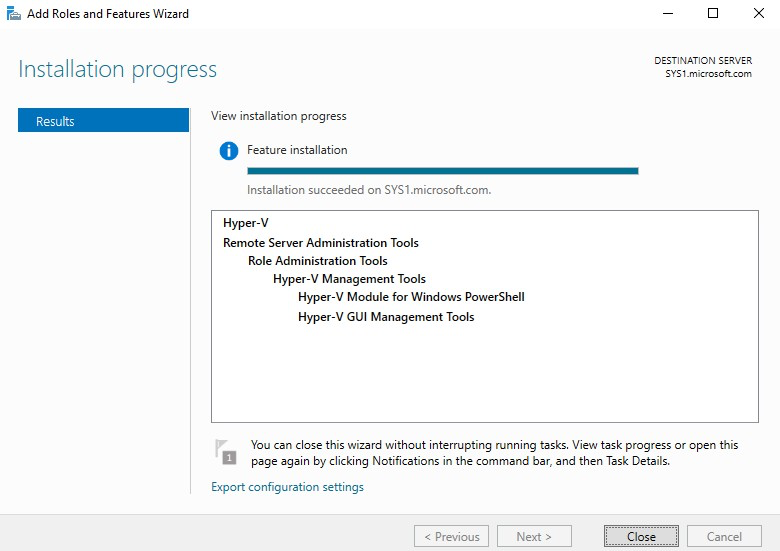
Step 15
Click Close.
Verification
Verify that your configuration works as expected. Open tools and check settings matching the parameters.