Prerequisites
- Before working on this lab, You must have
- A Computer Running Windows Server 2022 Domain Controller.
- 2 Computer Running Windows Server 2022 With Minimum 2 NIC Cards.
- A Computer Running Windows Server 2022 Web Server.
Network Topology
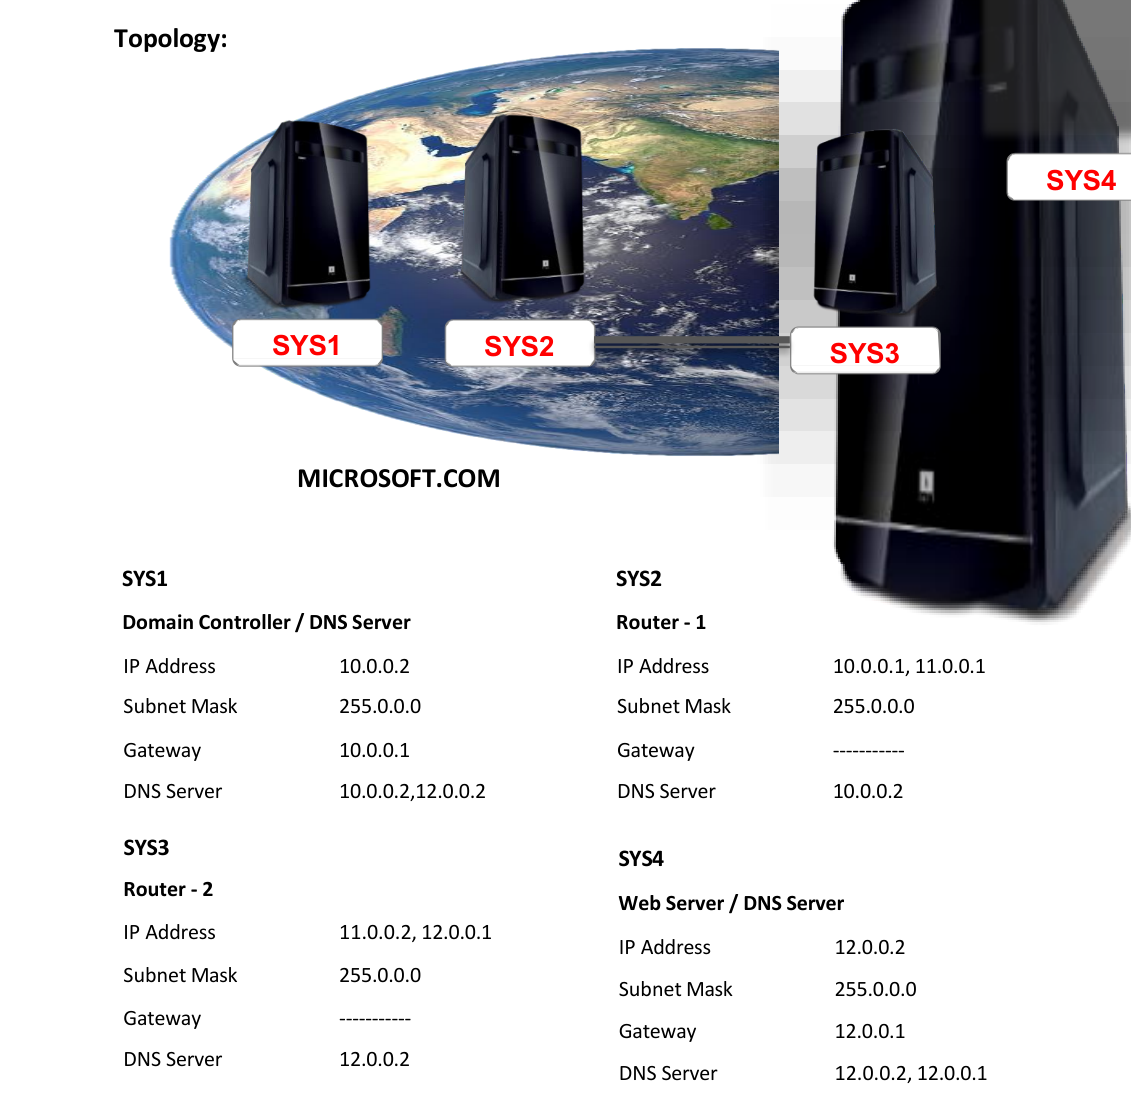
Step-by-Step Instructions
Step 1
Note: Install DHCP service and create a scope with 12.0.0.10 to 12.0.0.100 with the router IP as 12.0.0.1. On Router-2
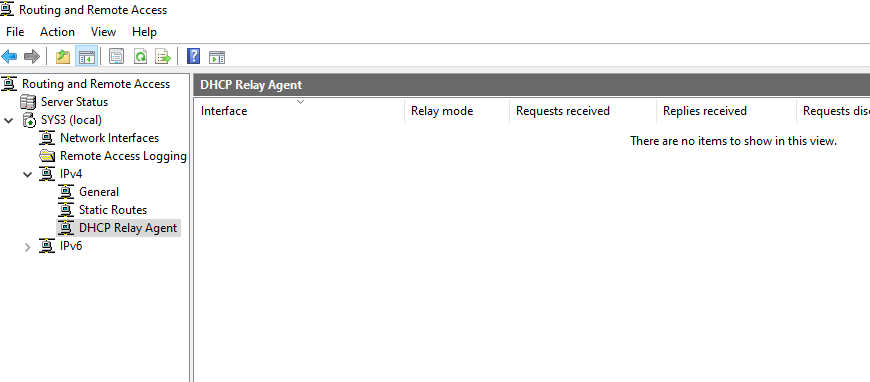
Step 1
Go to Routing and Remote Access à Expand System name à Expand IPv4
Step 2
Right click General à Select New Routing Protocol
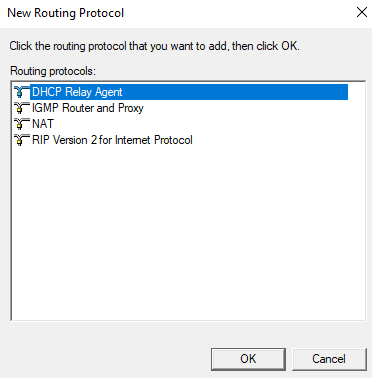
Step 3
Select DHCP Relay Agent à click OK.
Step 4
Right click on DHCP Relay Agent, Select New Interface.
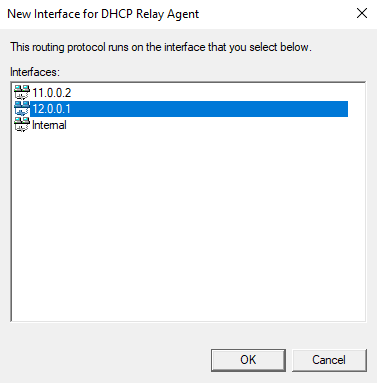
Step 5
Select 12.0.0.1 Interface à click OK à and click OK.
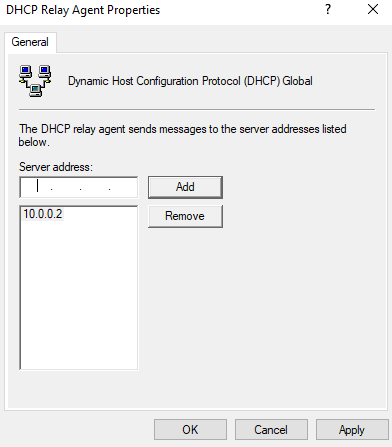
Step 6
Right click on DHCP Relay Agent à Properties à Enter the IP Address of DHCP Server (10.0.0.2) à click Add à Apply and OK
Step 1
Log on as Administrator to DHCP Client (SYS4) and set the IP address to obtain the IP address automatically.
Step 2
Start à Run à CMD à IPconfig /release.
Step 3
Type Ipconfig /renew
Step 4
An IP address will be assigned by DHCP server.
Step 5
Check the IP Address by typing IPconfig /all.
Verification
Verify that your configuration works as expected. Open tools and check settings matching the parameters.