Prerequisites
- Before working on this lab, You must have
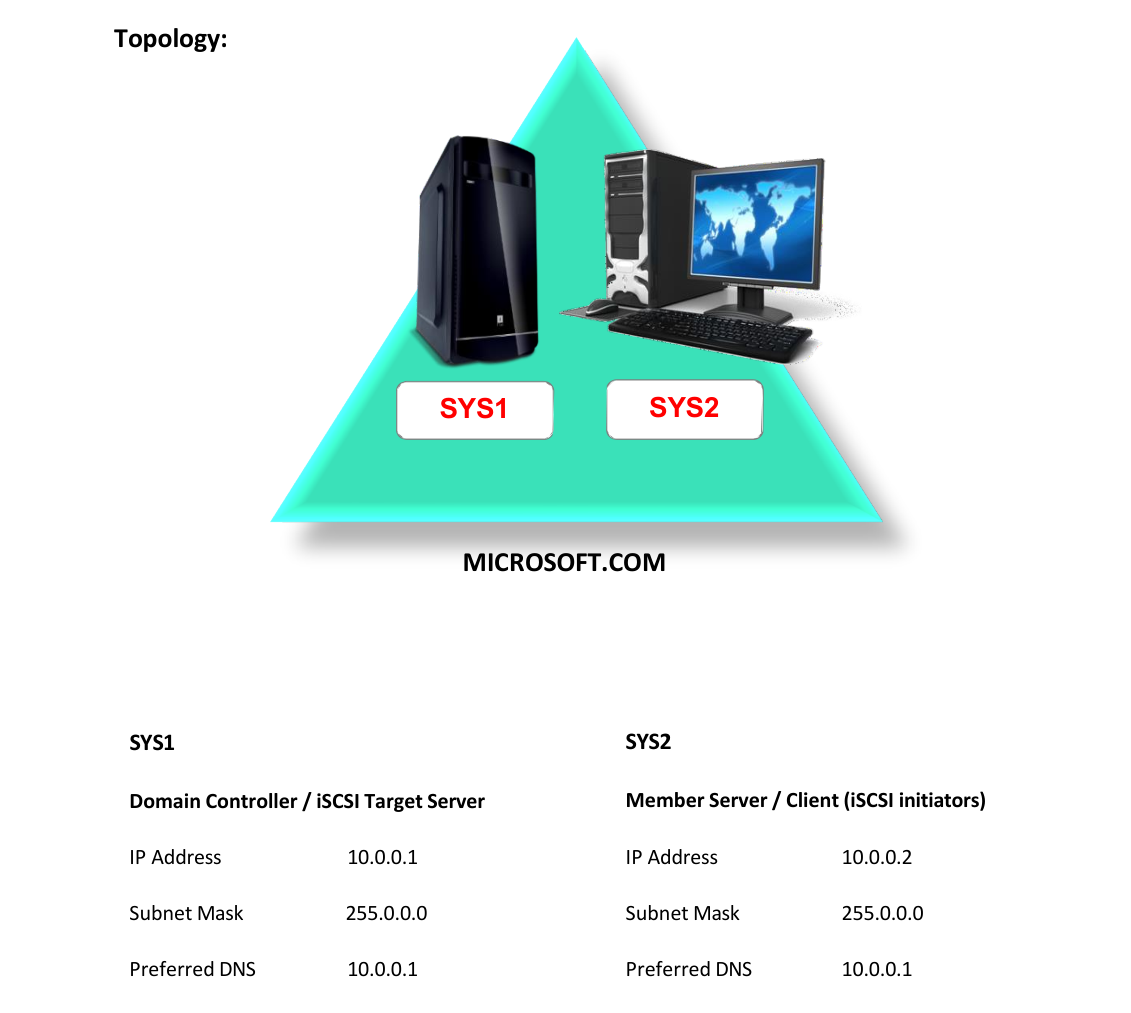
- A computer running windows server 2022 Domain Controller.
- A Member Server running windows server 2022 or Client Running Windows 10.
- Configuring iSCSI Target Server
Network Topology
Step-by-Step Instructions
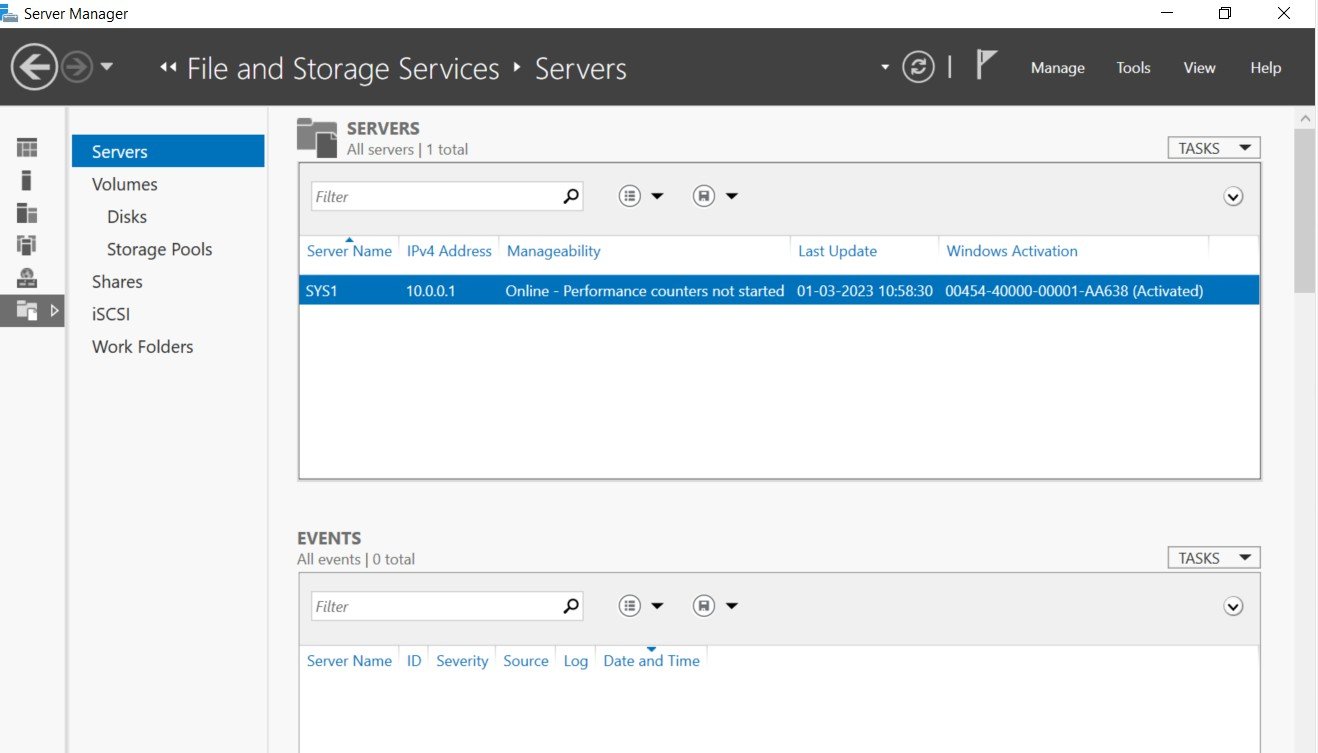
Step 1
Go to Server Manager, click File and Storage Services.
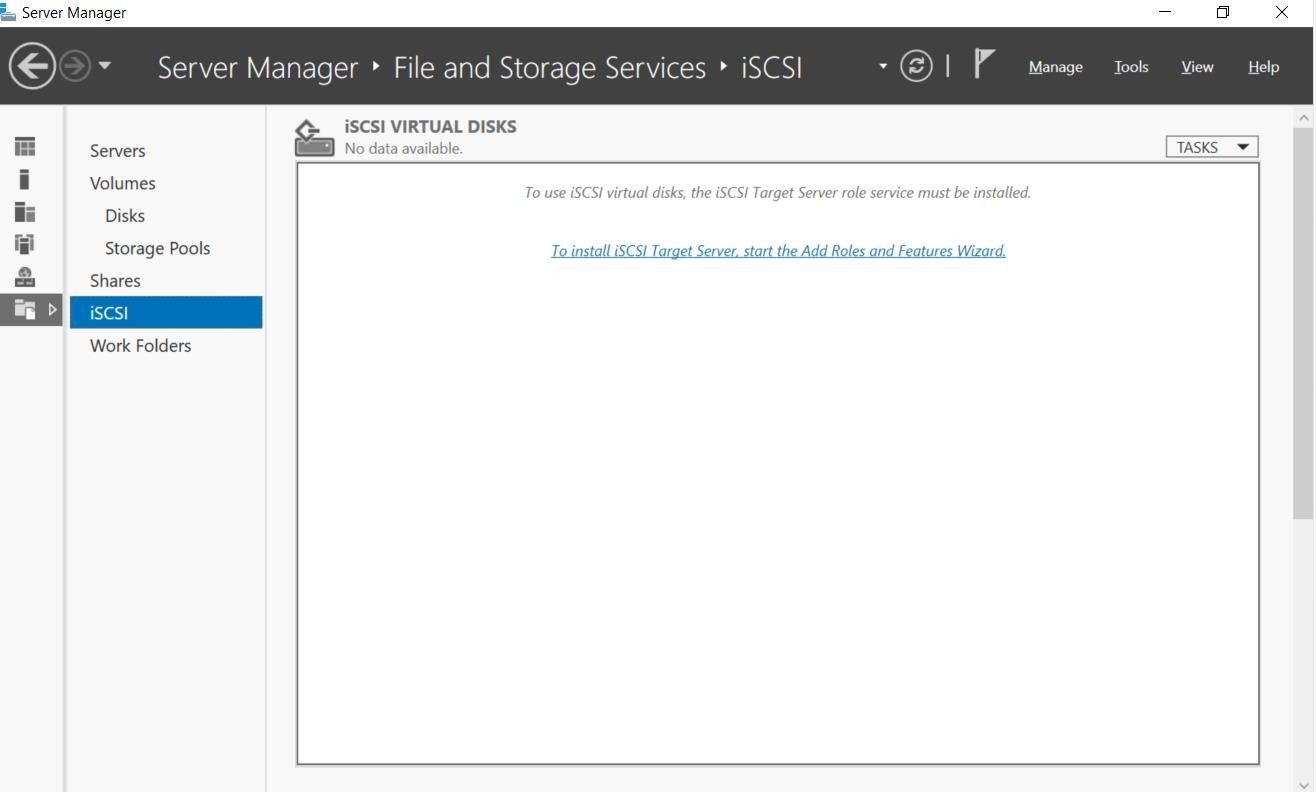
Step 2
Click To install iSCSI Target Server, start the Add roles and Features Wizard. www..in
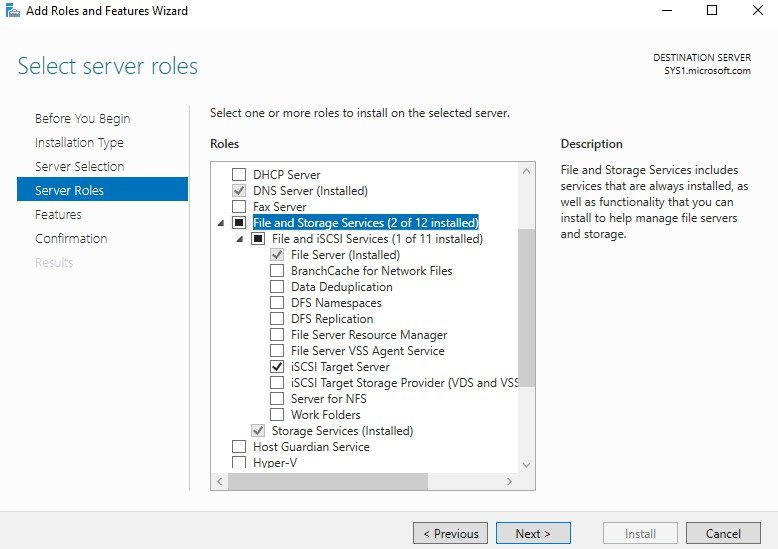
Step 3
Select server roles page, check the box iSCSI Target Server, Click Next.
Step 4
In Select features page, click Next. www..in

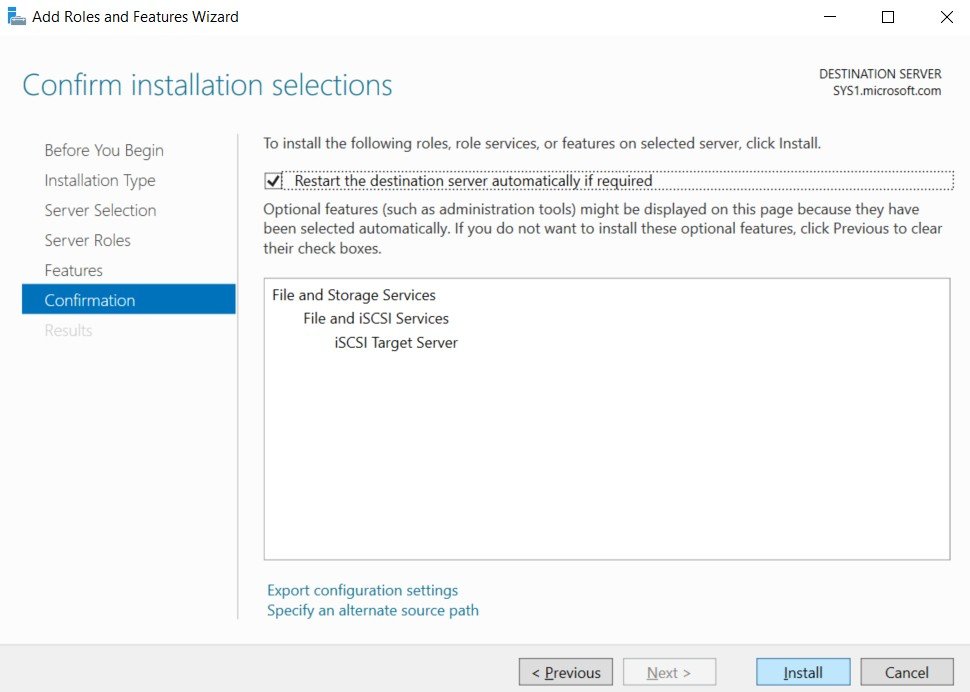
Step 5
Check box Restart the destination server automatically if required, click Install.
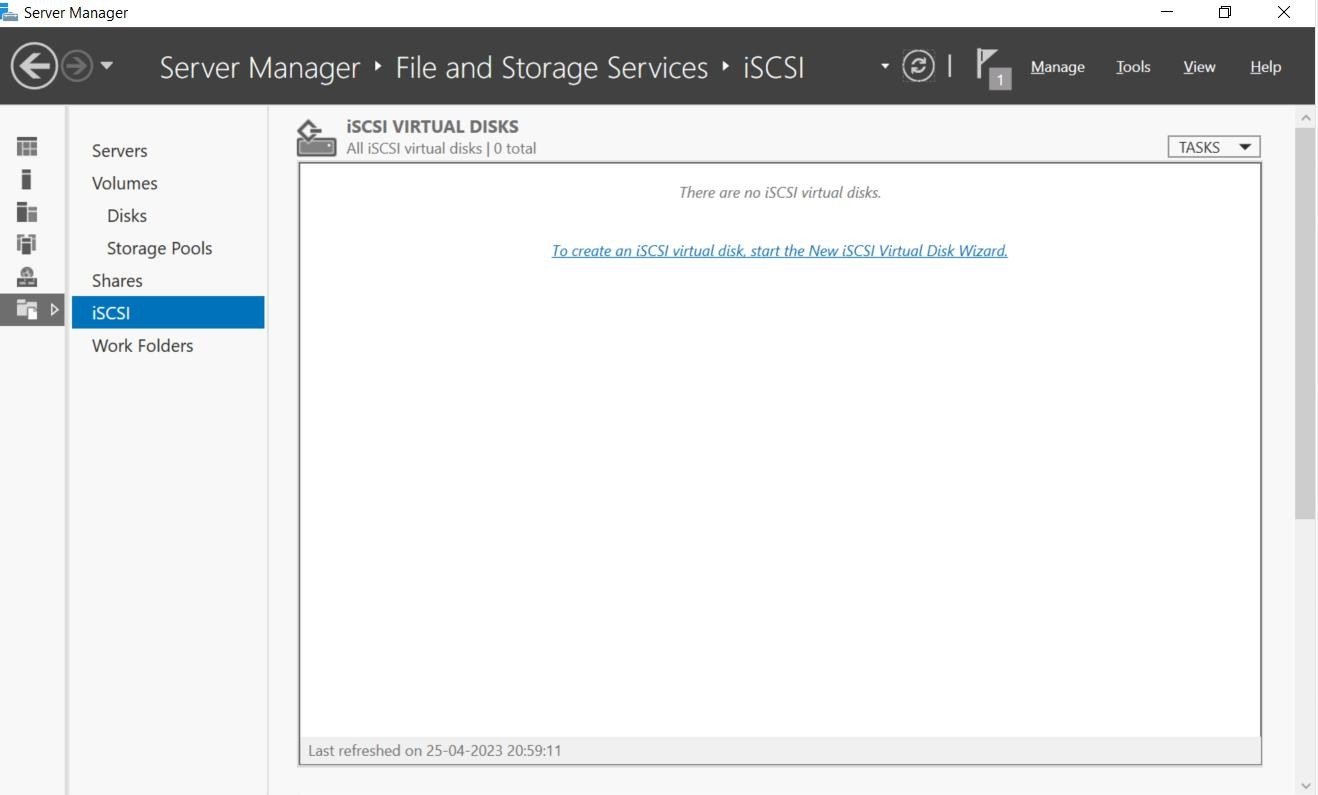
Step 6
Go to Server Manager, select File and Storage Services, and select iSCSI, click To create an iSCSI virtual disk, start the New iSCSI Virtual Disk Wizard. www..in
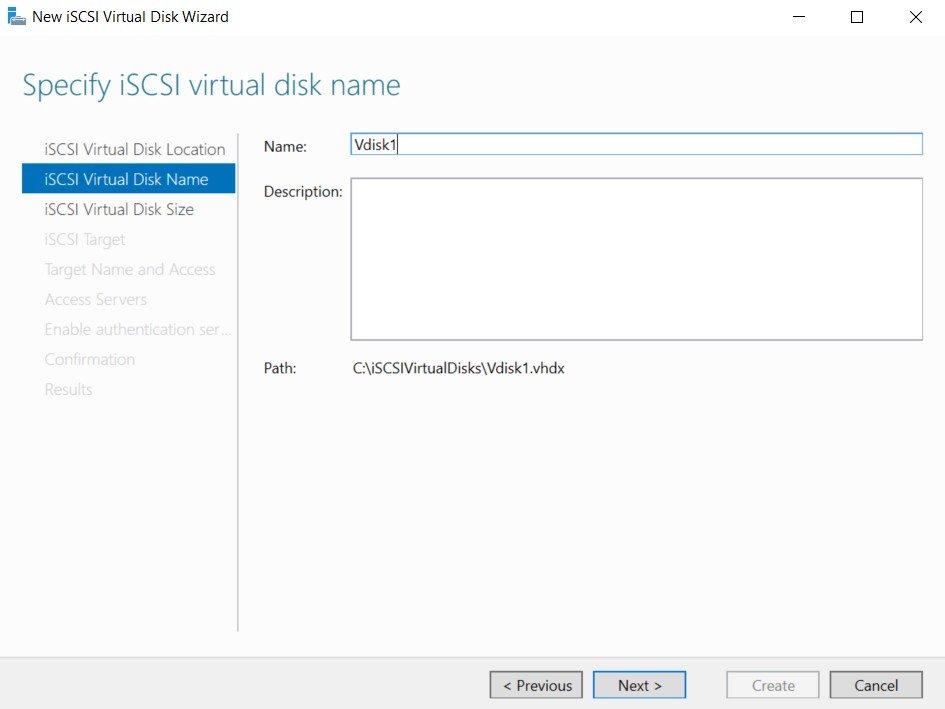
Step 7
Enter Name (Ex: Vdisk1), click Next.
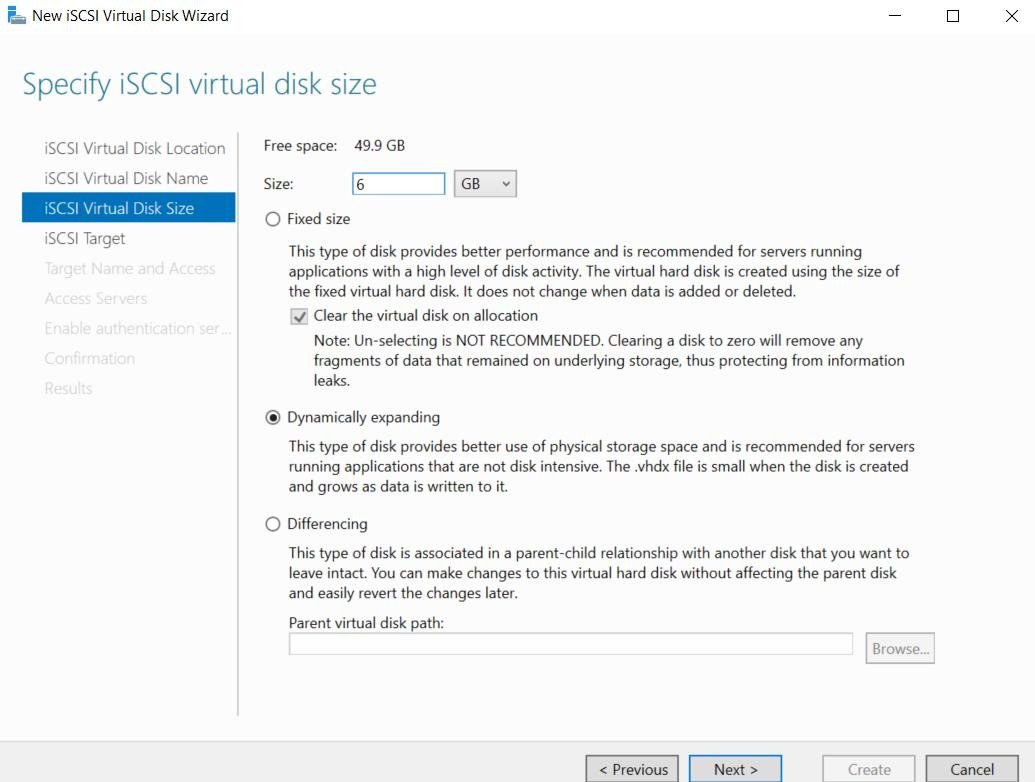
Step 8
Enter the iSCSI virtual disk size (Ex: 4 GB), click Next. www..in
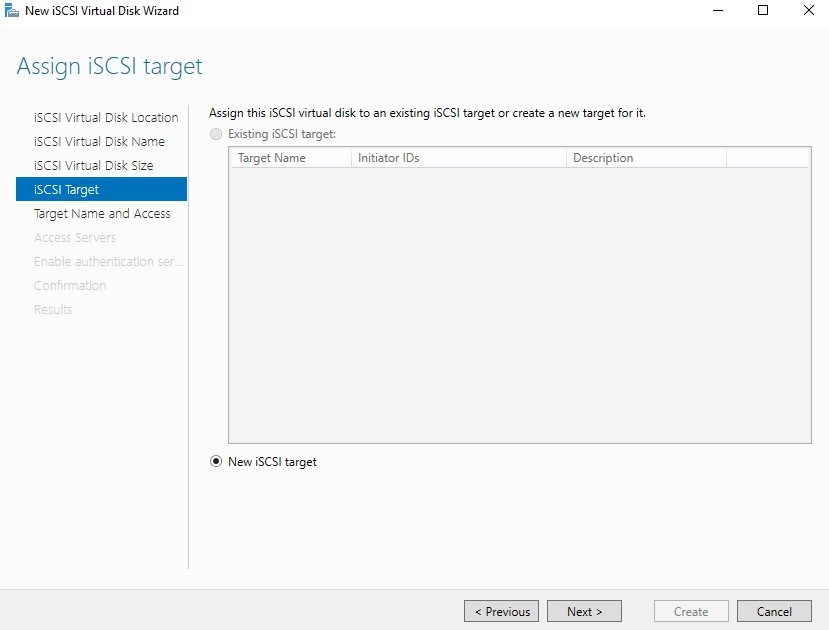
Step 9
Select New iSCSI target, click Next.
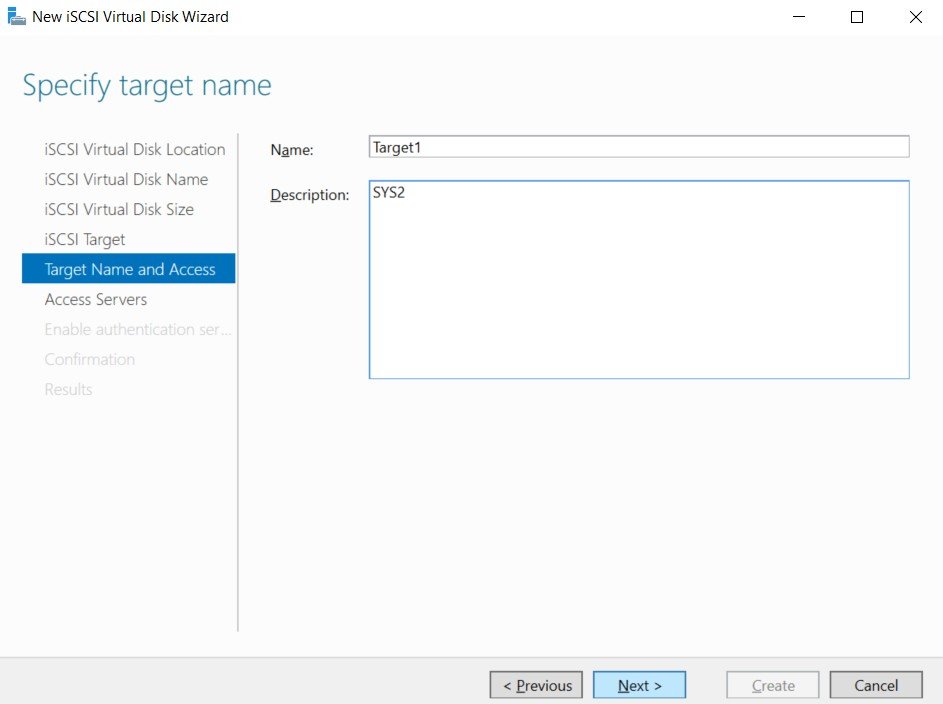
Step 10
Enter the Name (Ex: Target1), click Next. www..in
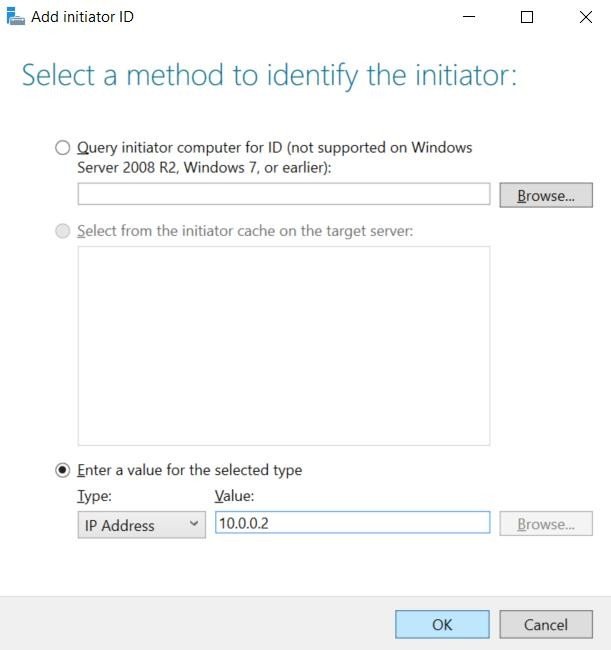
Step 11
Select Add à Select Enter a value for the selected type, select IP Address in Type, enter the Value (Ex:10.0.0.2), click OK.
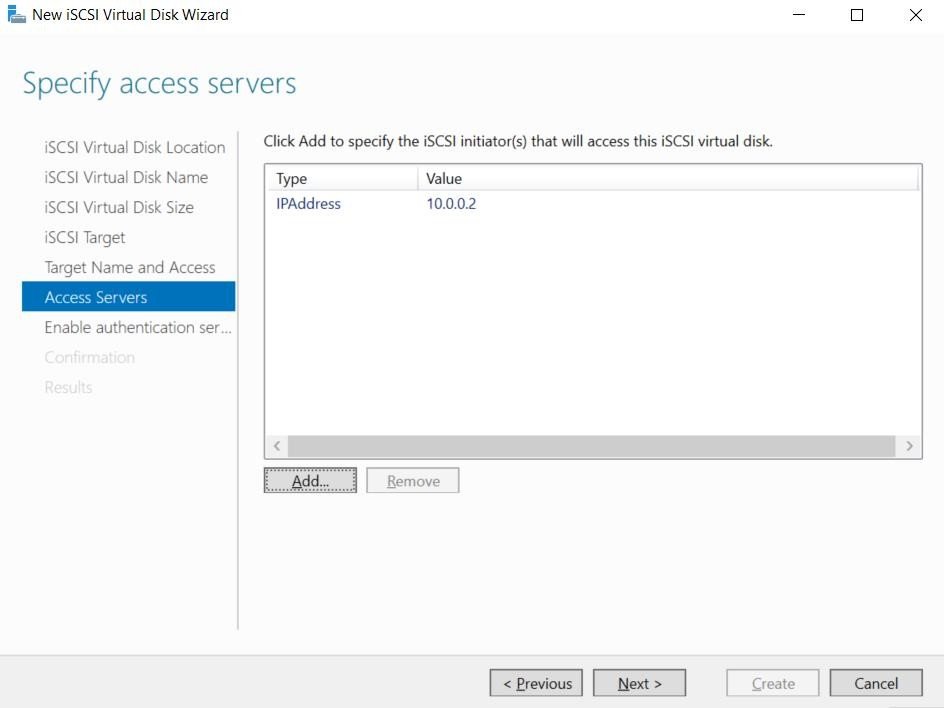
Step 12
Only the specified servers can access the iSCSI Target Server, click Next. www..in
Step 13
In Enable Authentication page, click Next.
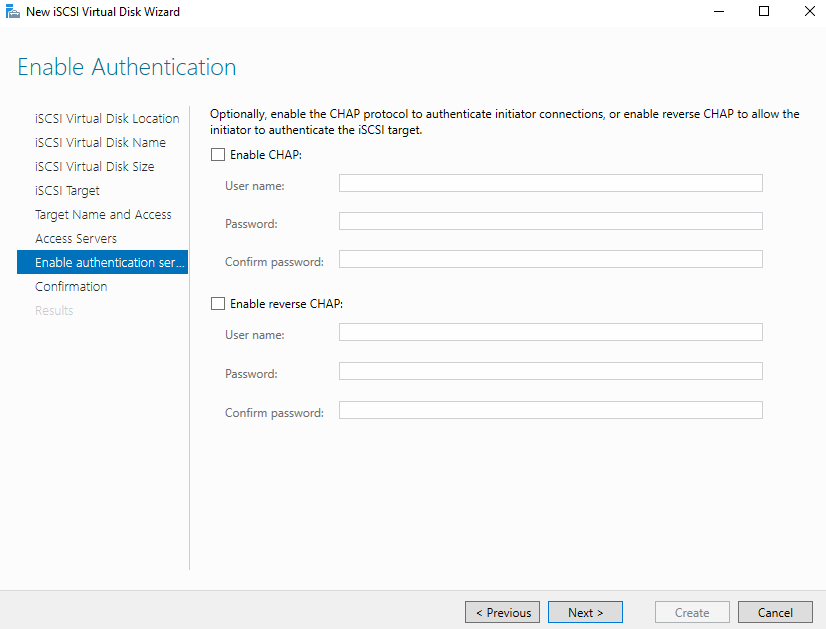
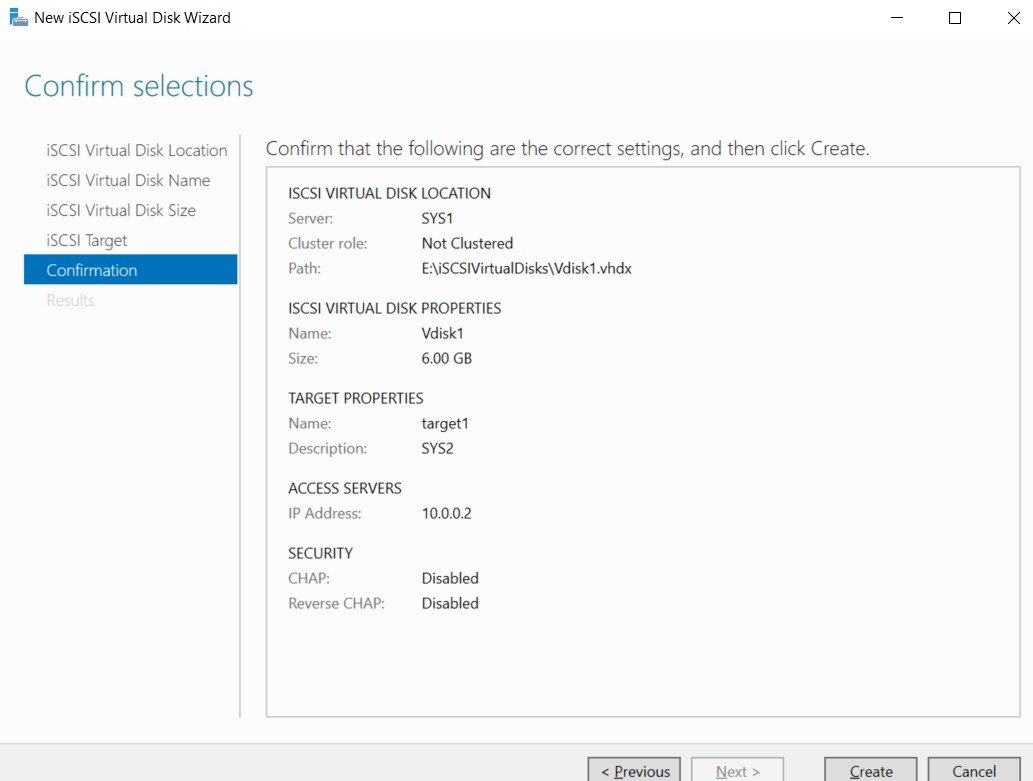
Step 14
Click Create. www..in
Step 15
Verify the message Completed, click Close.
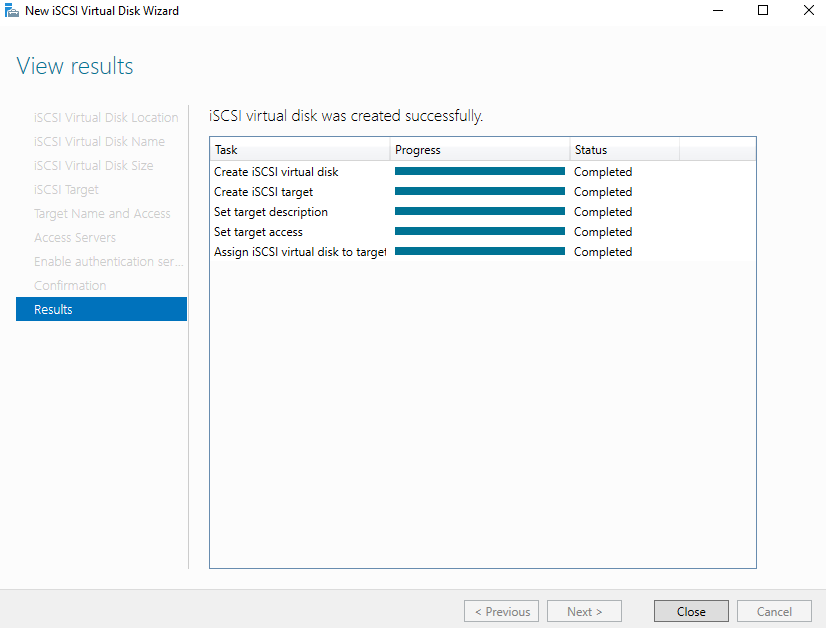
Step 16
iSCSI Virtual Disk Vdisk1.vhd has been created.
Step 17
Similarly create multiple iSCSI Virtual Disk that can be accessed from SYS2. www..in Configuring iSCSI Initiator SYS2 — CONFIGURATION
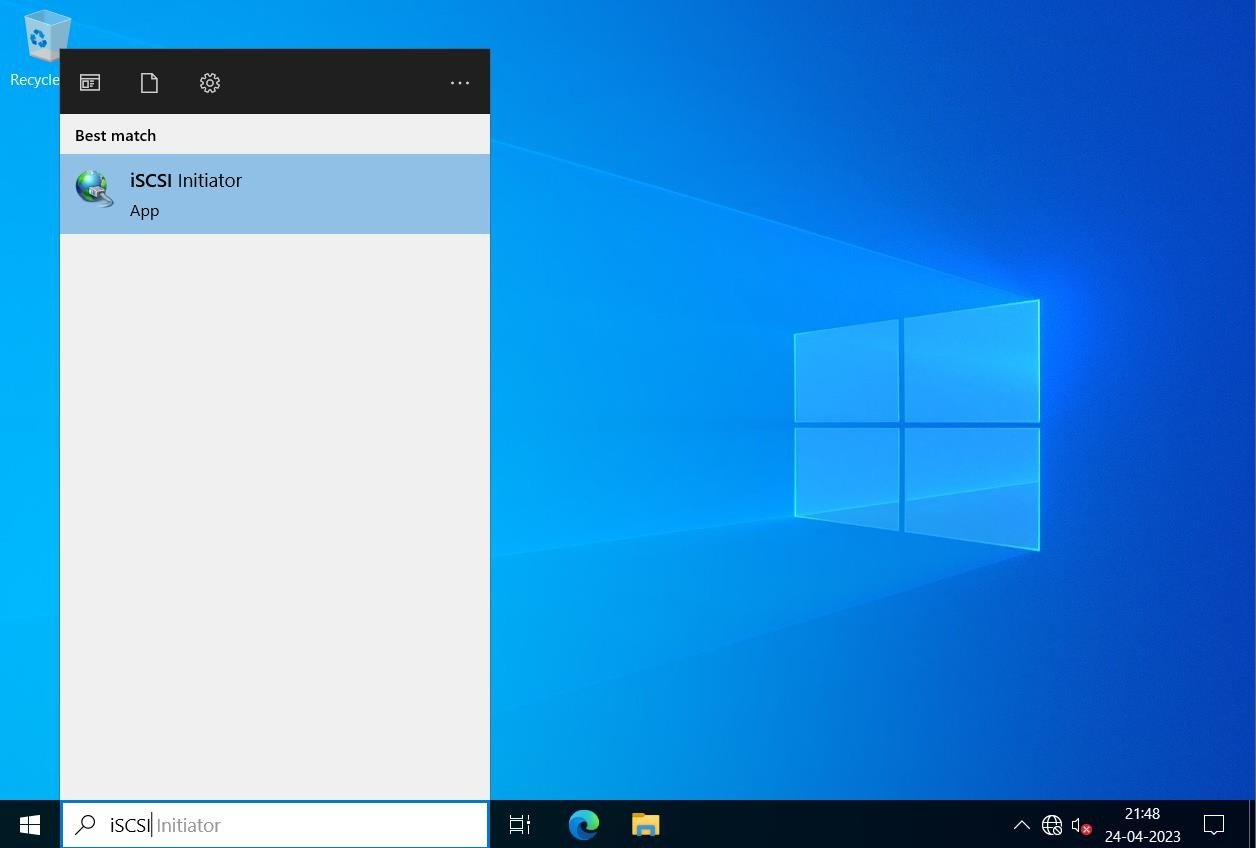
Step 1
Go to Start, type iSCSI in Search Apps, select iSCSI Initiator.
Step 2
Click Yes to Microsoft iSCSI service. www..in

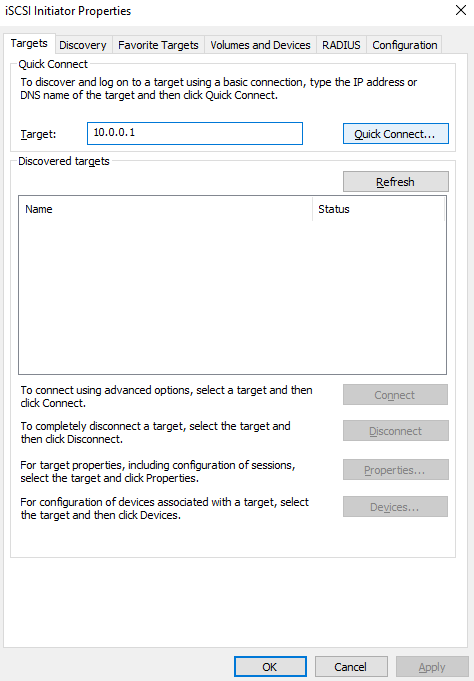
Step 3
Enter the IP Address of Target Server (Ex: 10.0.0.1), click Quick Connect.
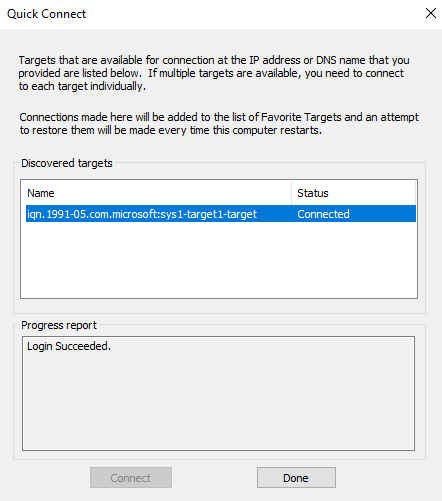
Step 4
Verify for the message Connected, Login Succeeded, click Done. www..in
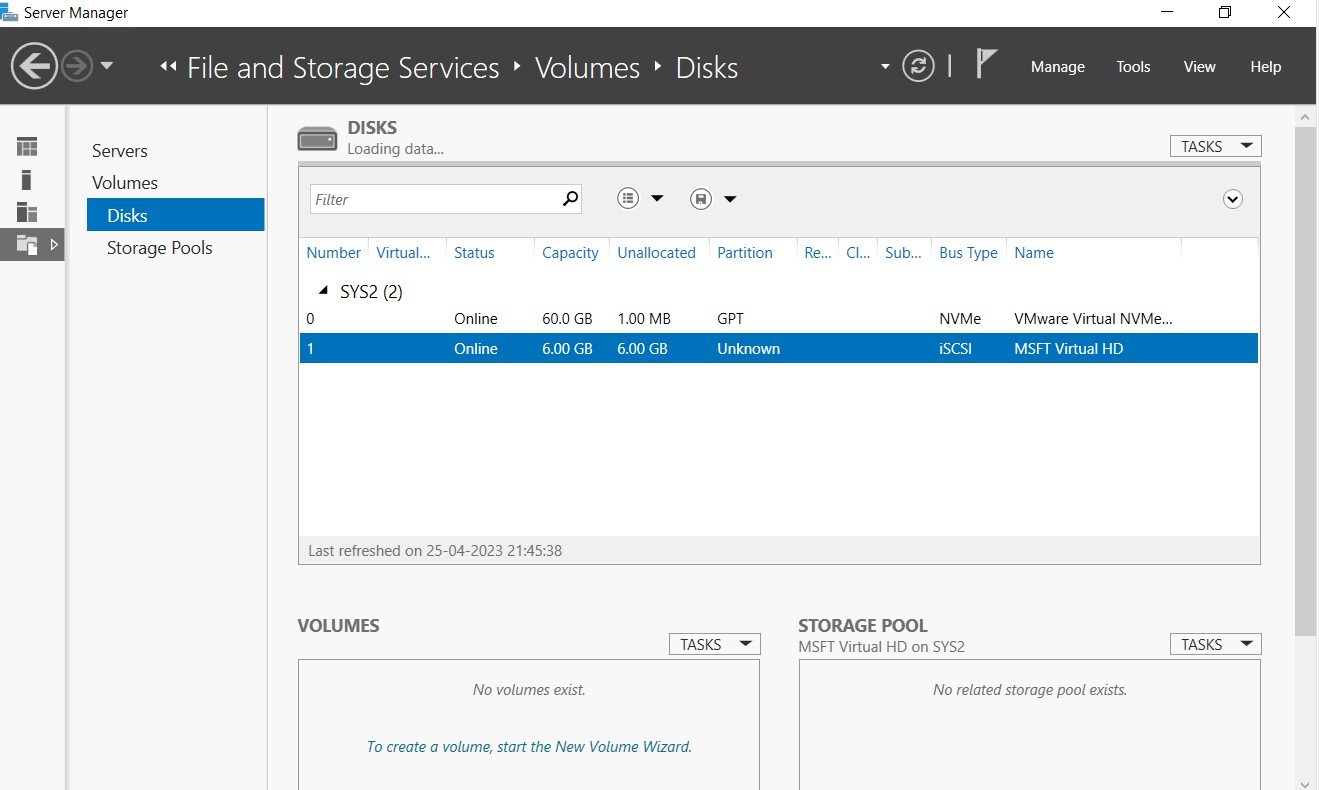
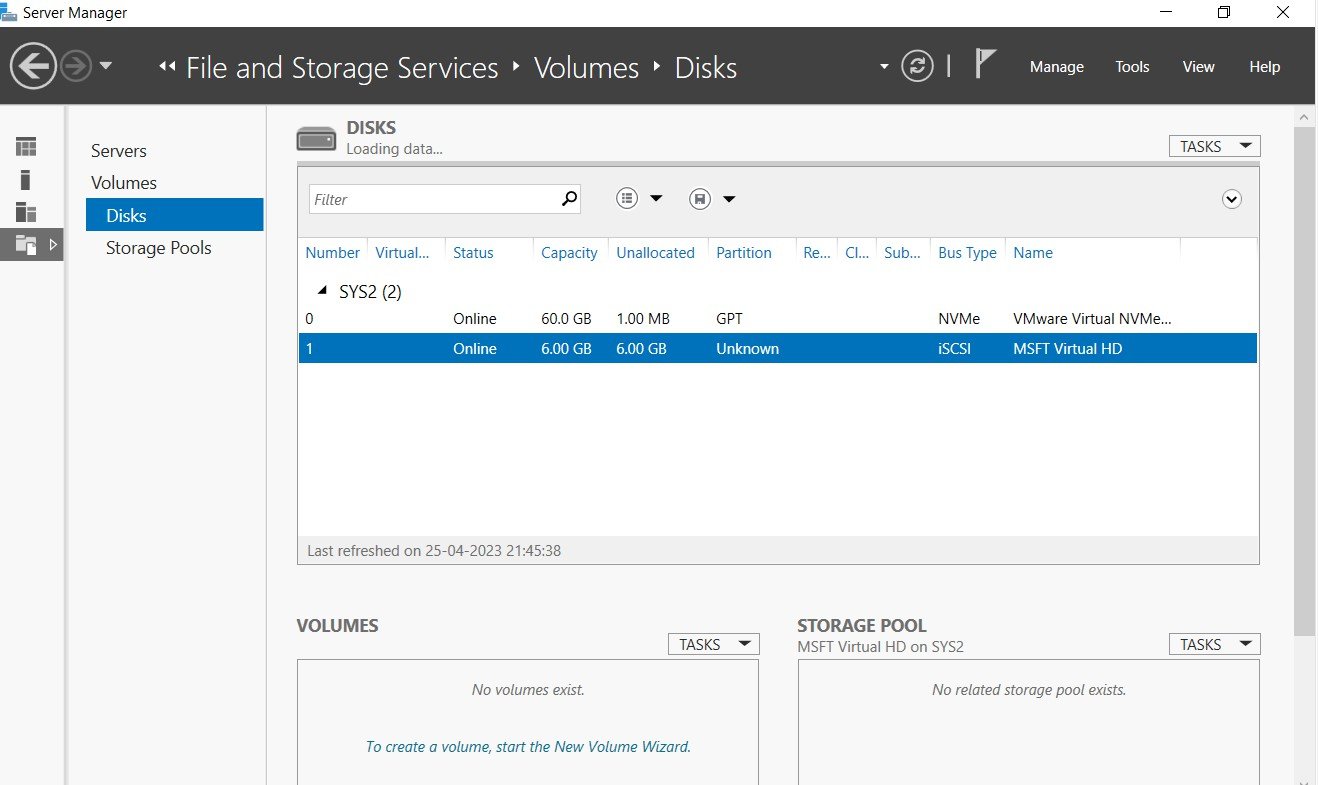
Step 5
Go to Server Manager à Files and Storage Services à Disks.
Step 6
Right click on offline disk iSCSI, select Bring Online. www..in
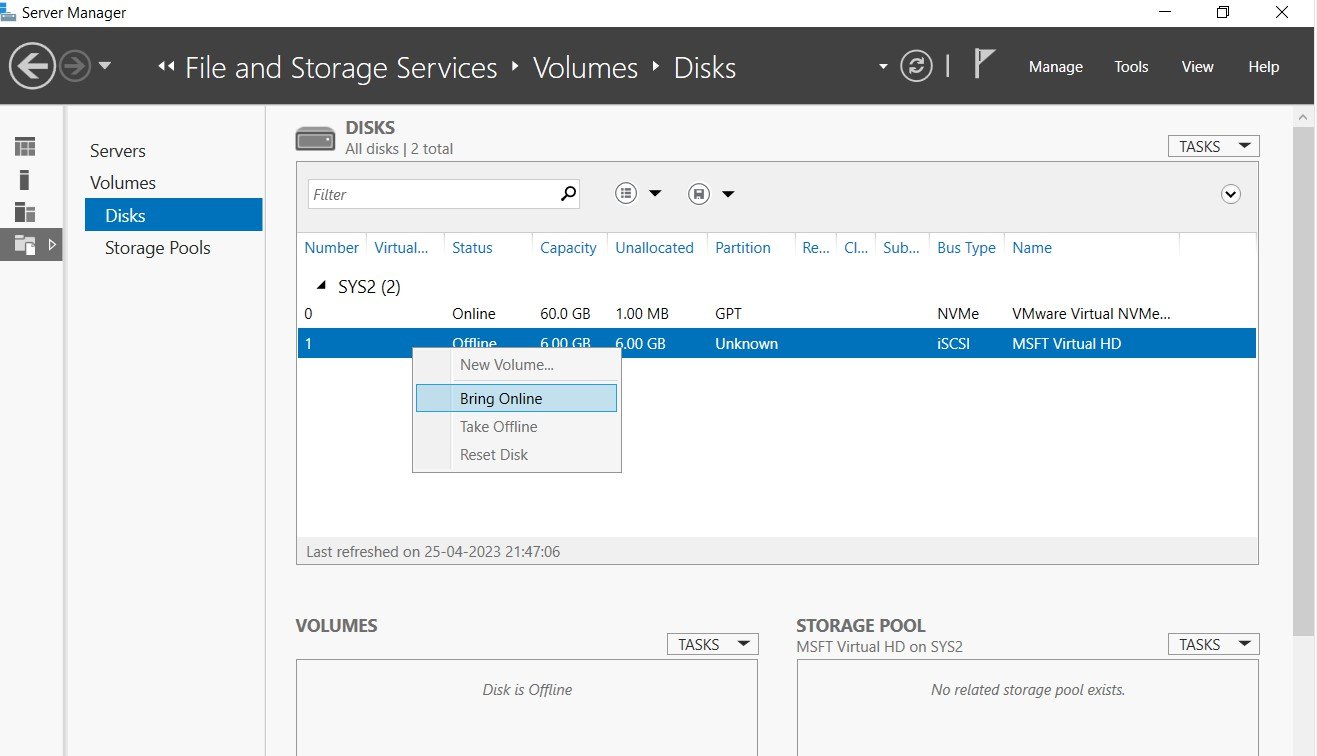
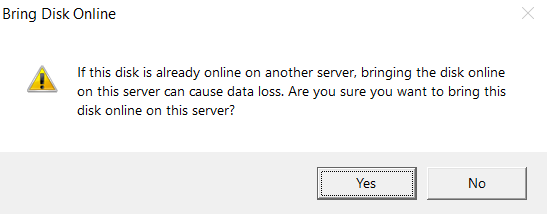
Step 7
Click Yes.
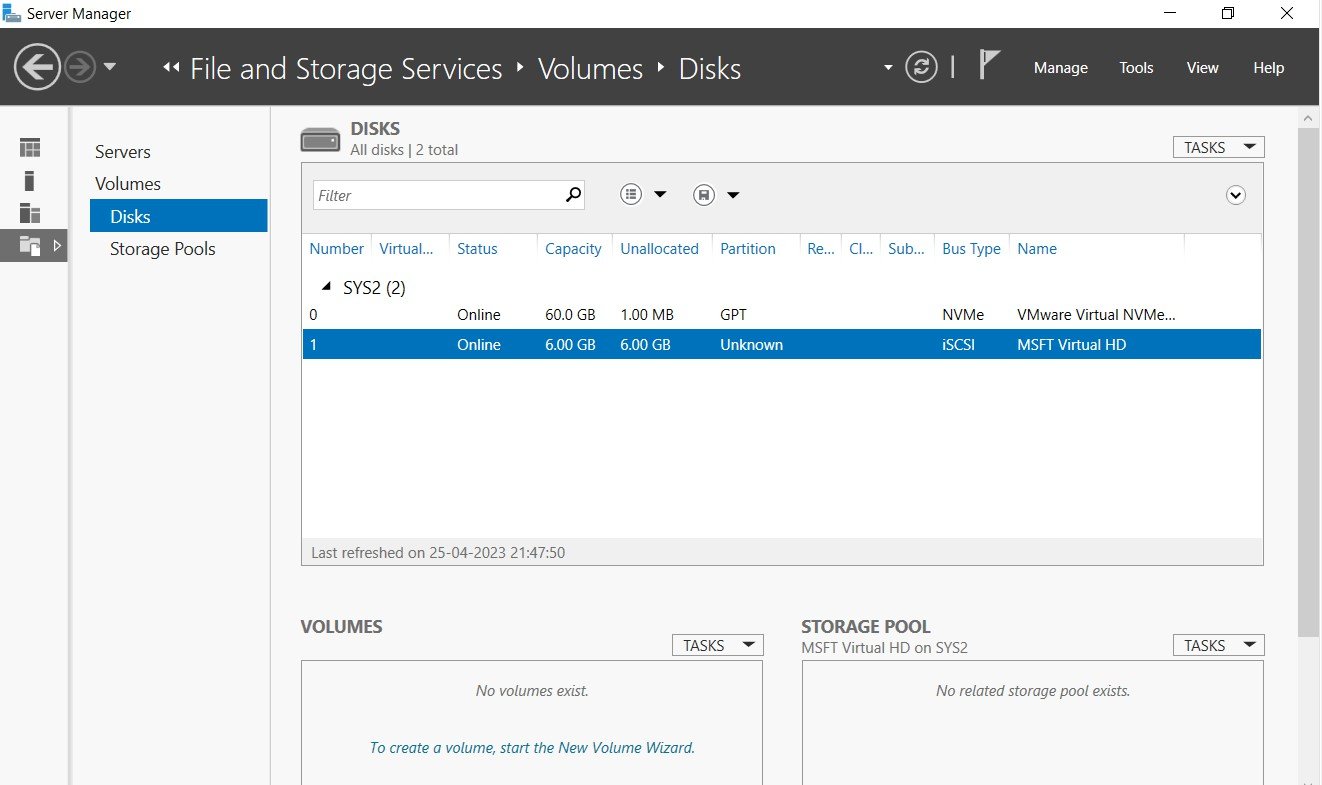
Step 8
Verify Disk is Online. www..in Creating Storage Pool and Simple Volume
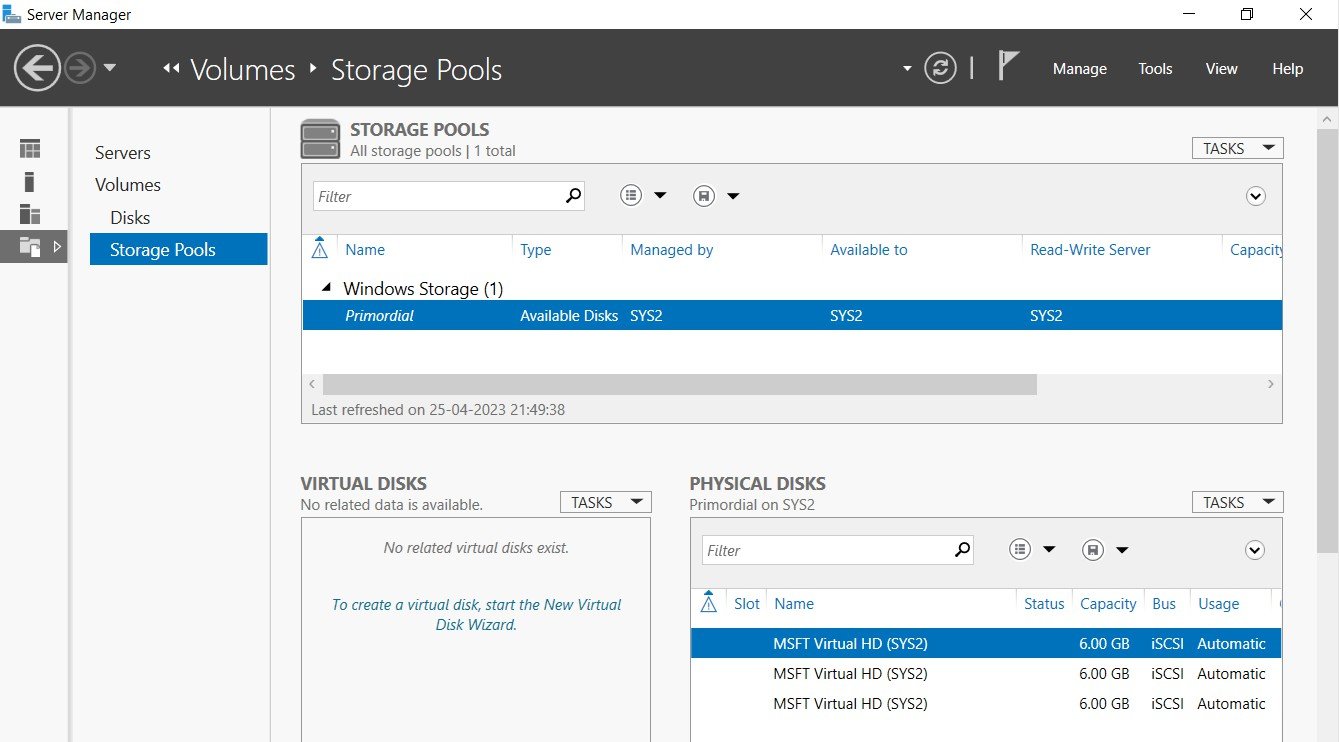
Step 1
Create multiple iSCSI Virtual Disk (Ex: Vdisk1, Vdisk2, Vdisk3 ..... )
Step 1
Go to Server Manager à File and Storage Services à Storage Pools à select New Storage Pool.
Step 2
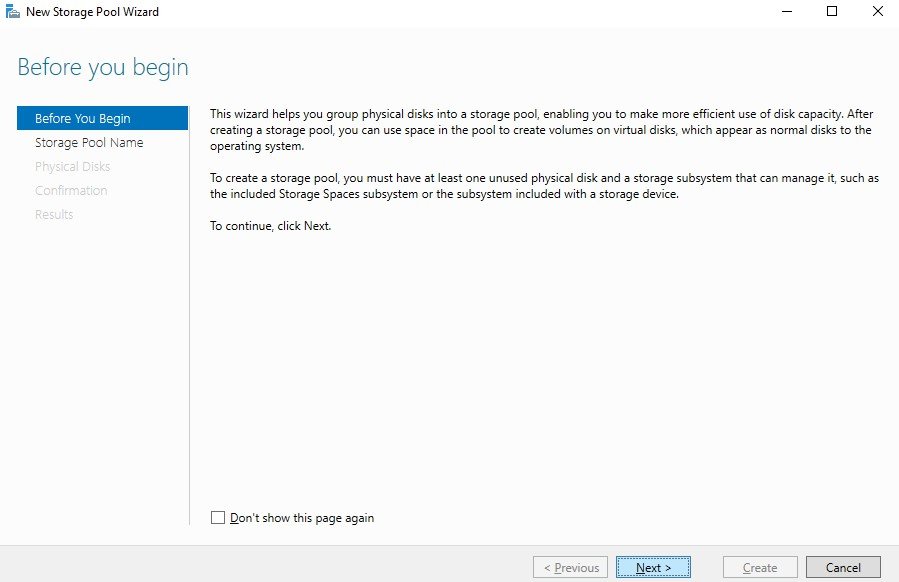
In Before you begin page, click Next. www..in
Step 3
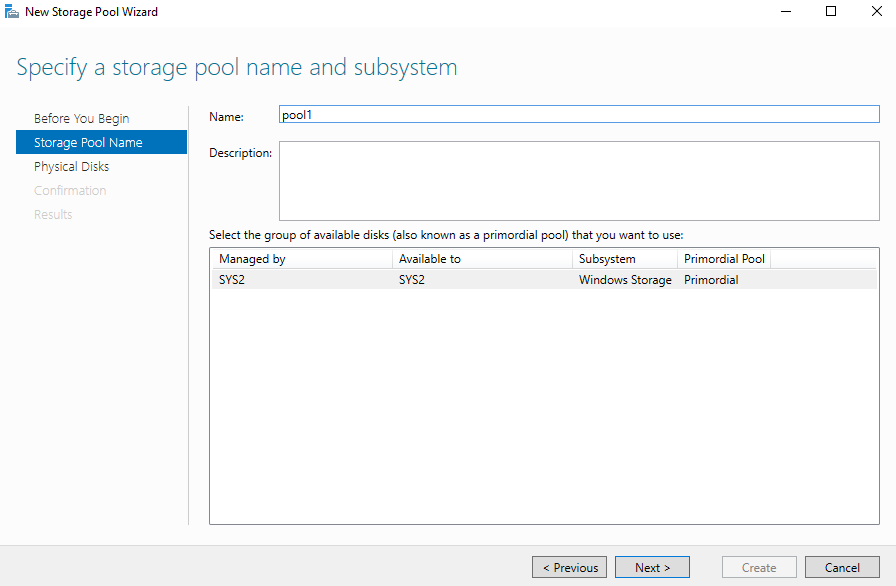
Enter Name (Ex: Pool), click Next.
Step 4
Check the boxes to select the physical disk for storage pool, click Next. www..in

Step 5
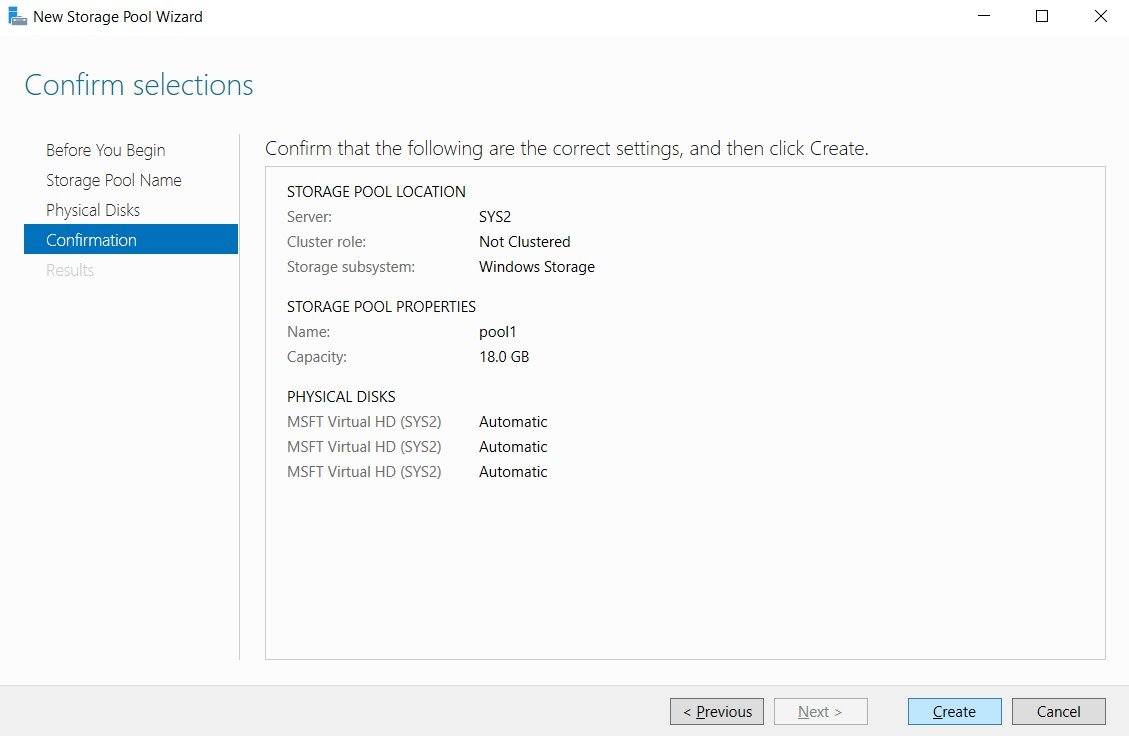
Click Create.
Step 6
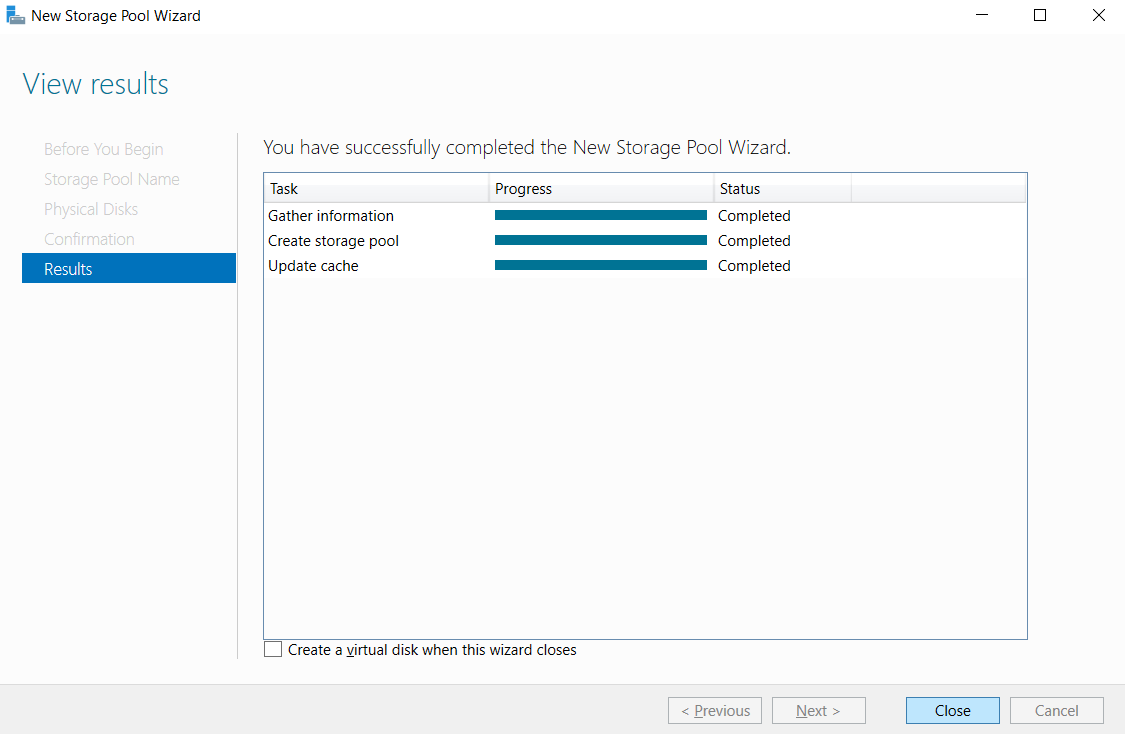
Click Close. www..in
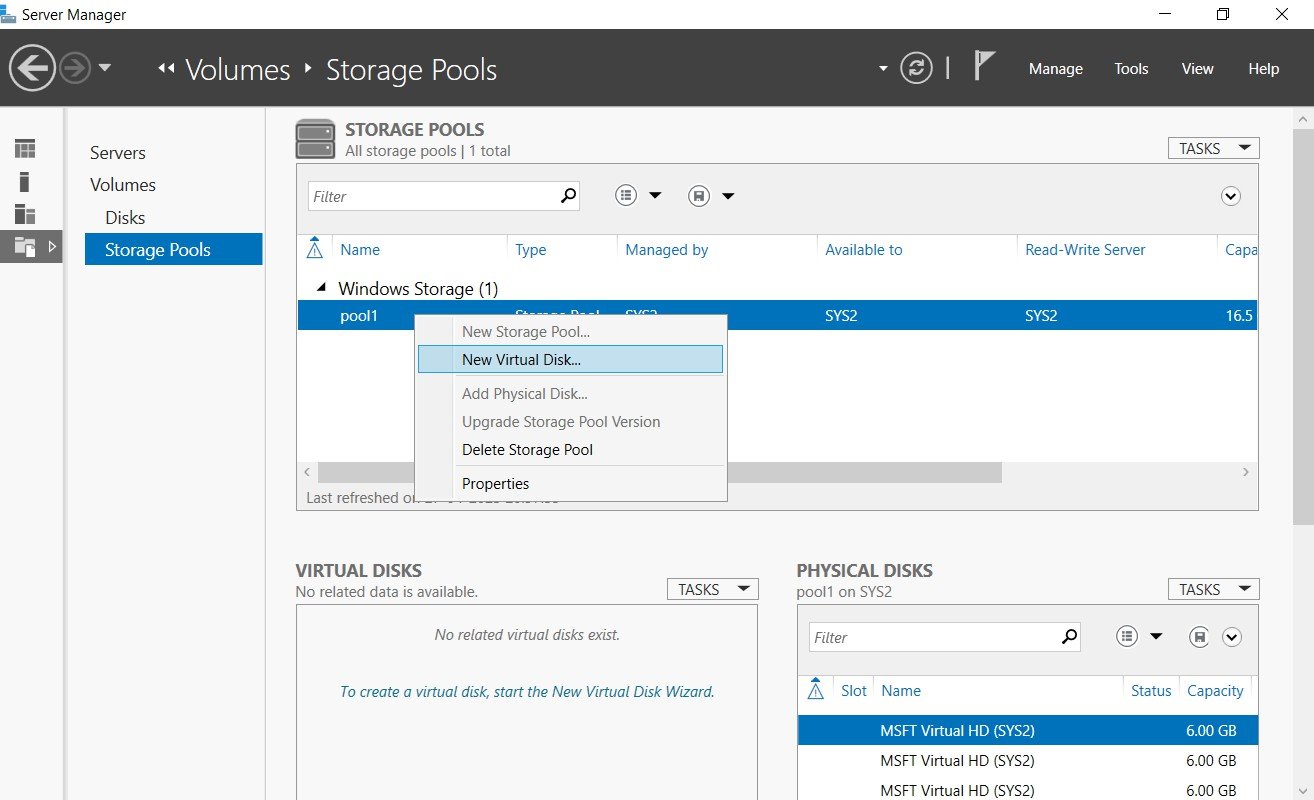
Step 7
In Storage Pools, select Pool, and click To create a virtual disk, start the New Virtual Disk Wizard.
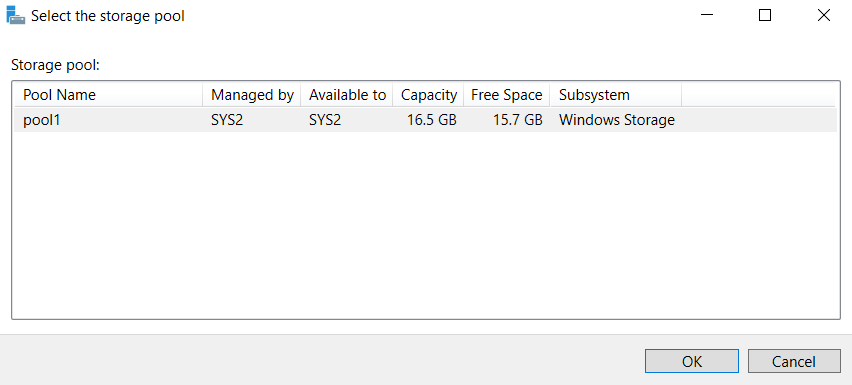
Step 8
Select the storage pool (Ex:Pool1), click Next. www..in
Step 9
In Before you begin page, click Next.
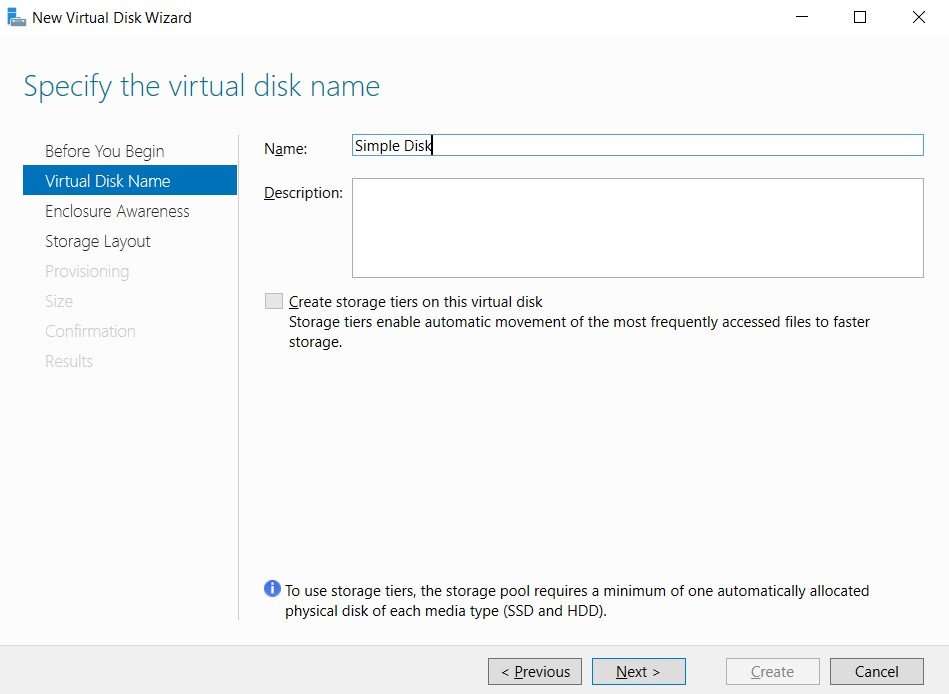
Step 10
Enter Name (Ex: Simple Disk), click Next. www..in
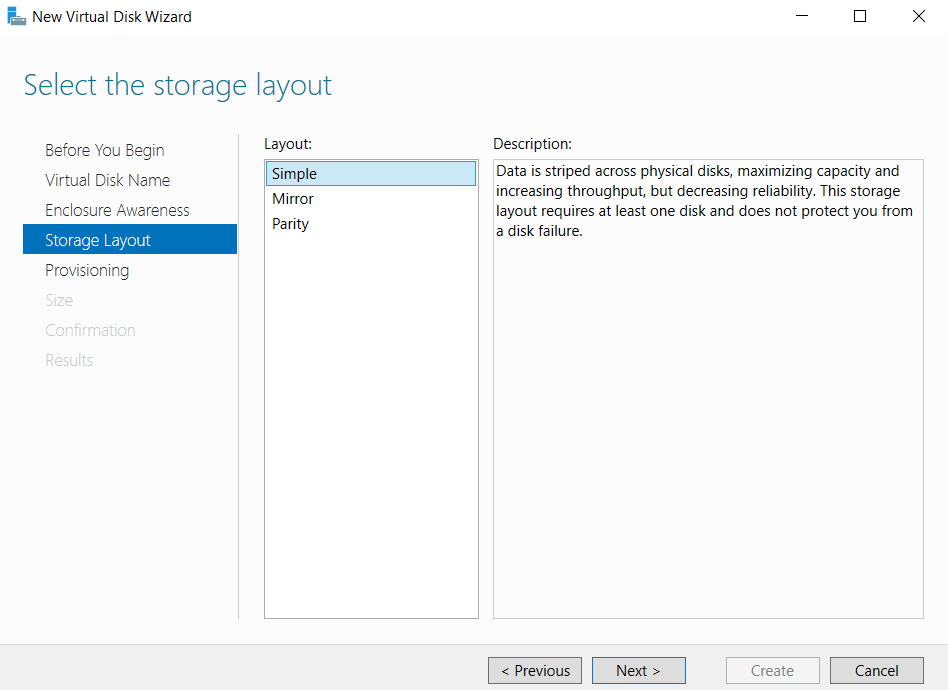
Step 11
Select Simple, Click Next.
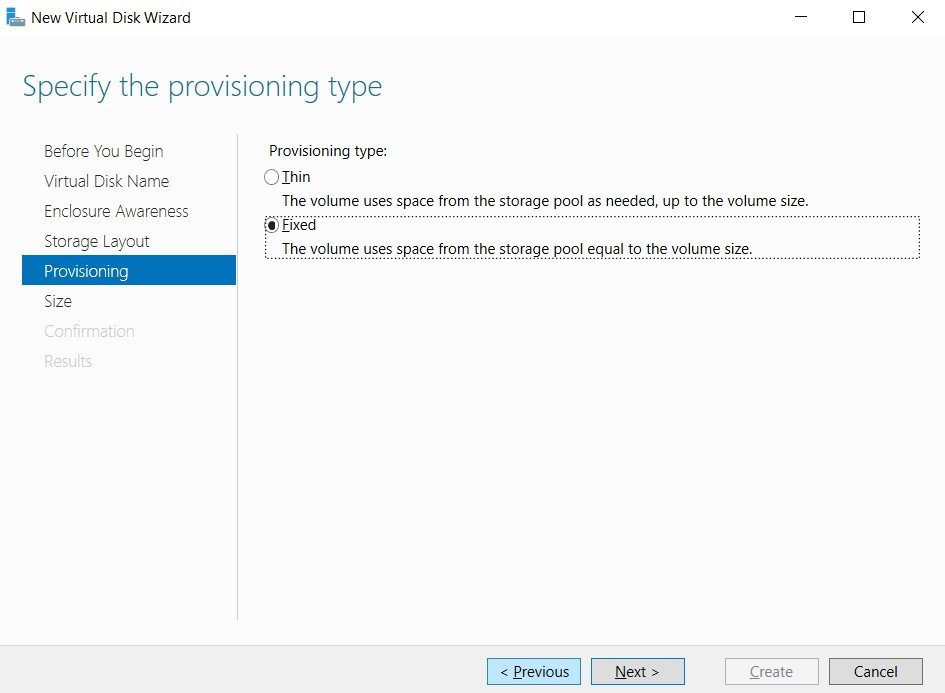
Step 12
Select Fixed, Click Next. www..in
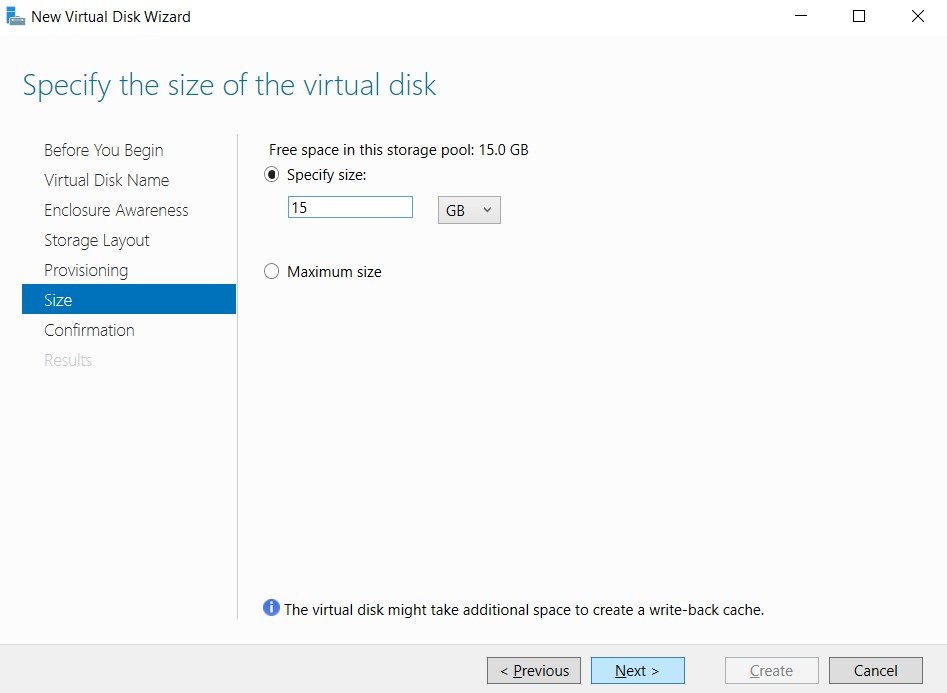
Step 13
Enter the size of the virtual disk, click Next.
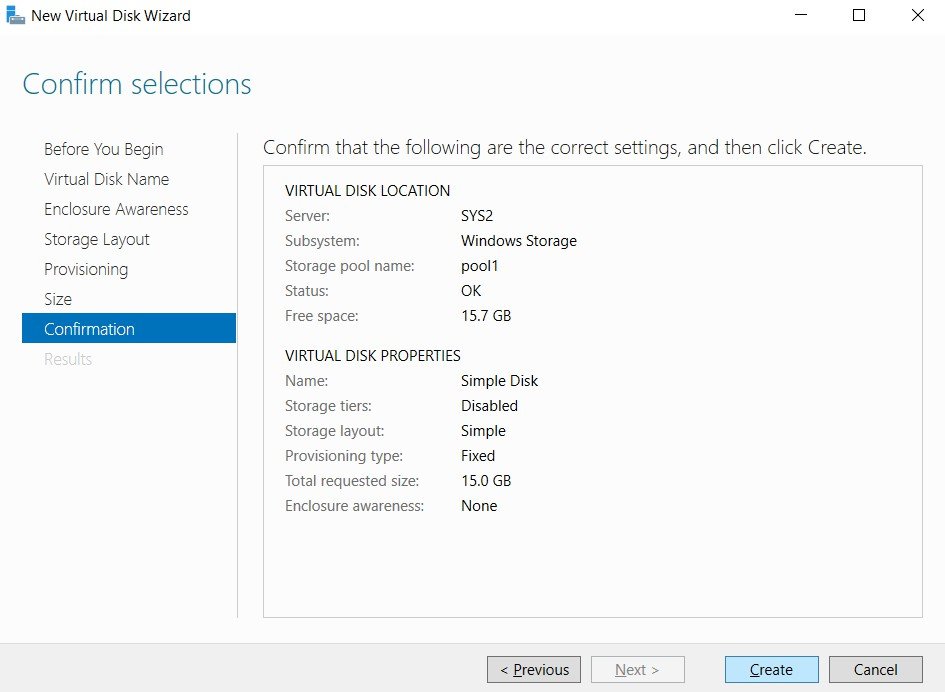
Step 14
Click Create. www..in
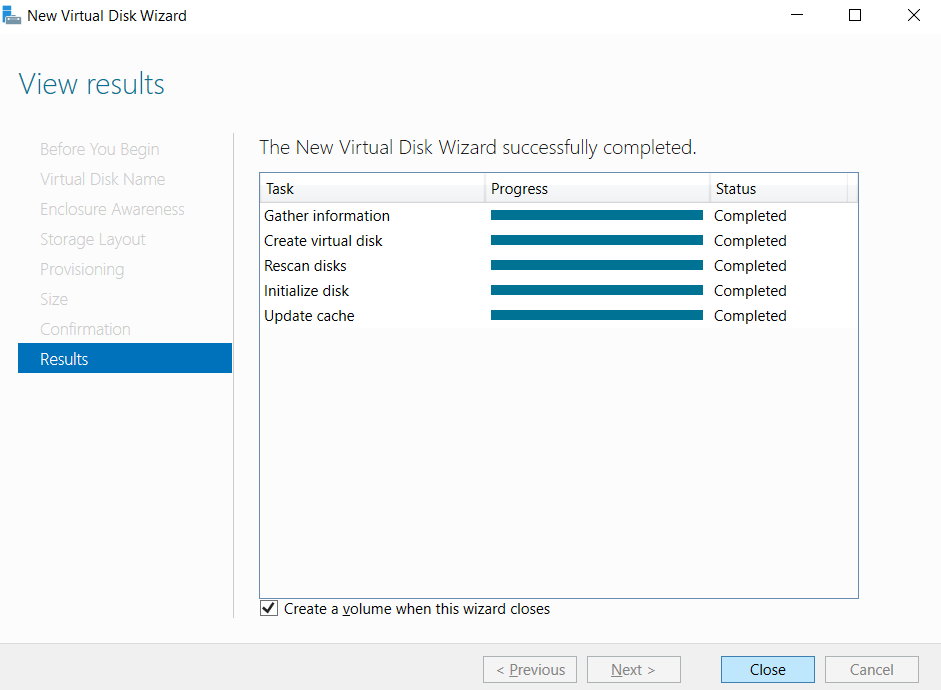
Step 15
Click Close, verify the check box Create a volume when wizard closes.
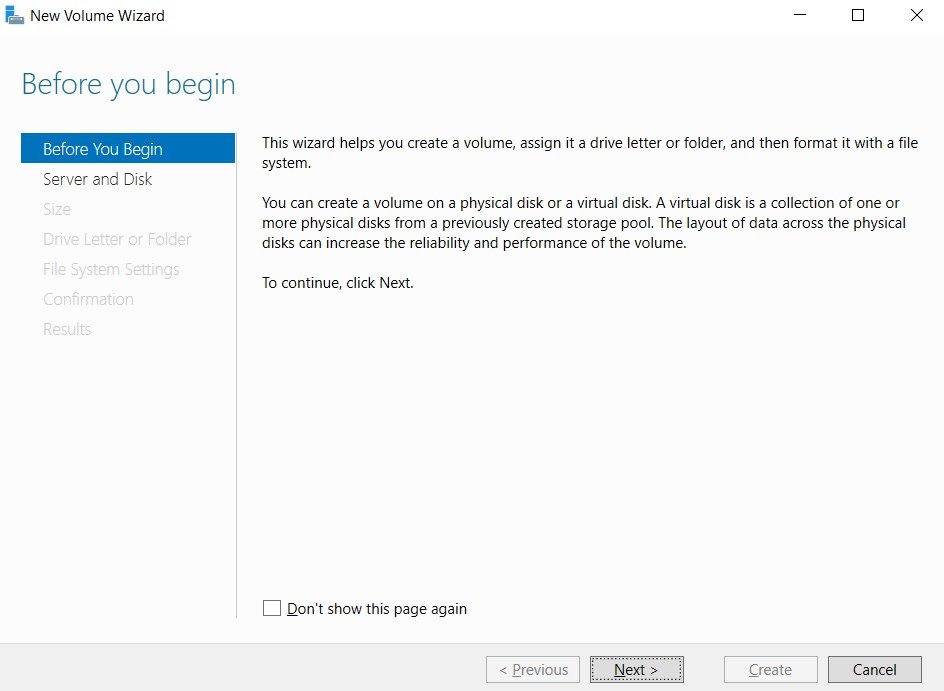
Step 16
In Before you begin page, click Next. www..in
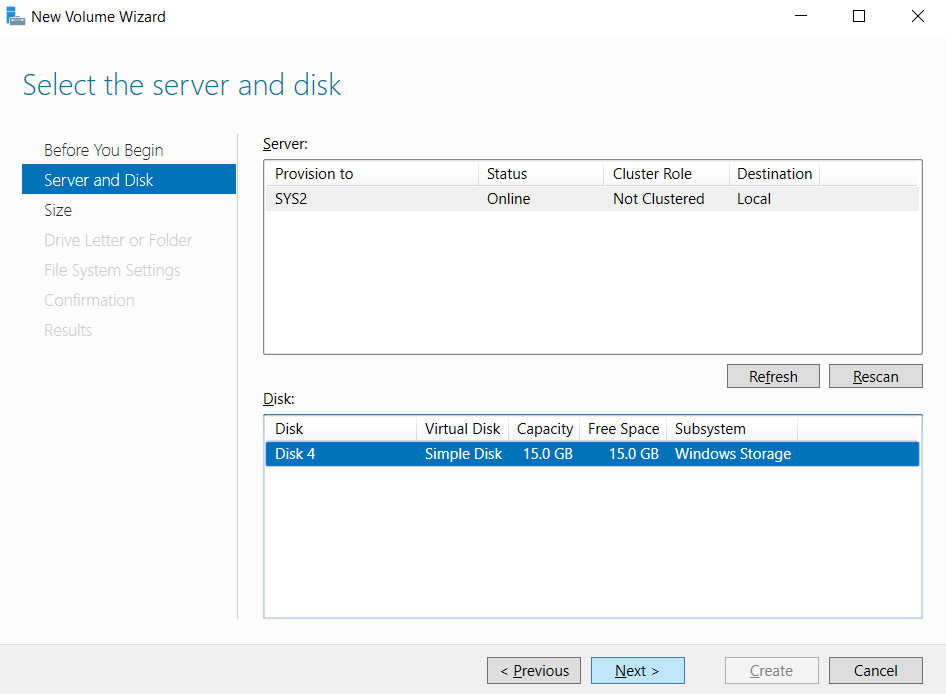
Step 17
Select the Server and disk, Click next.
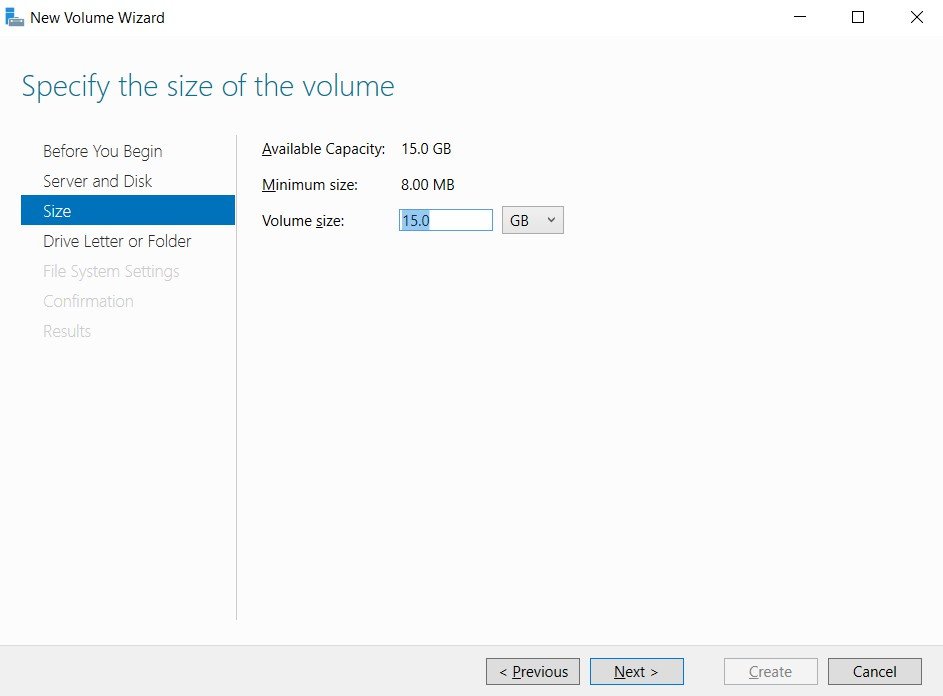
Step 18
Enter the size of the volume, click Next. www..in
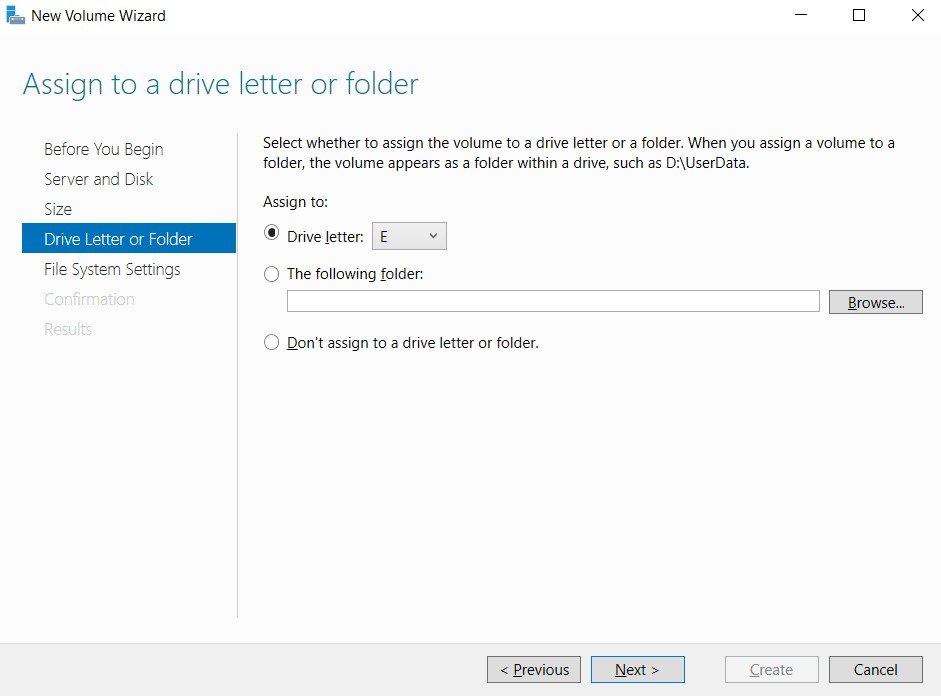
Step 19
Select the Drive letter, click Next.
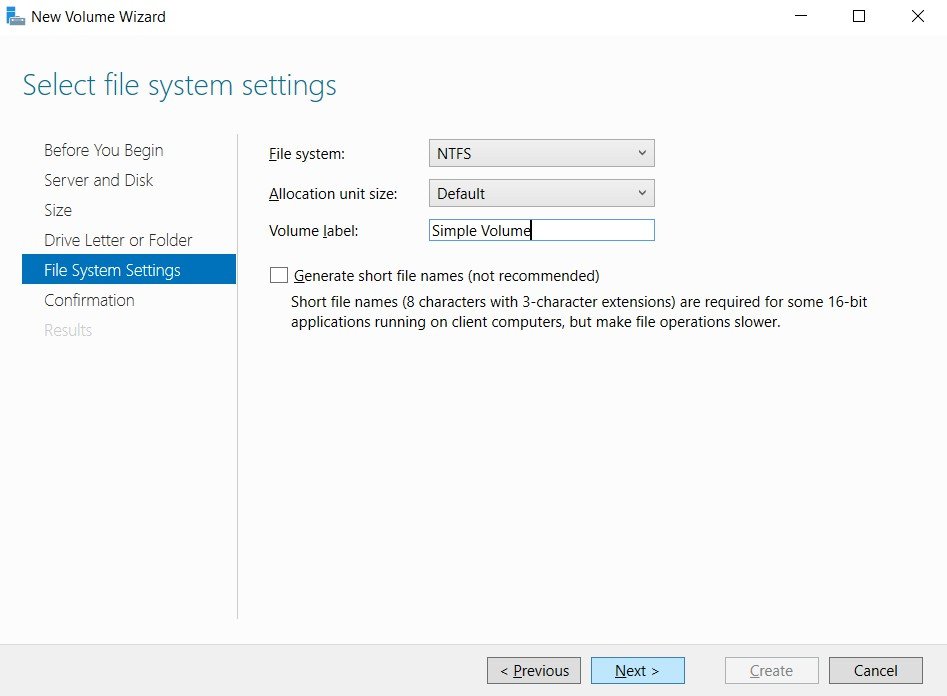
Step 20
Select the File system, Volume Label , click Next. www..in
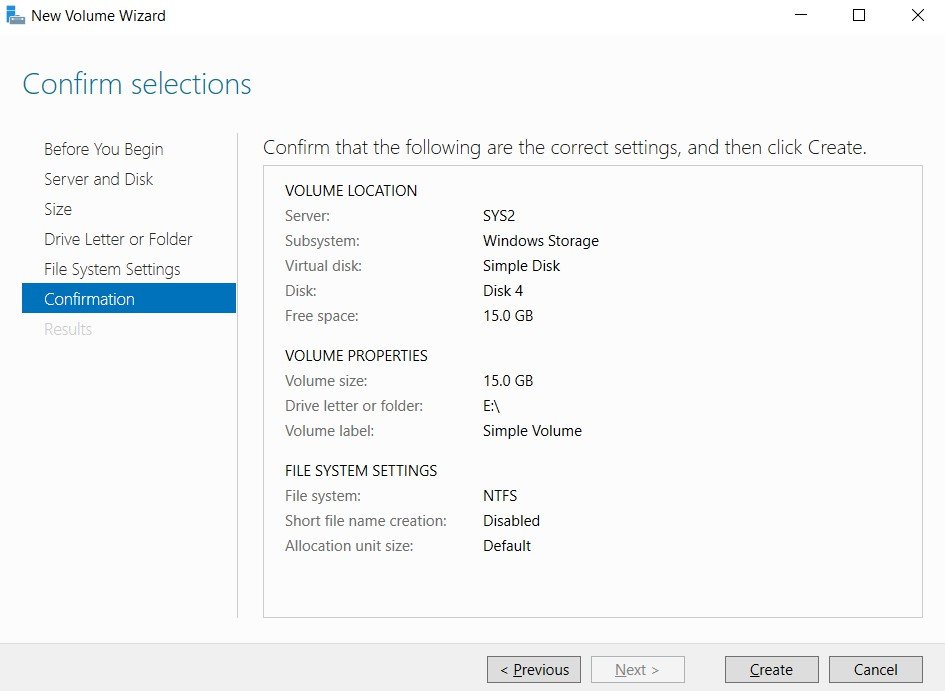
Step 21
Click Create.
Step 22
Click Close. www..in
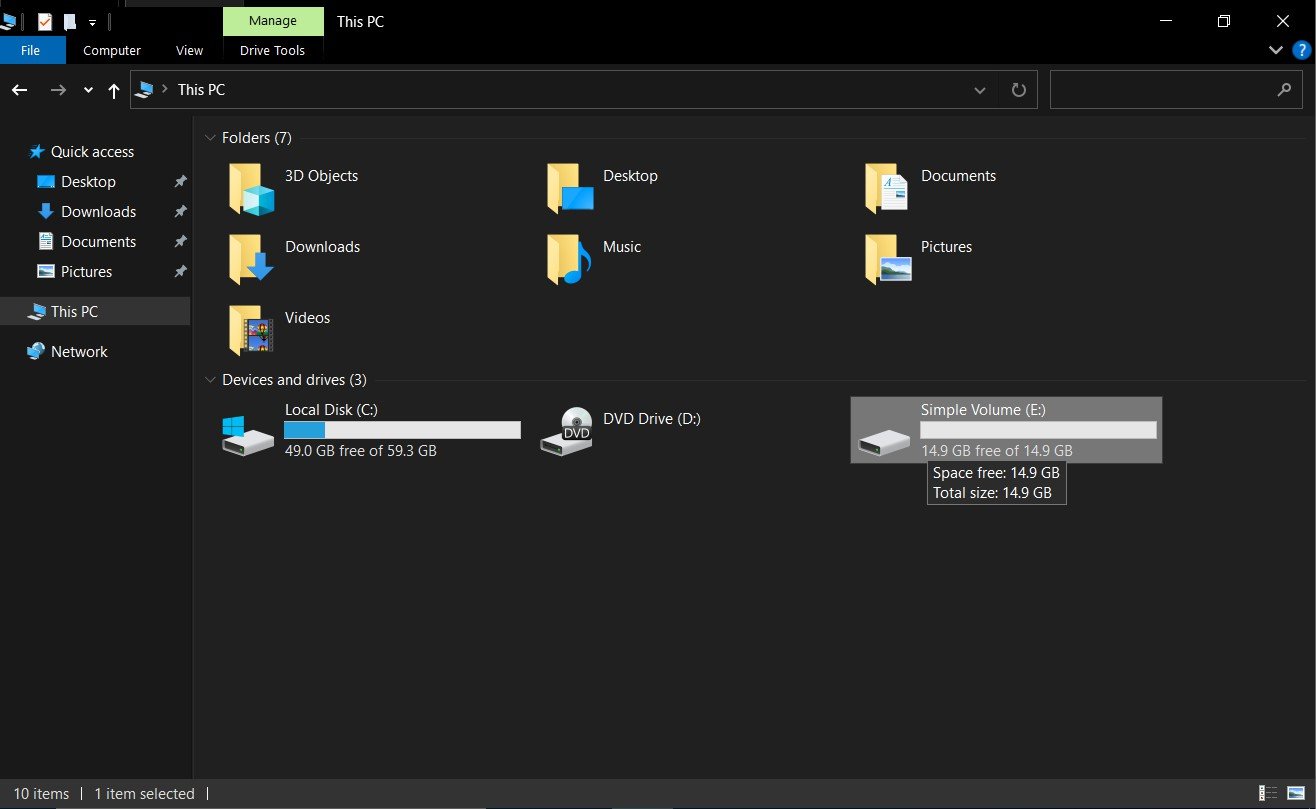
Verification
- 1. Go to Start, select Computer Icon and verify for the Simple volume.
- www..in